
modifications > V1
Why did you install a Valentine One V1 in your GRC?
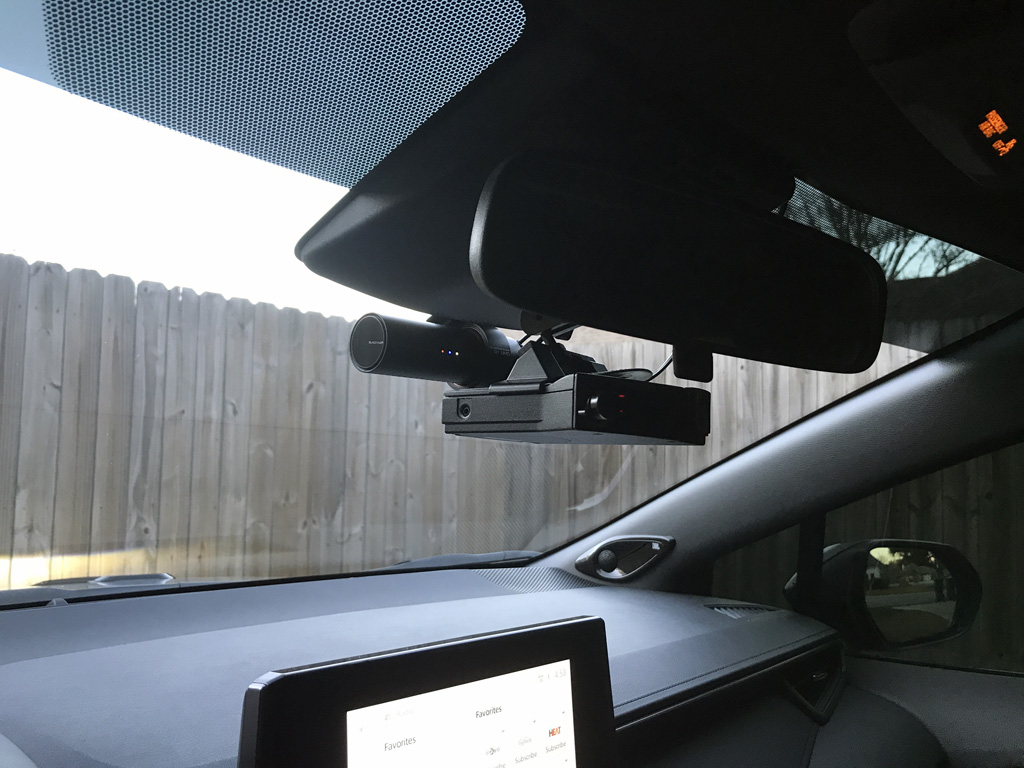
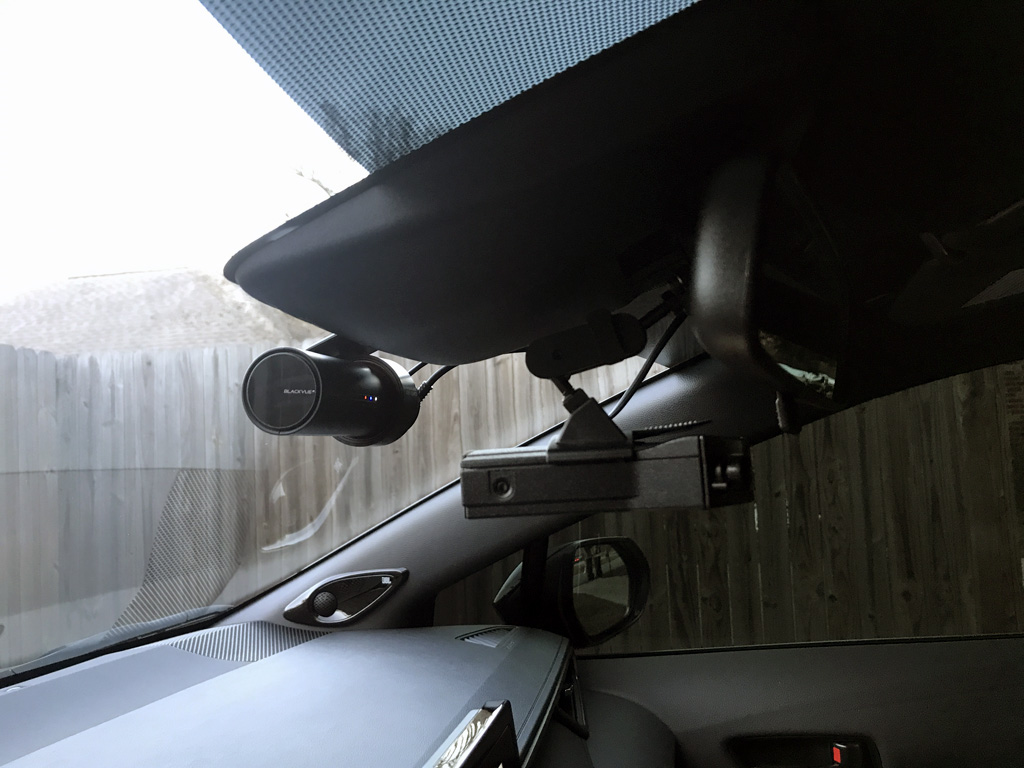
Ain't nobody got time for the po po. I haven't upgraded to the V1 Gen2 just yet, but my original V1 is doing just fine on guard duty. I followed instructions from a YouTuber to make custom sweeps. My installation also included a V1connection LE for iOS.
Date Completed:
12/28/23
Materials:
- Valentine One V1 (Valentine1.com)
- V1connection LE for iOS (Valentine1.com)
- V1 Univeral Rear View Mirror bracket (Ebay.com)
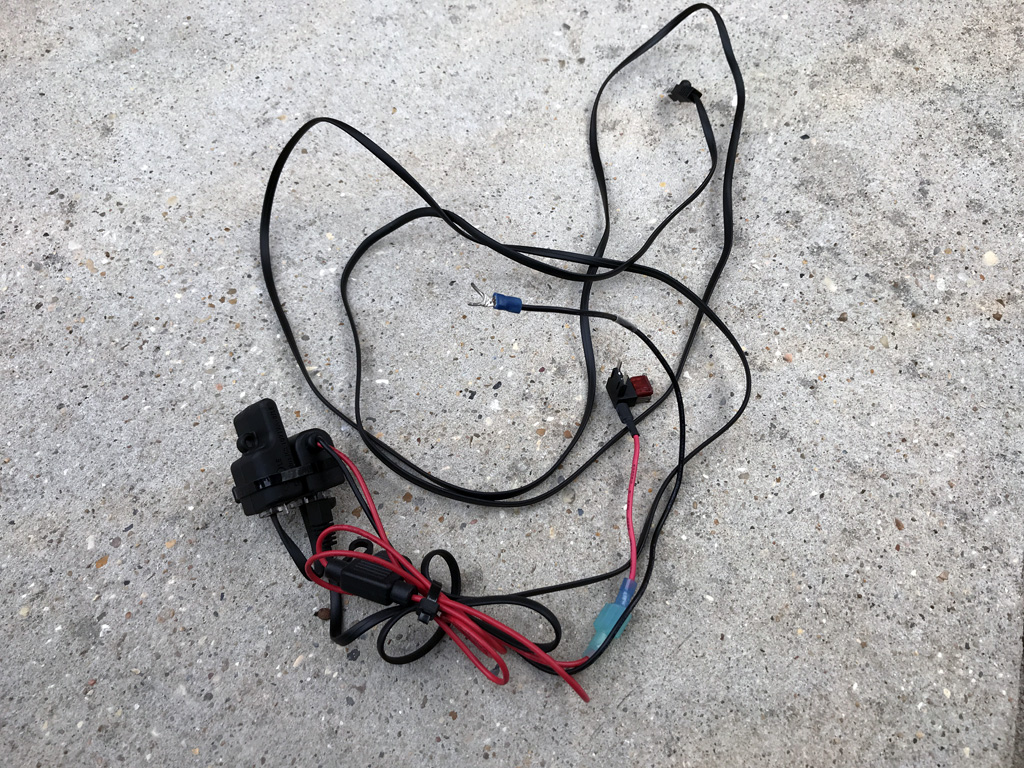
- Add-A-Circuit Mini (Amazon.com)
- Various zip ties
Tools:
- Needle nose pliers (to pull mini fuse)
- Plastic trim removal tools
- Flatblade screwdriver
- Wire stripping pliers
- Phillips screwdriver
- Wire crimper
- Multimeter
Notes:
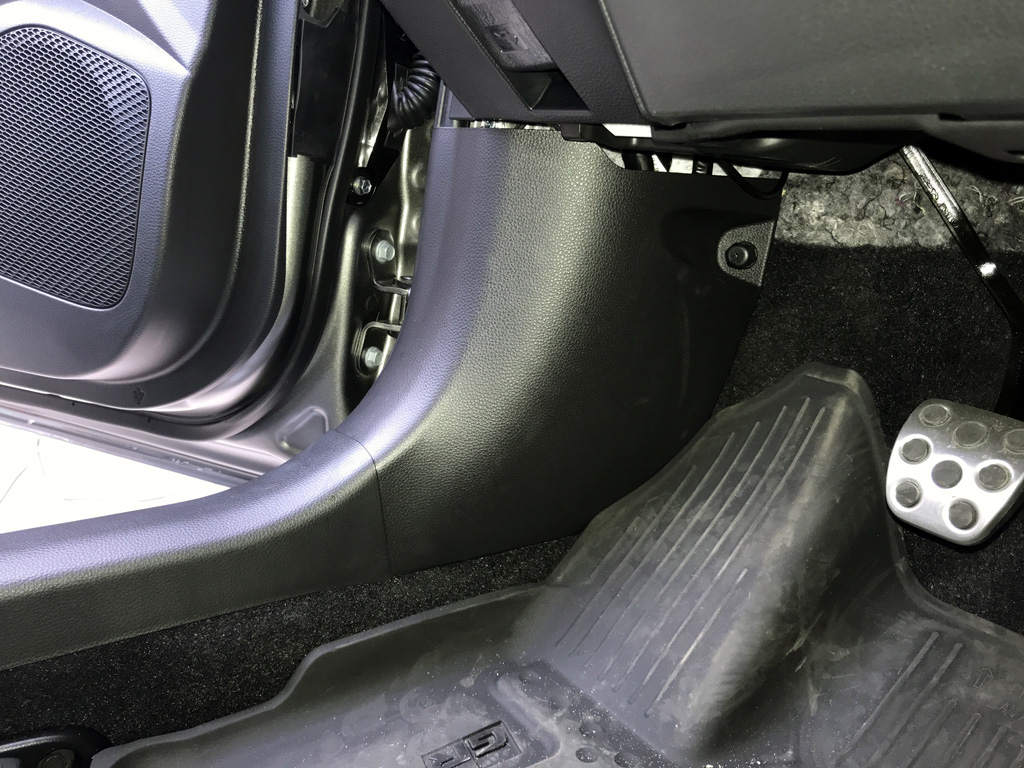
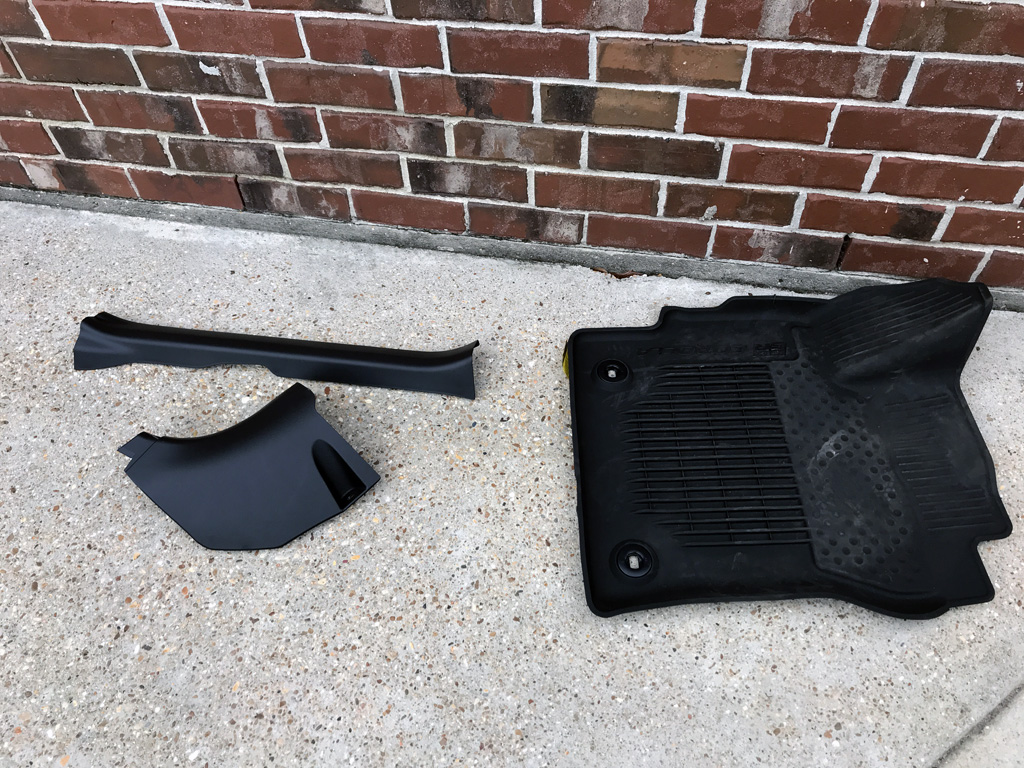
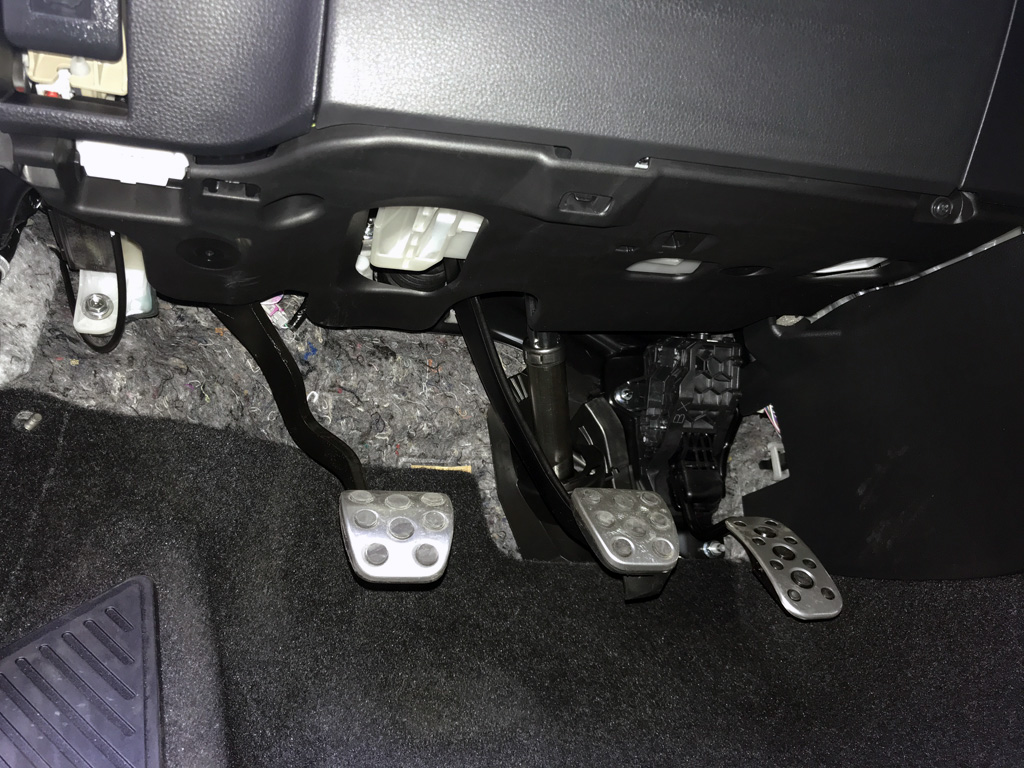
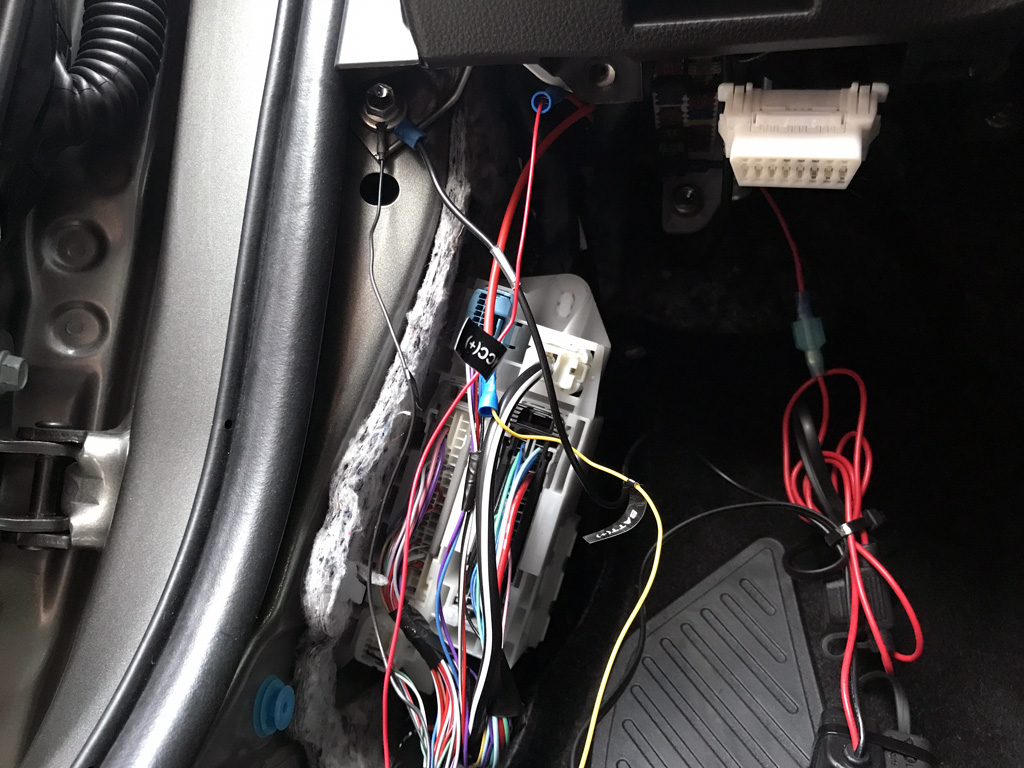
1. The OBD2 port needs to be temporarily removed for this installation. It unsnaps from the panel below the steering wheel and hangs until the panel is reinstalled.
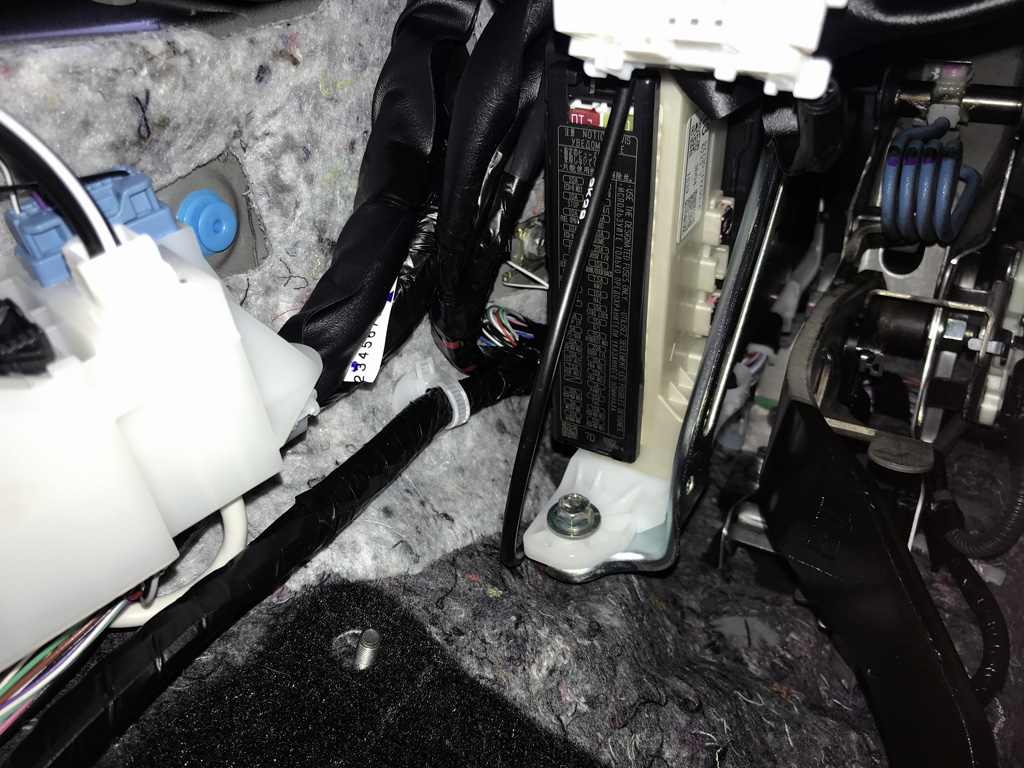
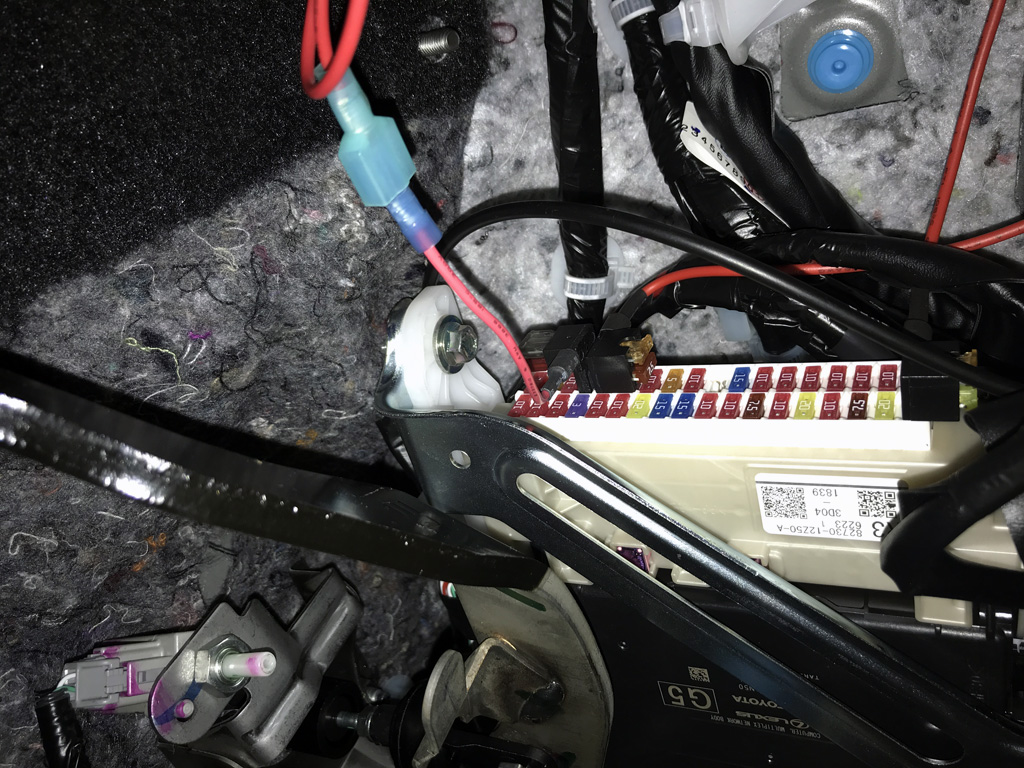
2. I hardwired the V1 using an add-a-circuit fuse tap to the spare fuse location below "7.5A USB NO.1" in the driver's footwell fuse box. See picture #07 for more details.
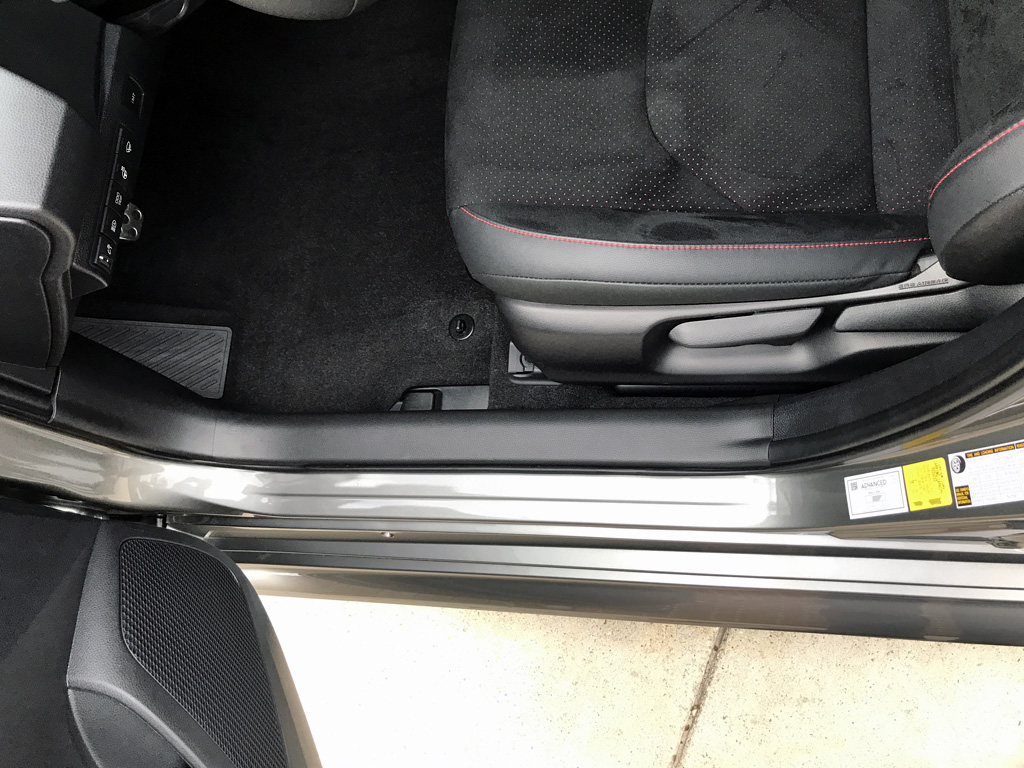
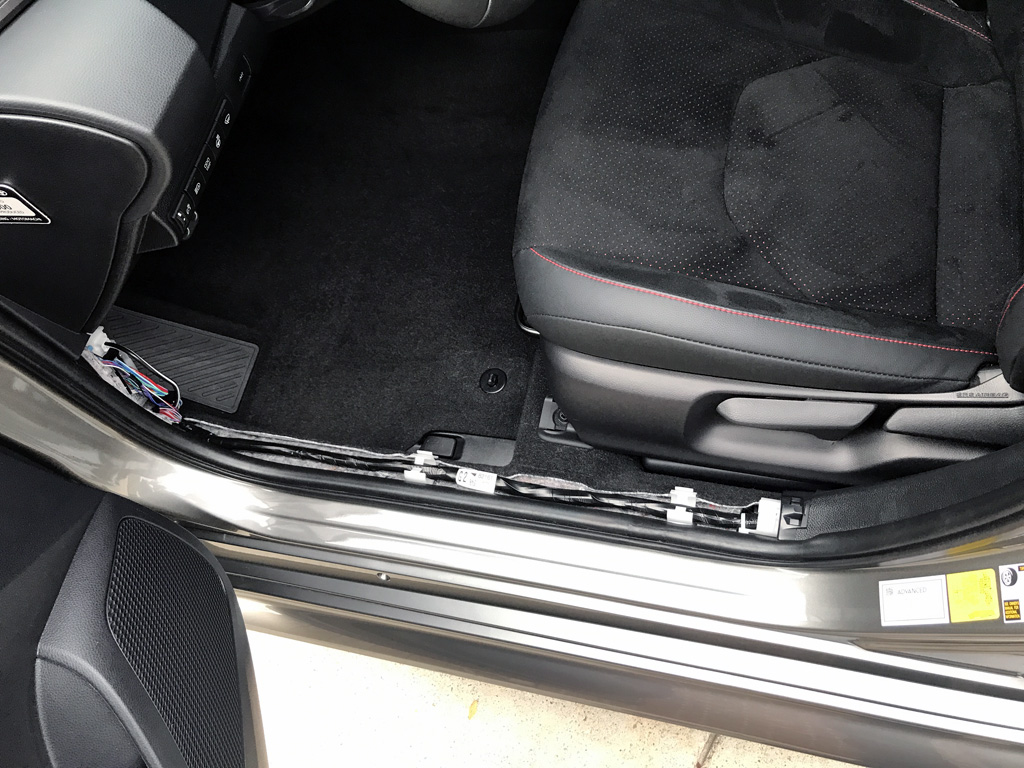
3. Use a plastic trim tool (if necessary) to aid in tucking the wiring/signal cables into the headliner.
4. Pay close attention to routing the V1 wiring. Do not block the a-pillar air bag!
5. Ground the V1 harness to the 10mm bolt in front of the driver's footwell fuse box. See picture #10 for more details.
6. Reversible back to stock.
7. Total weight added = negligible.


|