
modifications > Pitch Mount
Why did you modify the pitch mount on your GR?
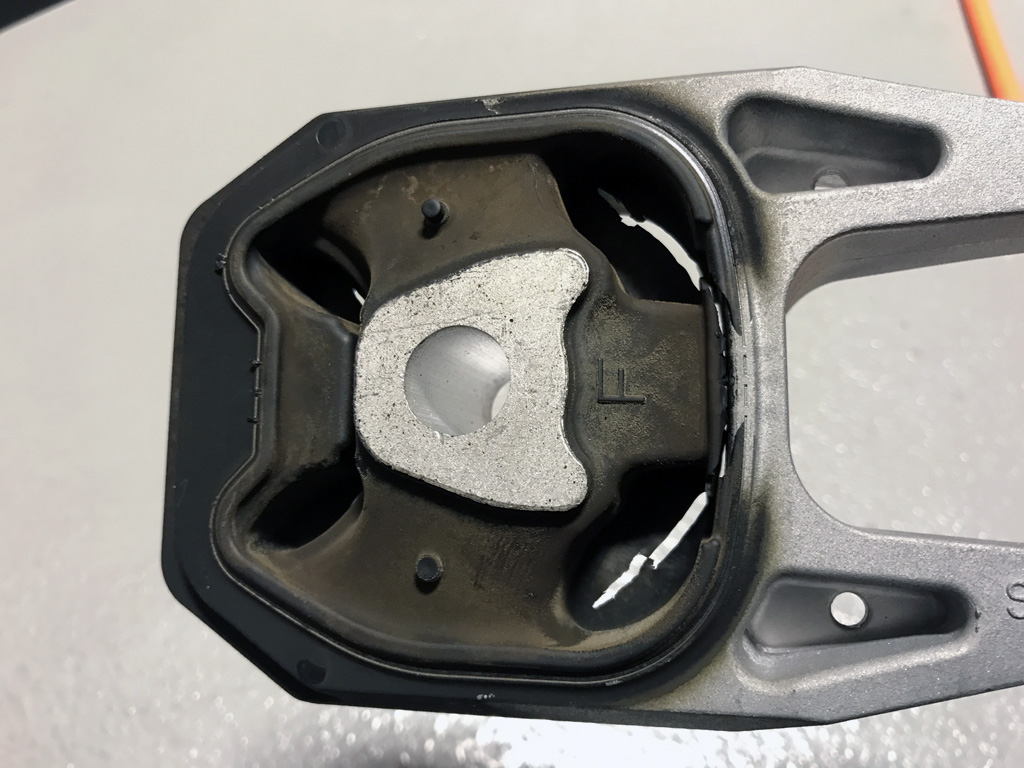
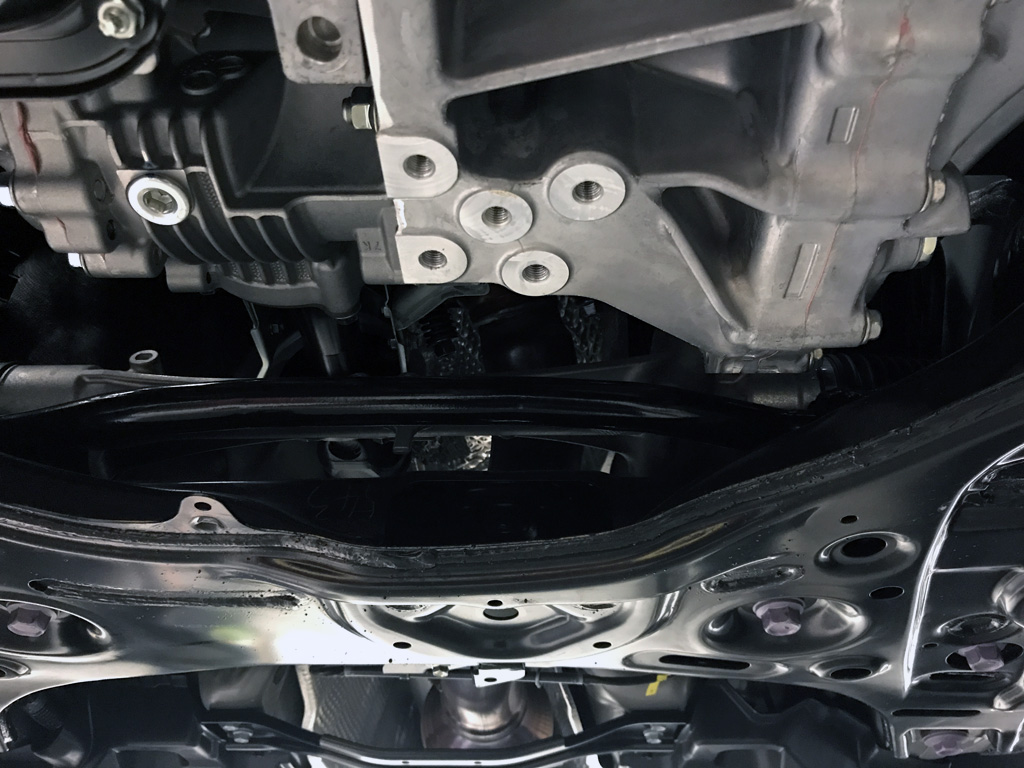
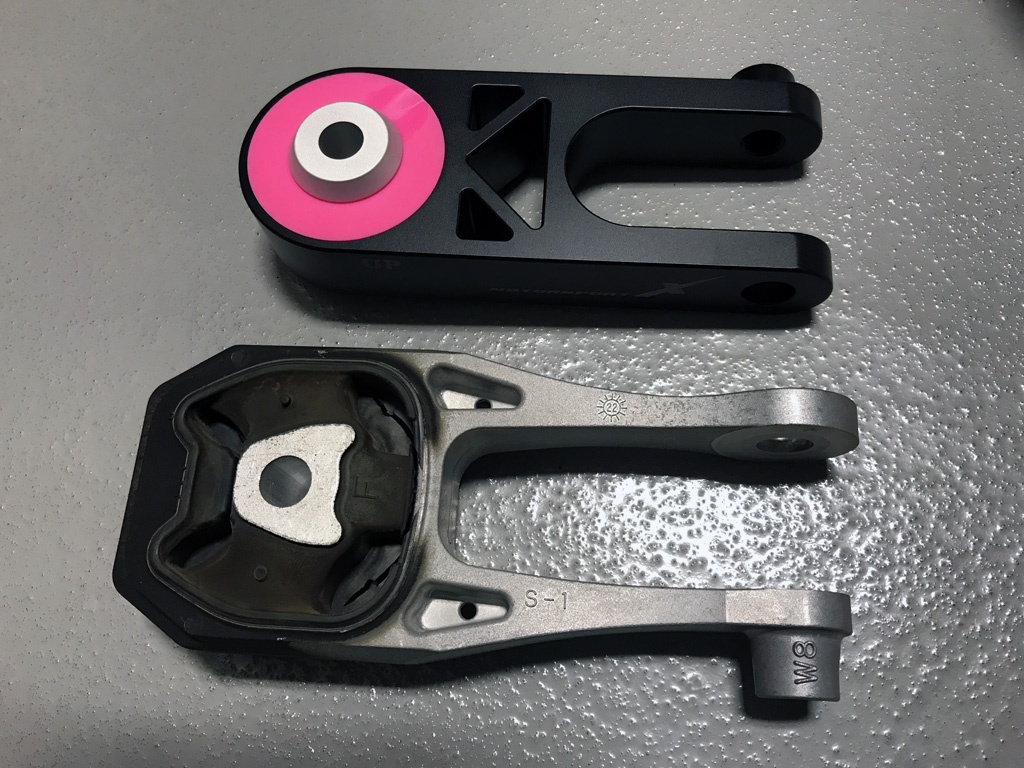
The factory GR Corolla pitch mount is made to minimize NVH (noise, vibration and harshness) from the engine/transmission to the chassis. However, one of the cheapest ways car manufacturers lower the NVH is to use rubber bushings.
In this case you have the engine/transmission rear mount so soft with pliable rubber that it hurts performance. If you own a GRC try a few spirited drag racing starts. Although you may not hear a clunk like I had in my Focus RS,
the factory pitch mount lets the engine rock back a significant amount. It may even cause mis-shifts.
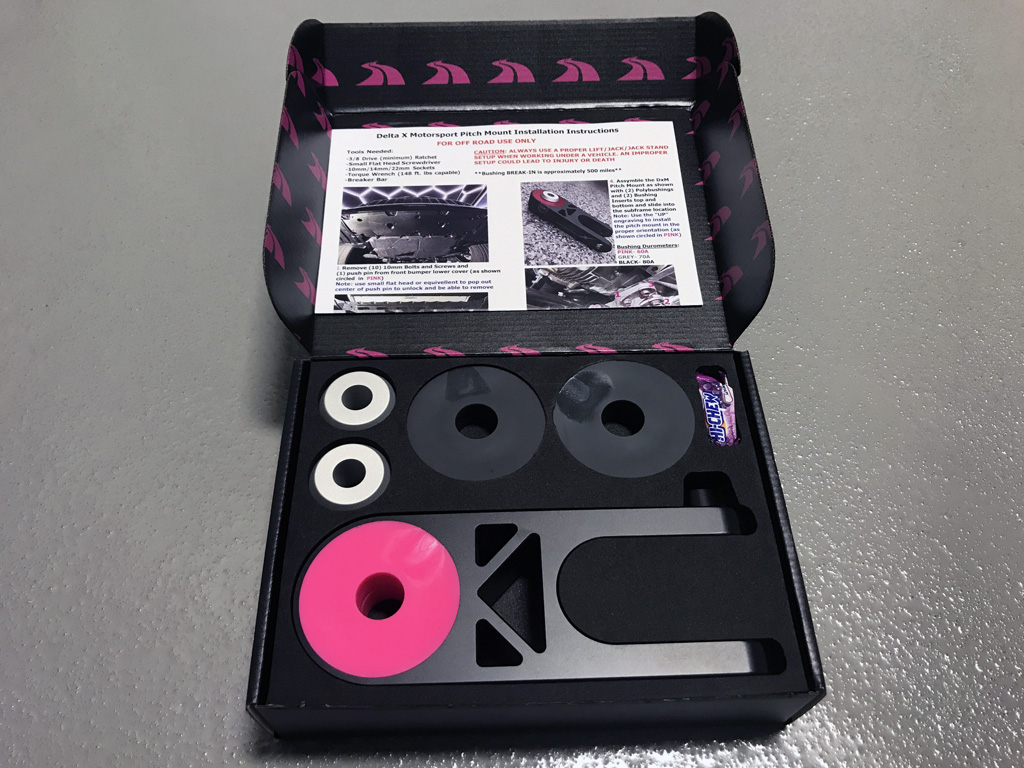
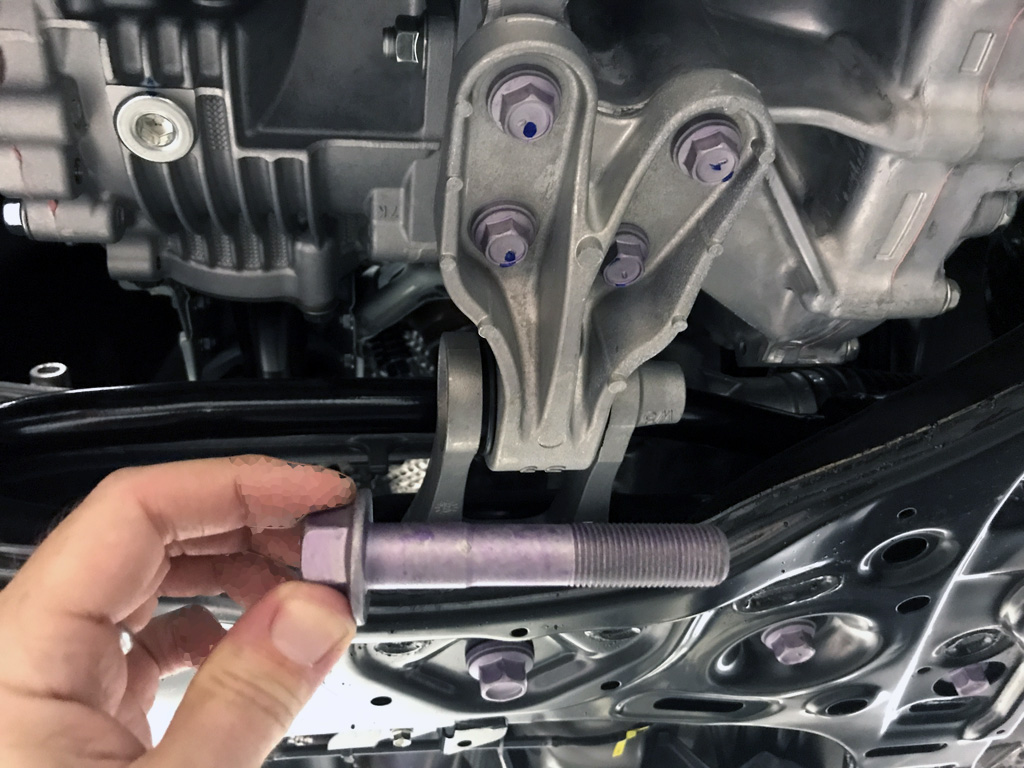
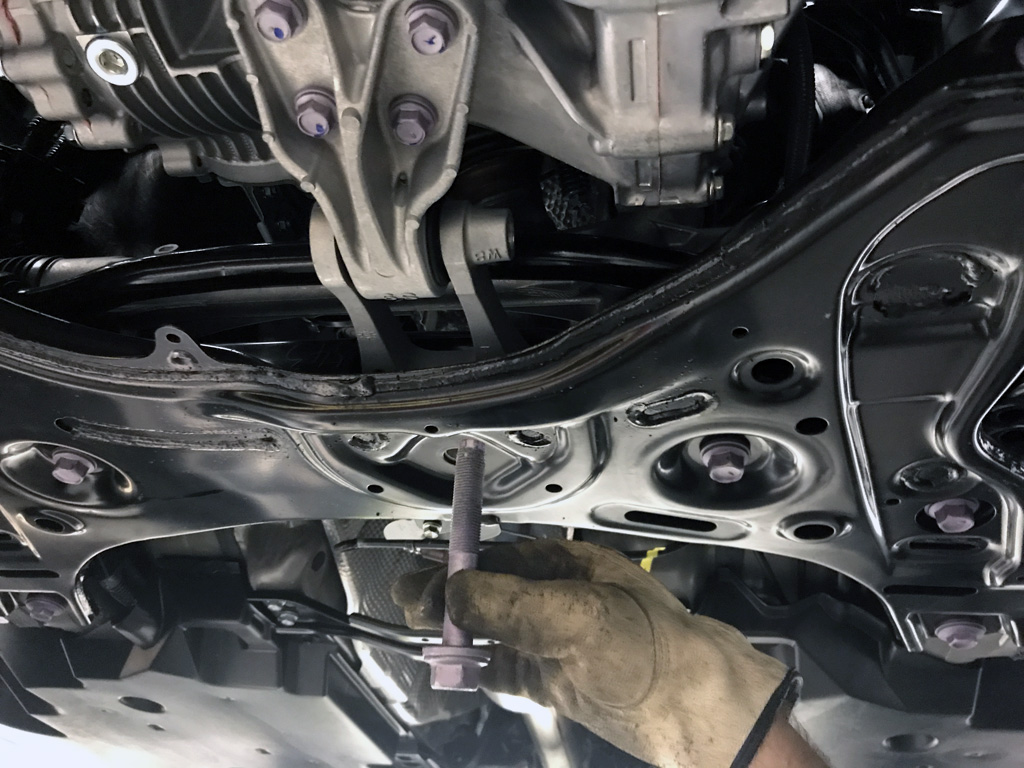
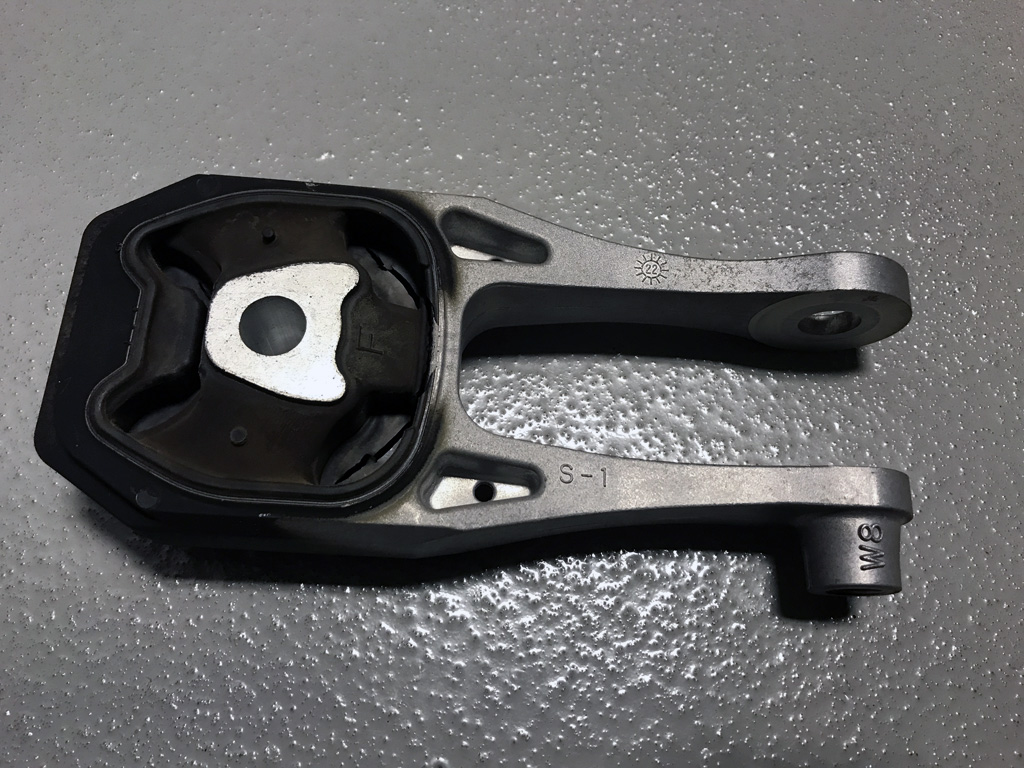
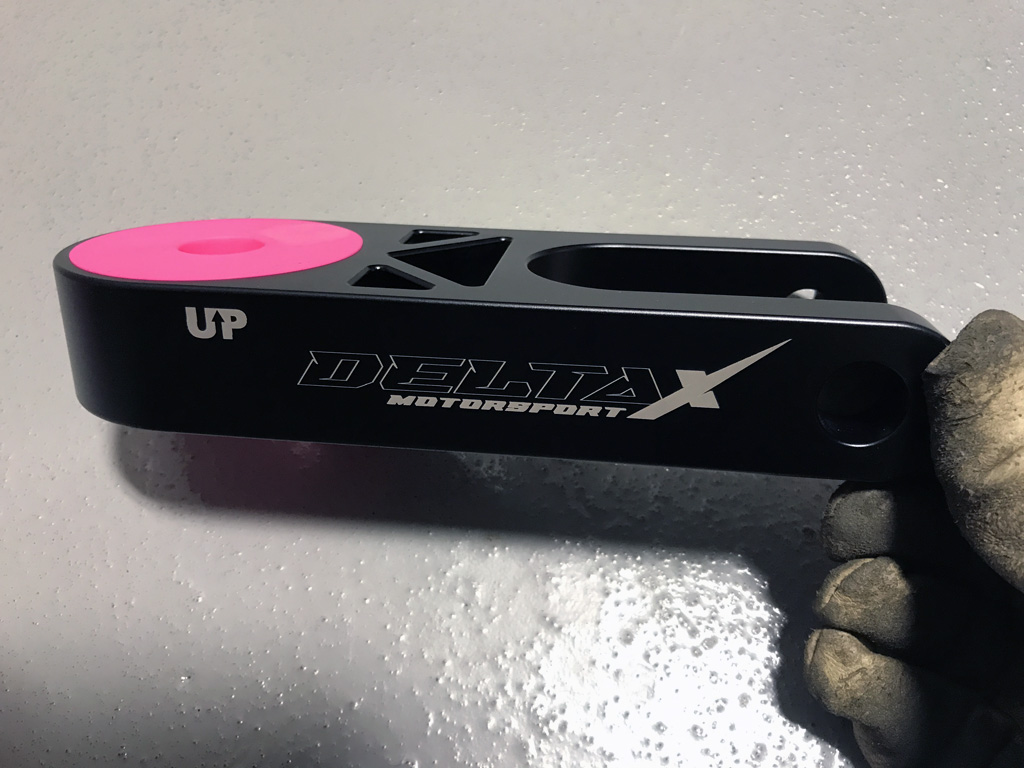
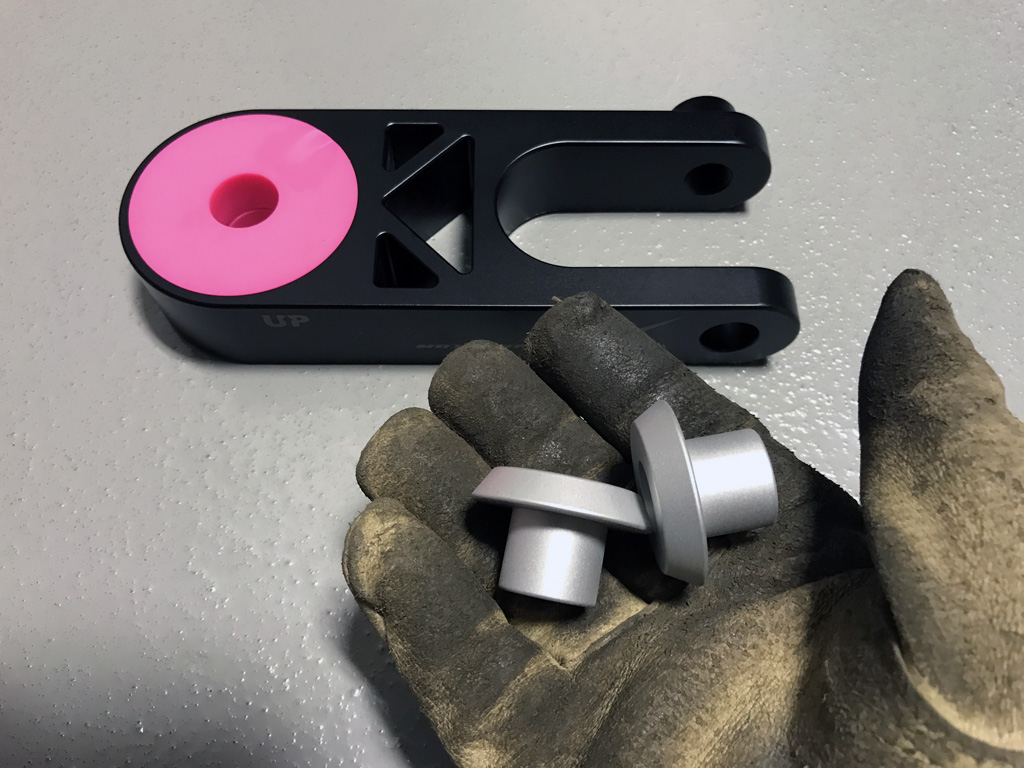
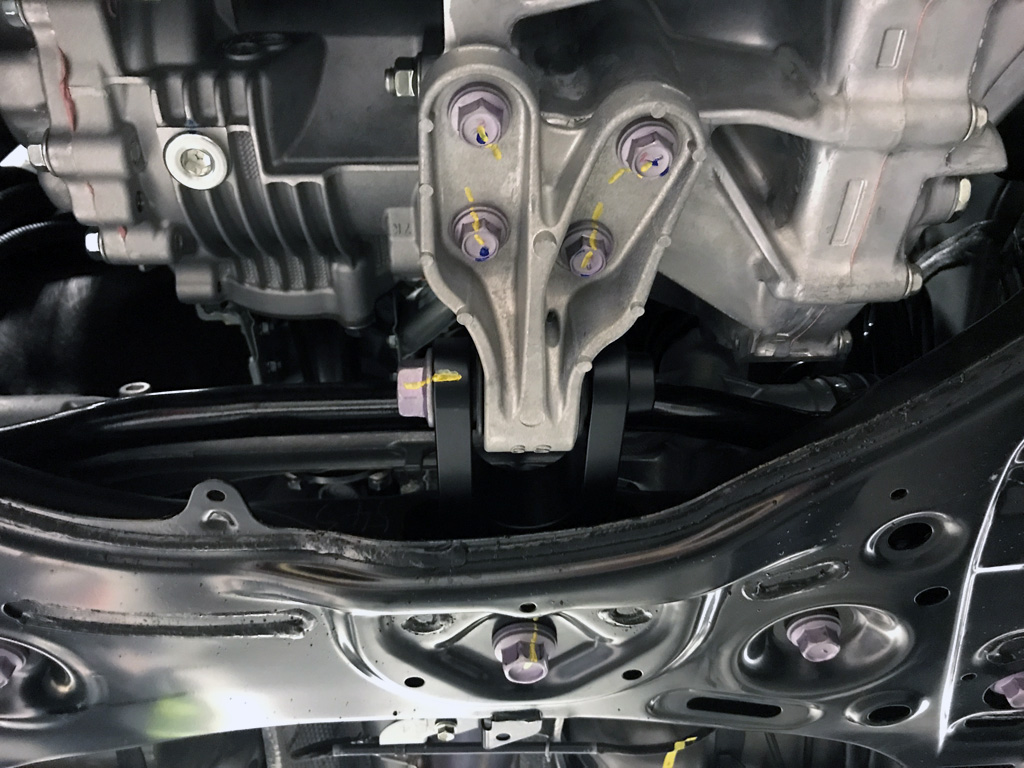
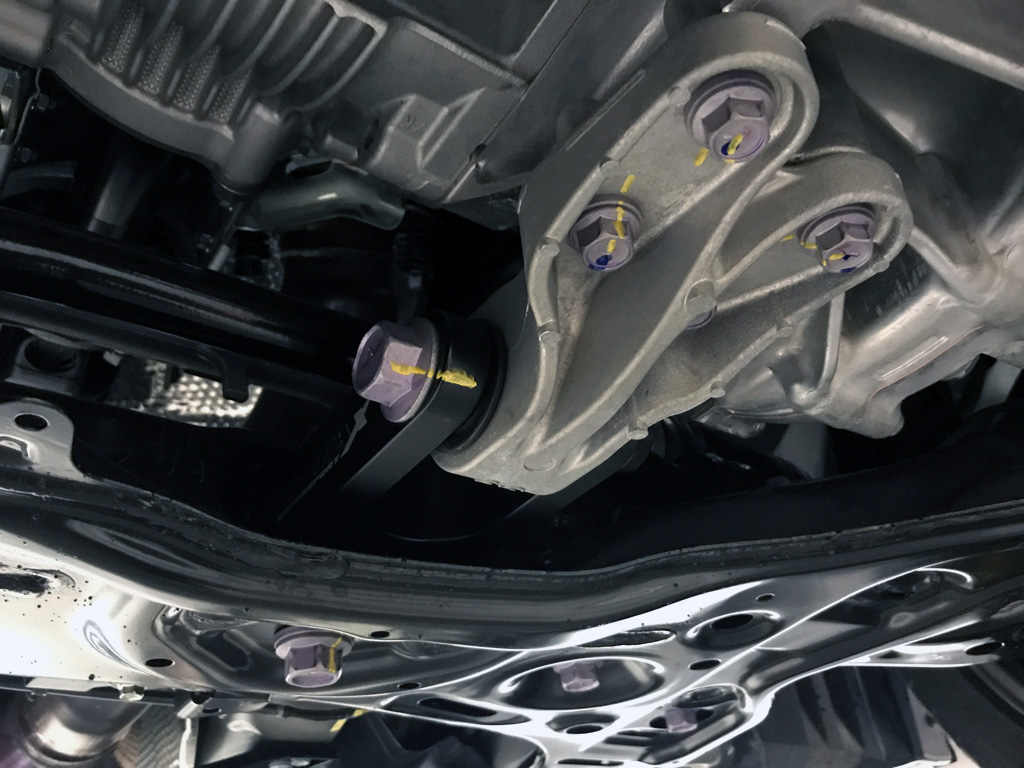
Delta X Motorsport eliminates the rubber bushing in their pitch mount setup by using a machined aluminum piece with a solid polyurethane bushing that is stiffer than stock (durometer 60A, 70A, or 80A). I opted for 60A and 70A variants.
I will try the 60A first.
Date Completed:
02/02/24
Materials:
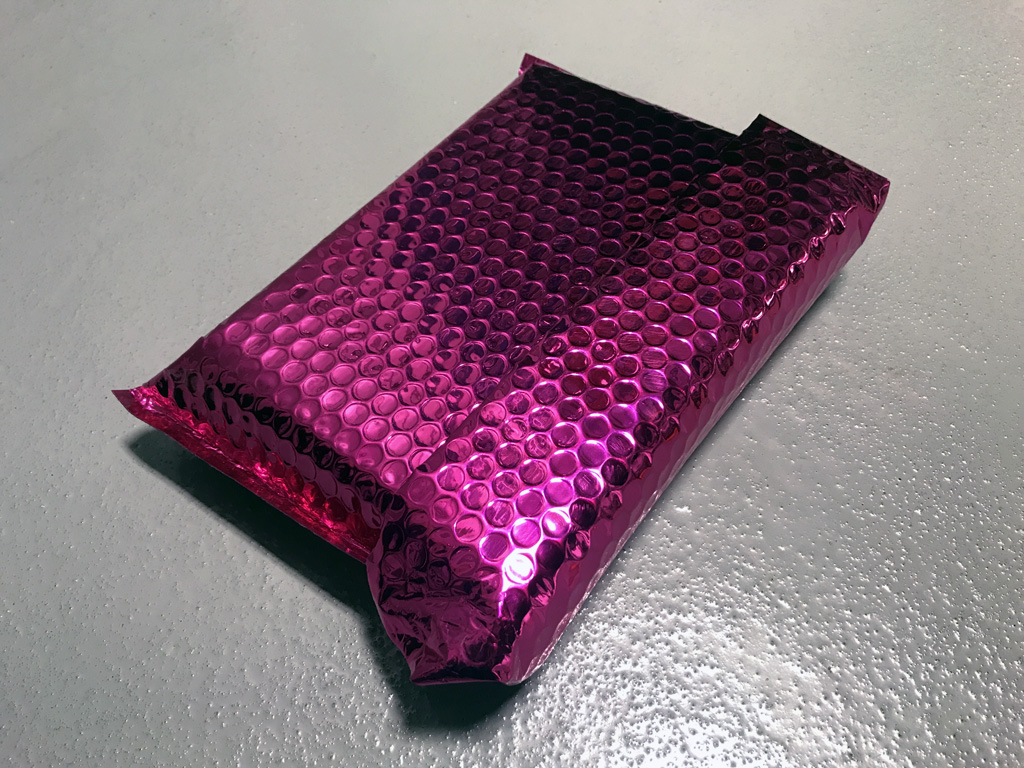
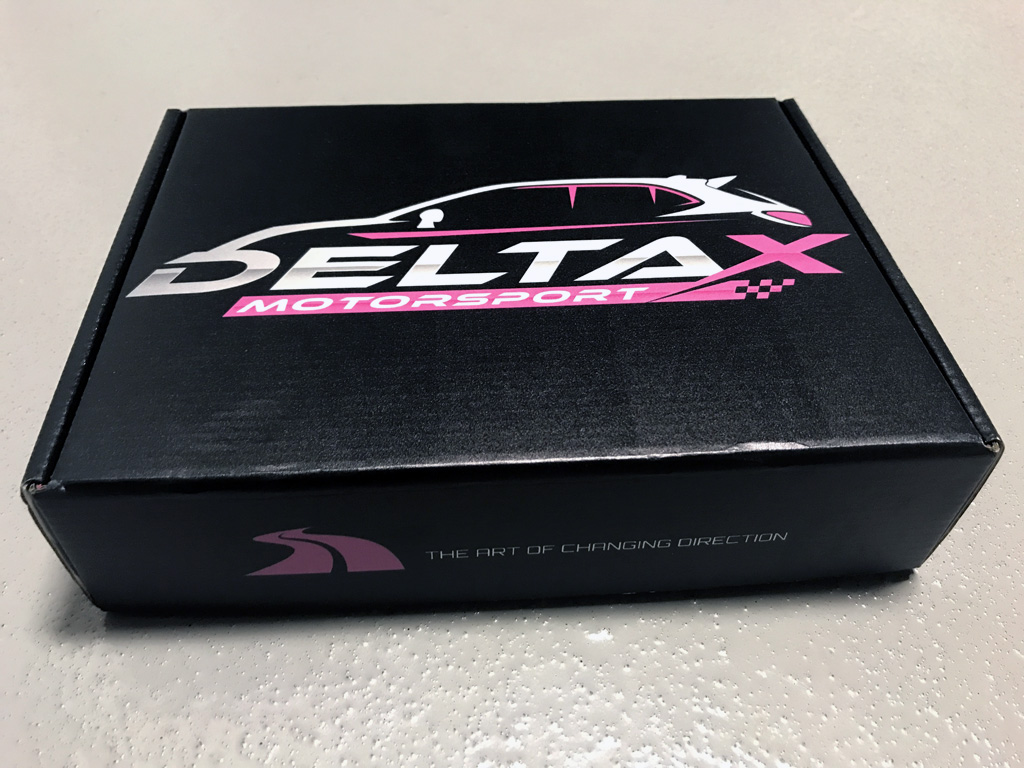
- Delta X Motorsport Pitch Mount
- Paint Pen (optional)
Tools:
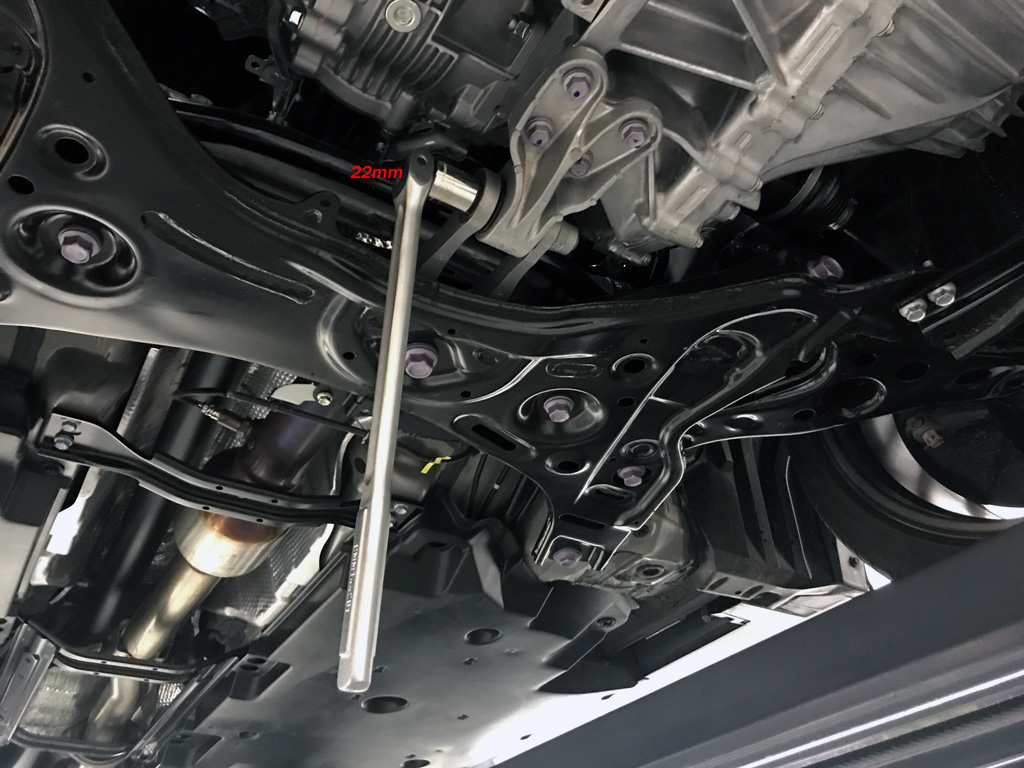
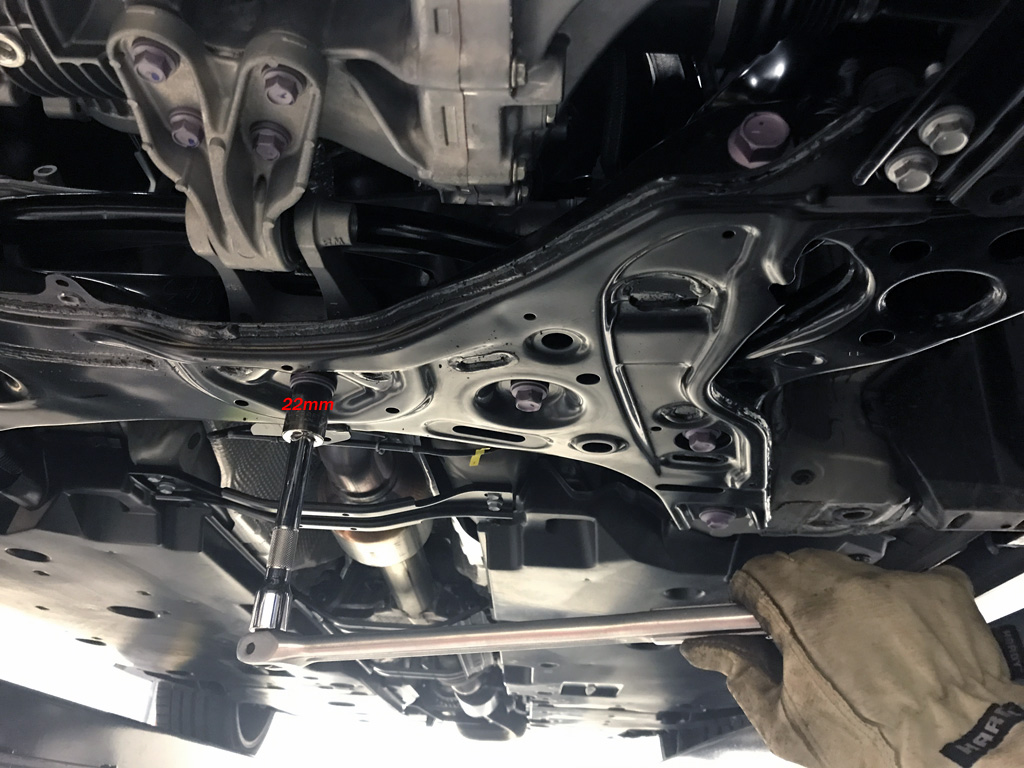
- 1/4", 3/8", 1/2" drive ratchets, a few extensions, sockets (10mm, 14mm, 22mm)
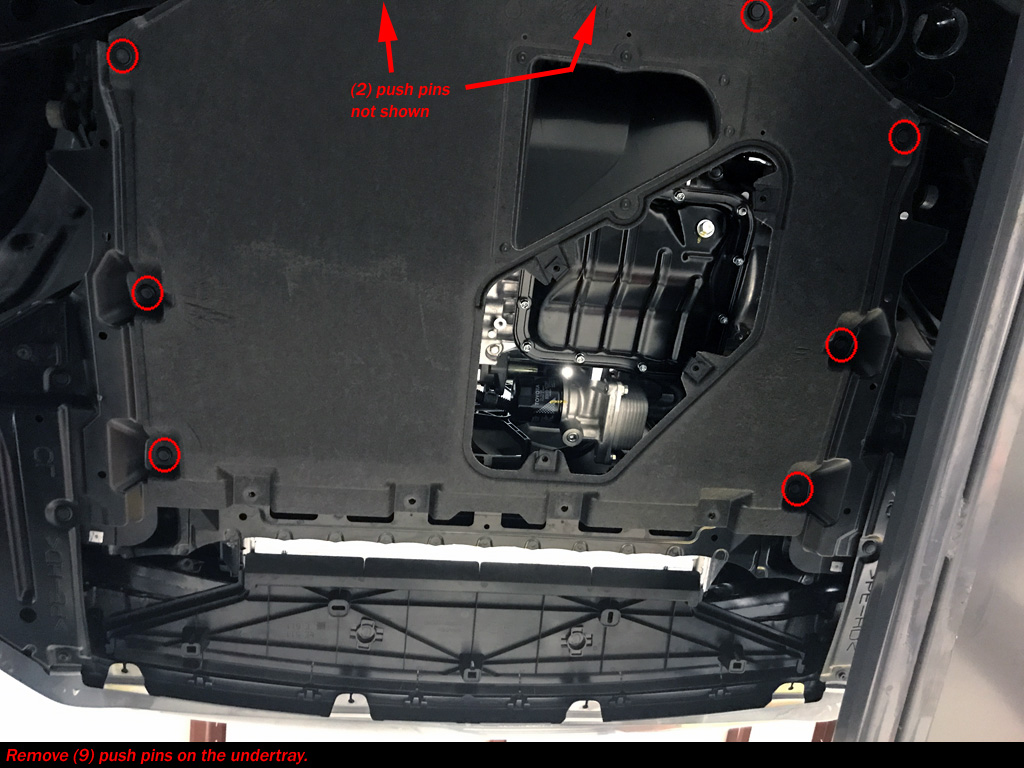
- Small flat-head screwdriver to remove push pins from undertray
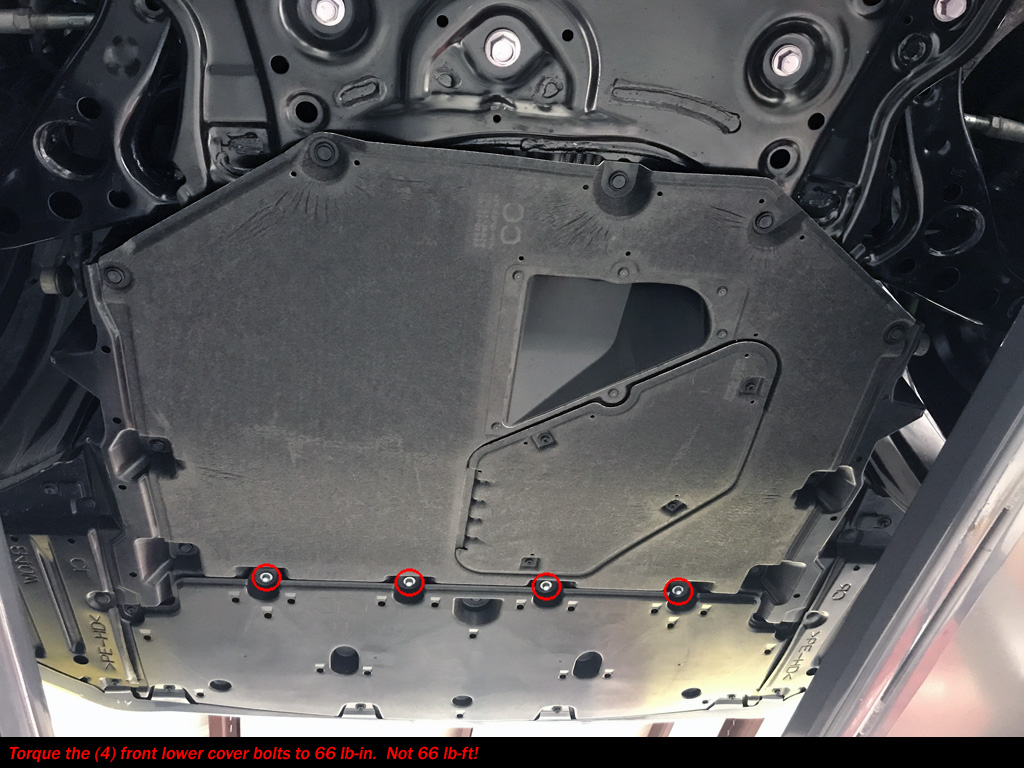
- 1/4" Torque wrench (66 lb-in)
- 3/8" Torque wrench (32 lb-ft)
- 1/2" Torque wrench (125 lb-ft, 148 lb-ft)
- Breaker bar
- Gloves
- 9,000 lb 4-post lift (optional, but highly recommended!)
*A friend for moral support is always optional.
Notes:
1. Less than 1 hour install. I took my time because of taking pictures for this website.
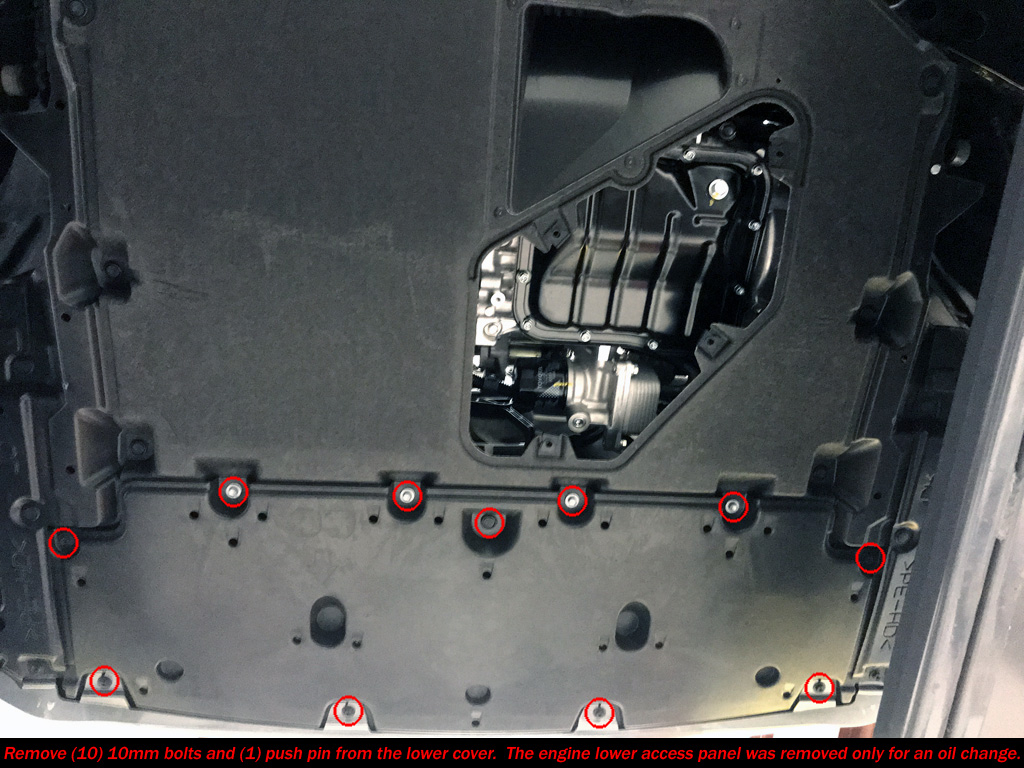
2. Both undertrays have to come off. :) Engine lower access cover was off because I changed the oil just before this install.
3. I recommend doing this swap on a cold engine/exhaust. Otherwise you will get roasted a few times in cramp quarters around the bottom of the engine.
4. Lay everything out as you go (old vs new). Delta X Motorsport instructions are pretty good. If it doesn't fit don't force it.
5. No wiring plugs need to be disconnected for this swap.
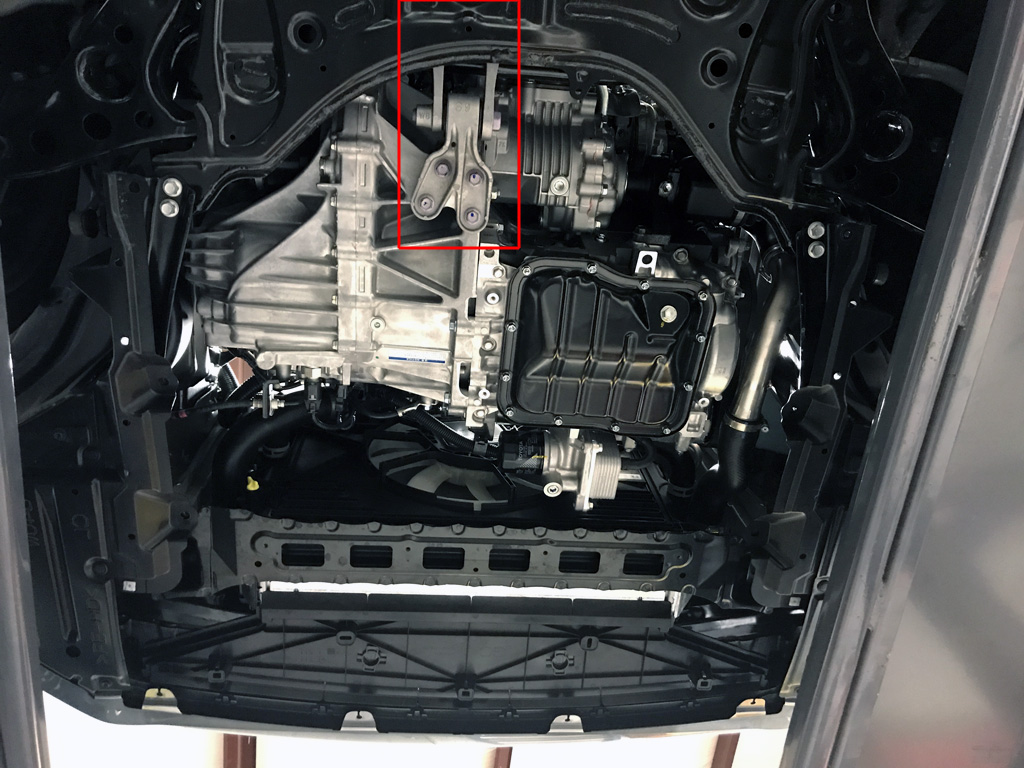
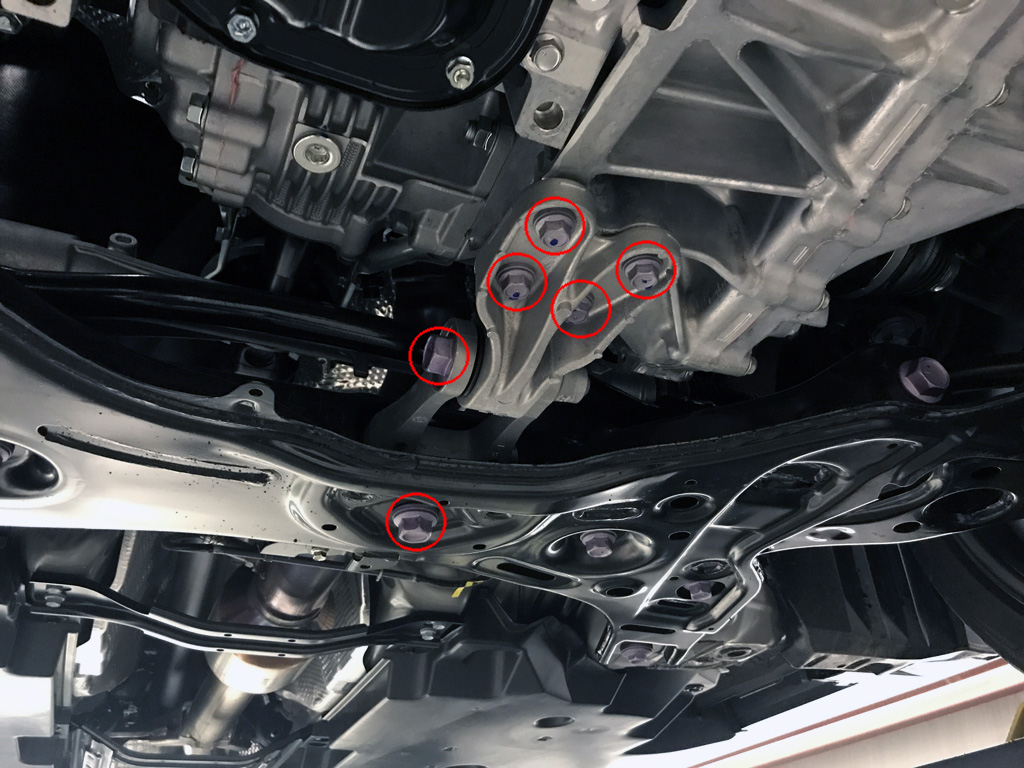
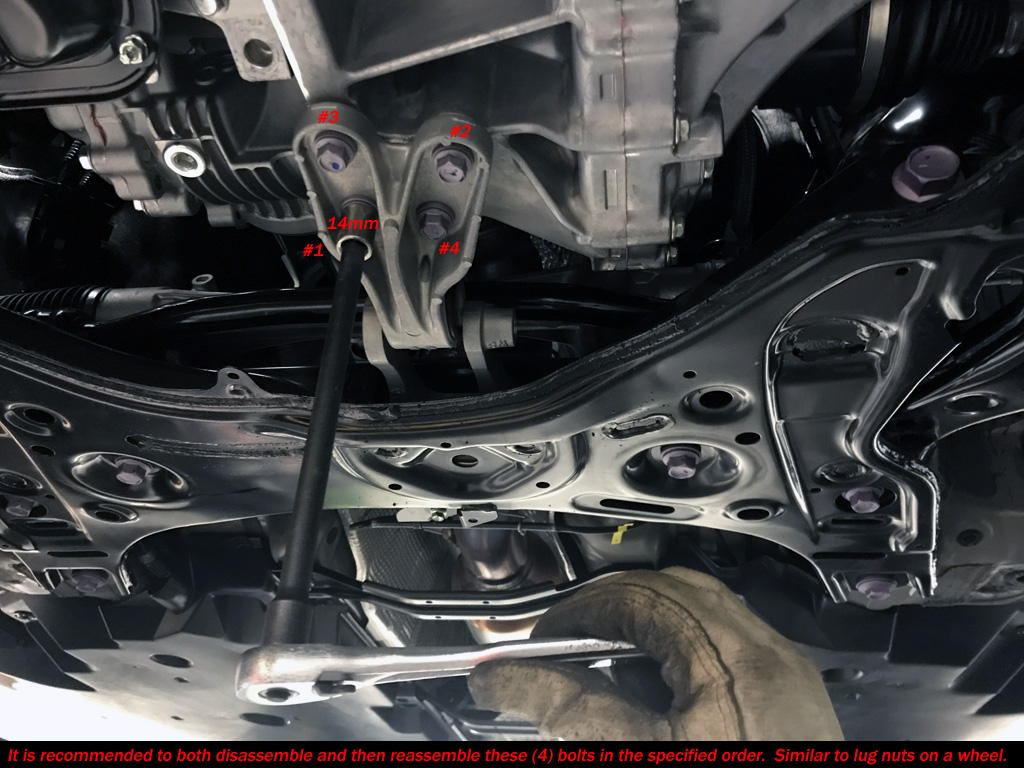
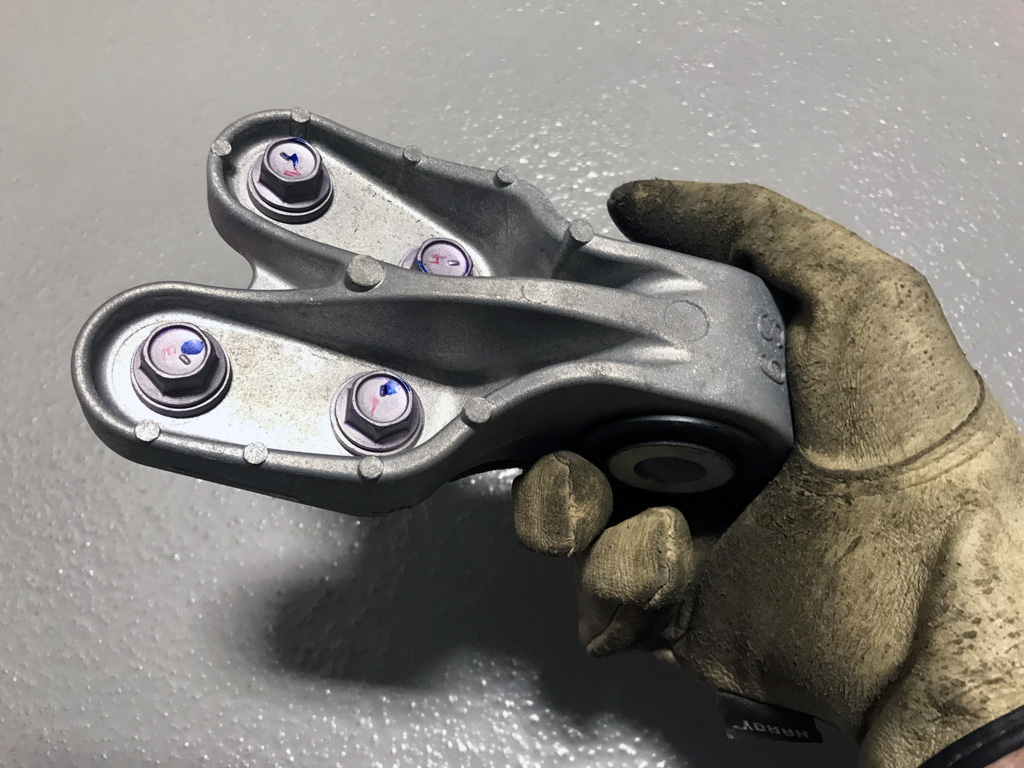
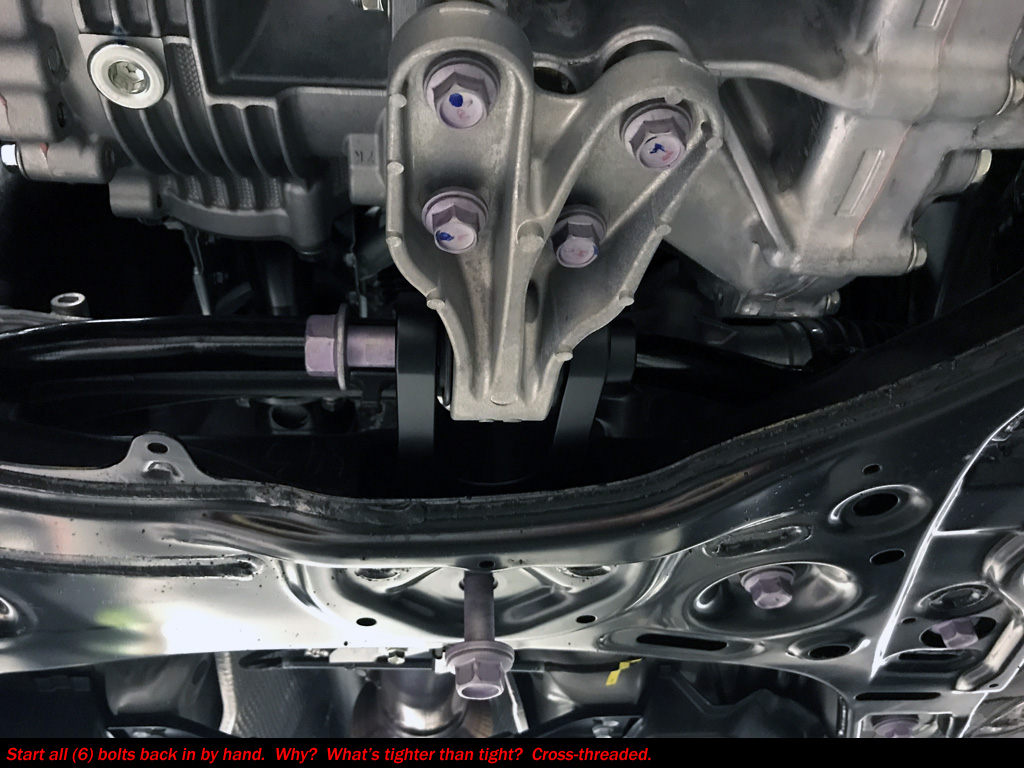
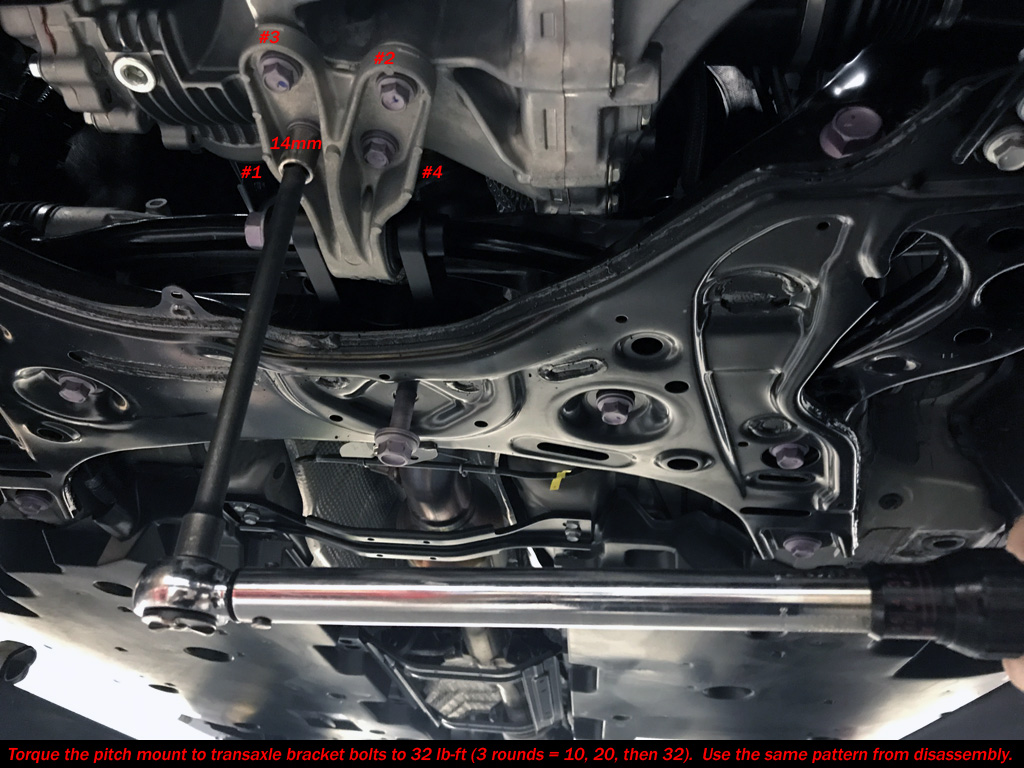
6. There is a specific sequence for removing/installing (4) bolts between the OE pitch mount that is retained to the Transaxle. See photo #13.
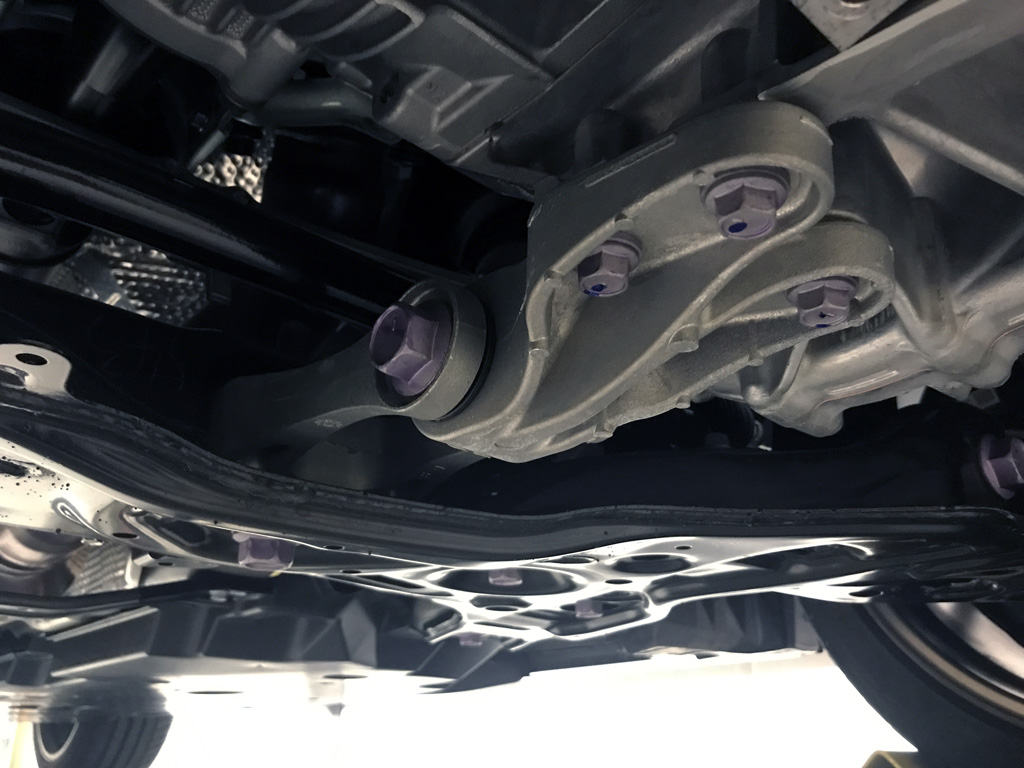
7. I used a paint pen to mark all bolts to indicate if any preload is lost after torquing the fasteners.
8. Reversible back to stock.


|