
modifications > LED Rear Bumper Reflectors
Why did you install LED Rear Bumper Reflectors in your GR?
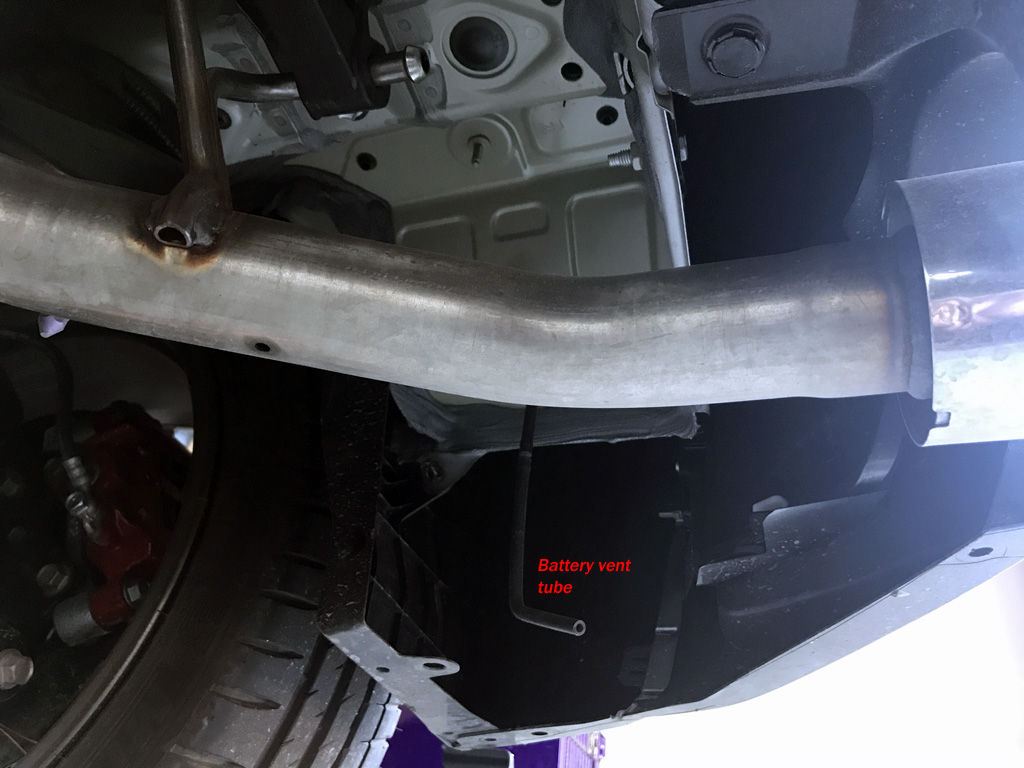
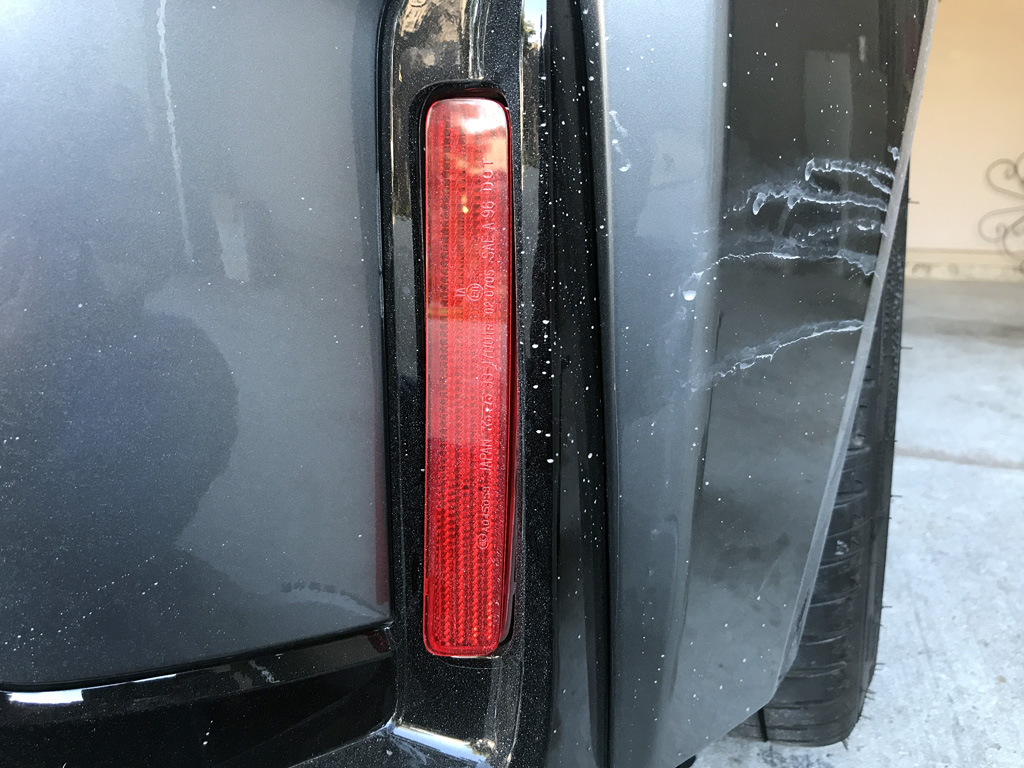
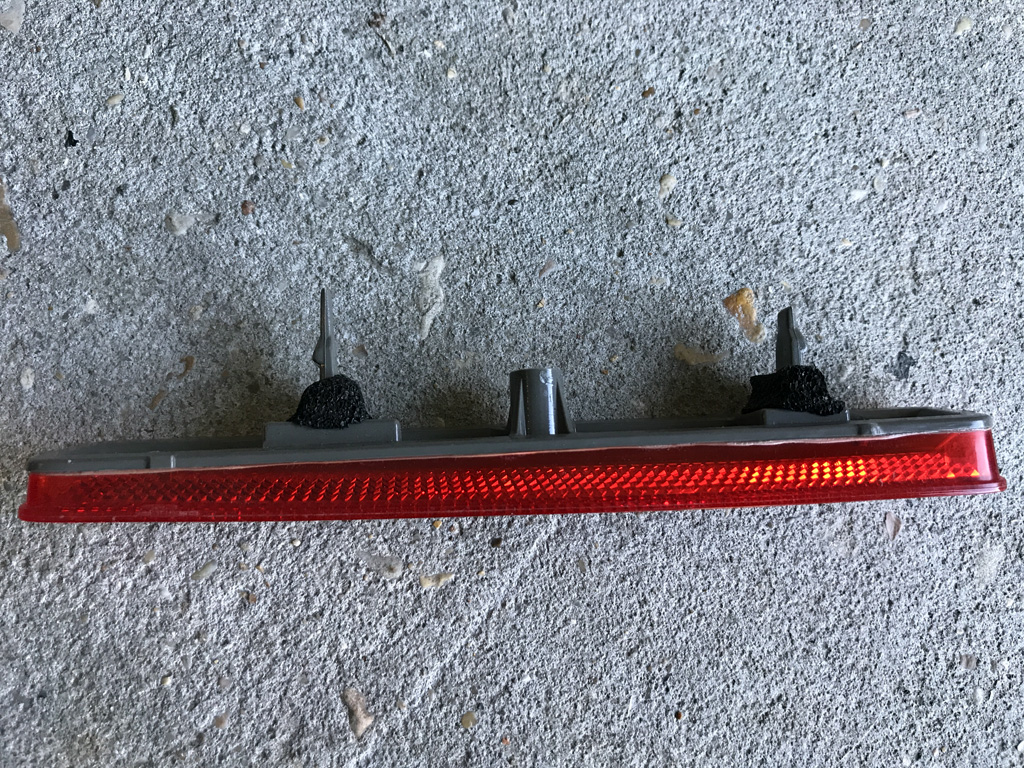
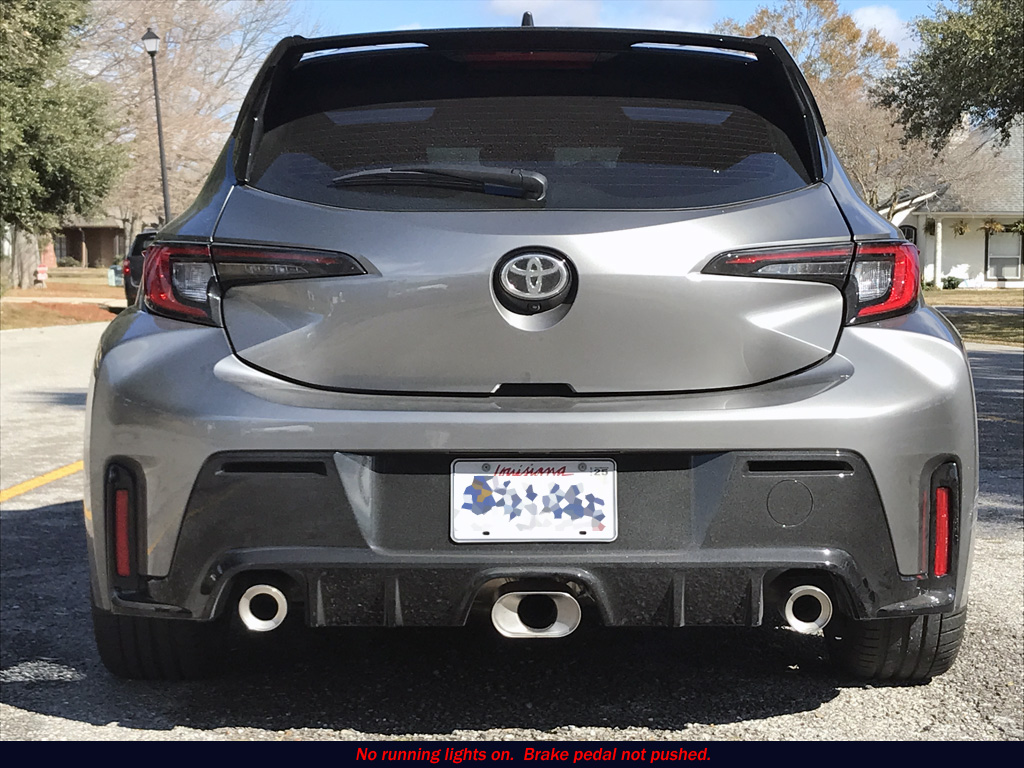
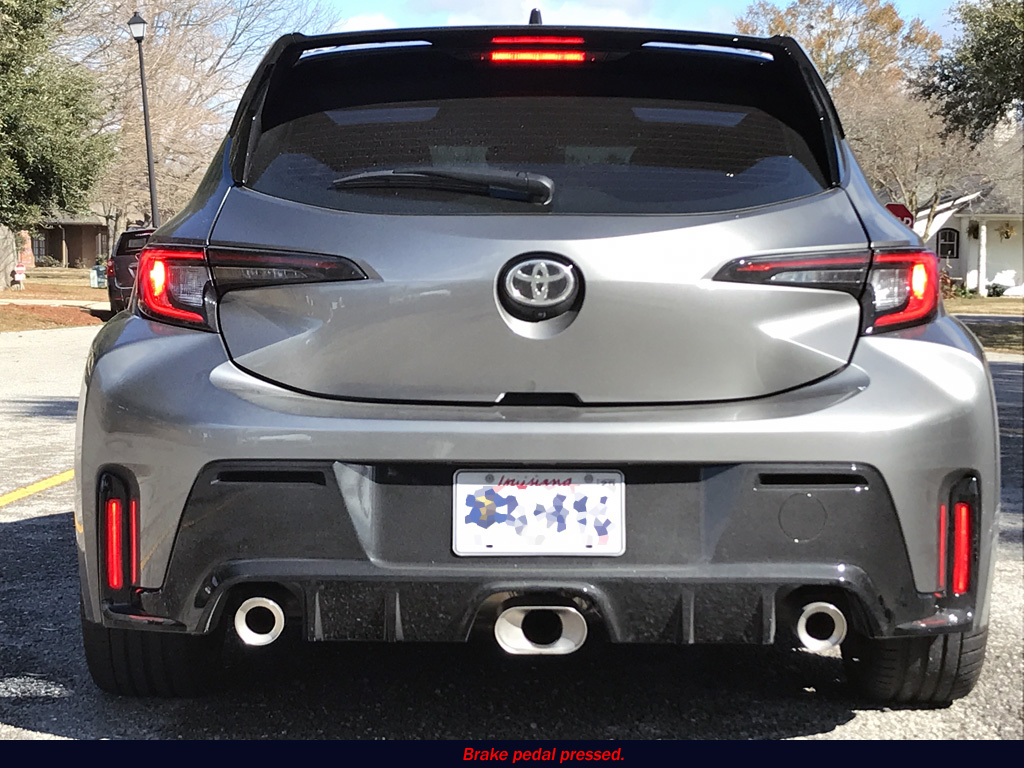
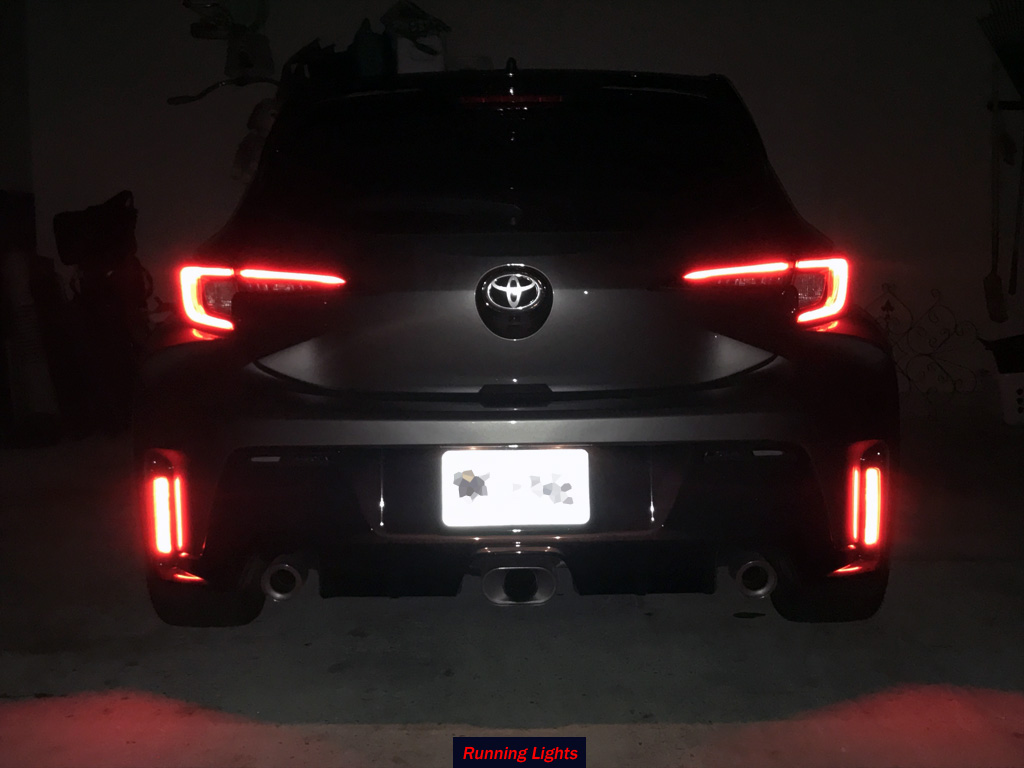
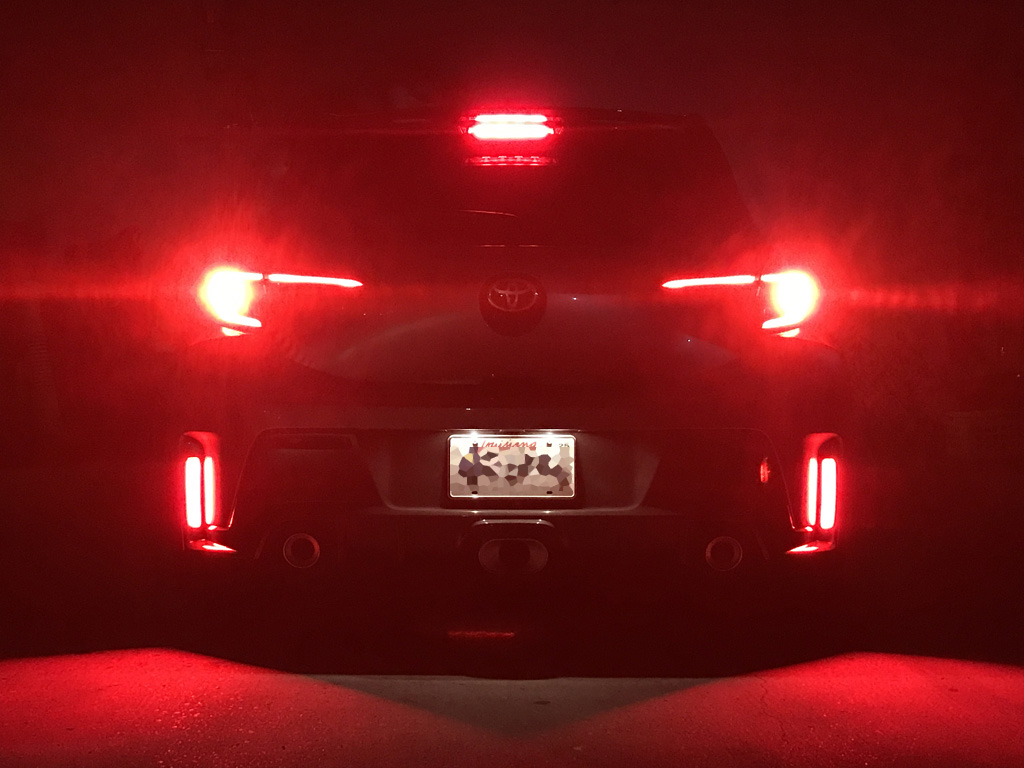
All new vehicles sold in recent time have reflectors somewhere in the rear bumper as part of DOT standards. The reflectors aid in notifying drivers that a vehicle is in front of them whether the lights are on or not. I stumbled upon several
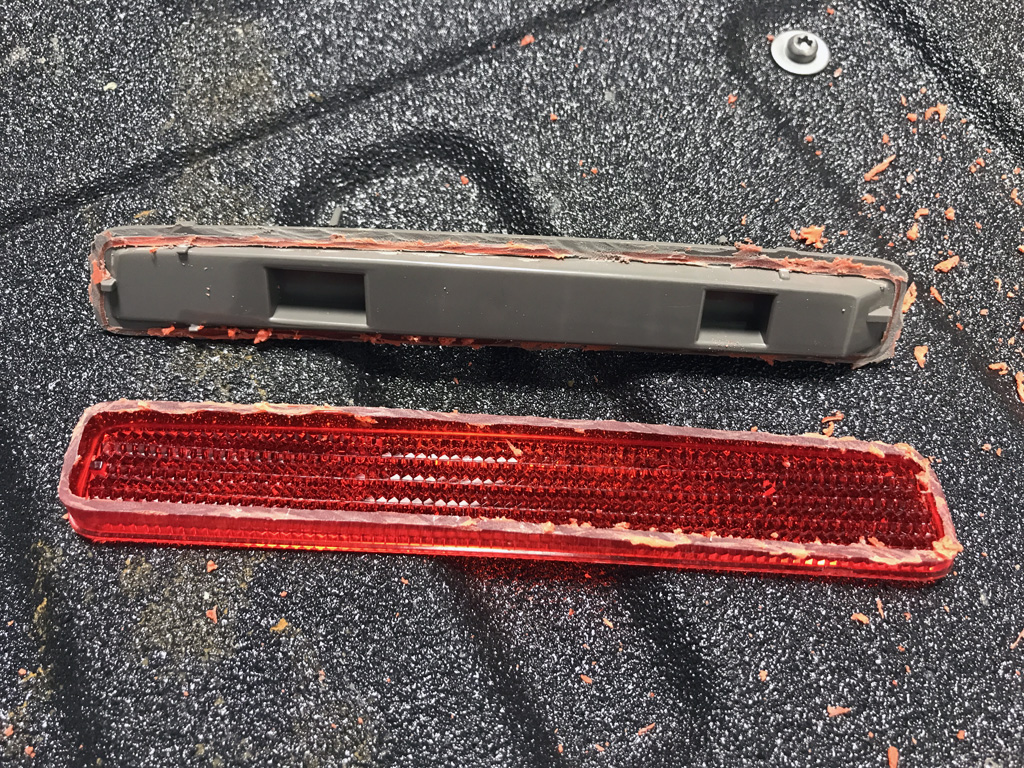
YouTube videos where people have been cutting the factory reflectors open, installing LED strips, and sealing them back up. They then connect the LED strip to the rear taillight harness. You have the option of having the LED strip in each reflector
be a running light, brake light, and a turn signal.
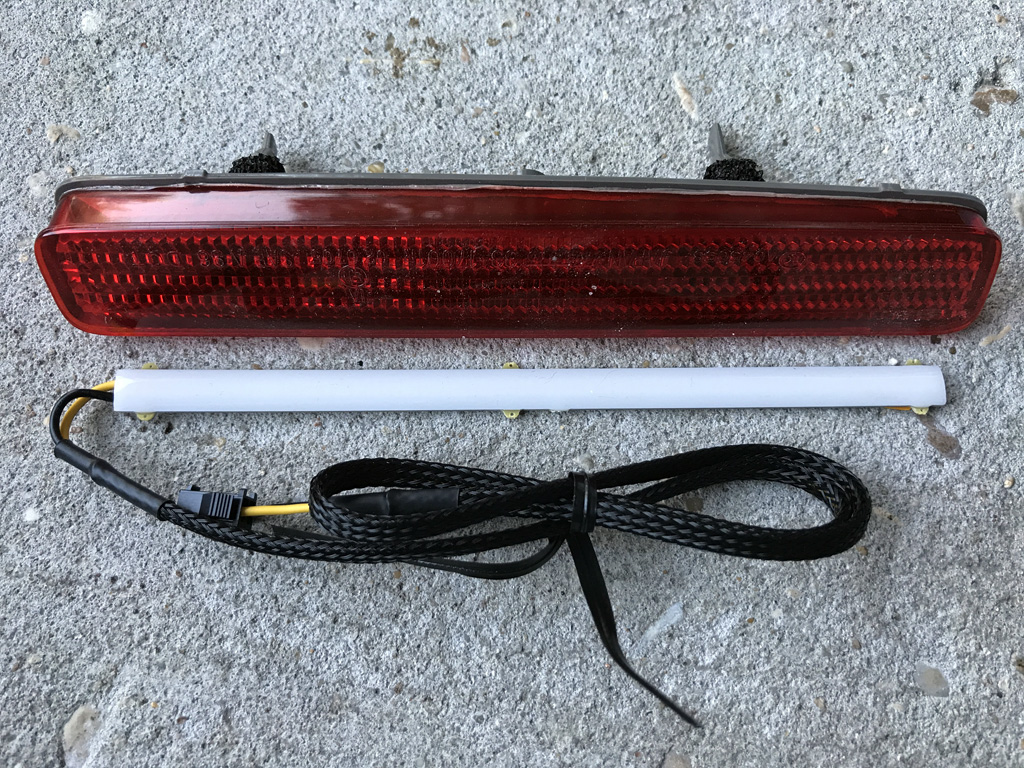
A few folks on the GR Corolla Forum found several of these LED strip solutions. I ordered a replacement rear bumper reflector LED kit off Amazon, but I ended up returning
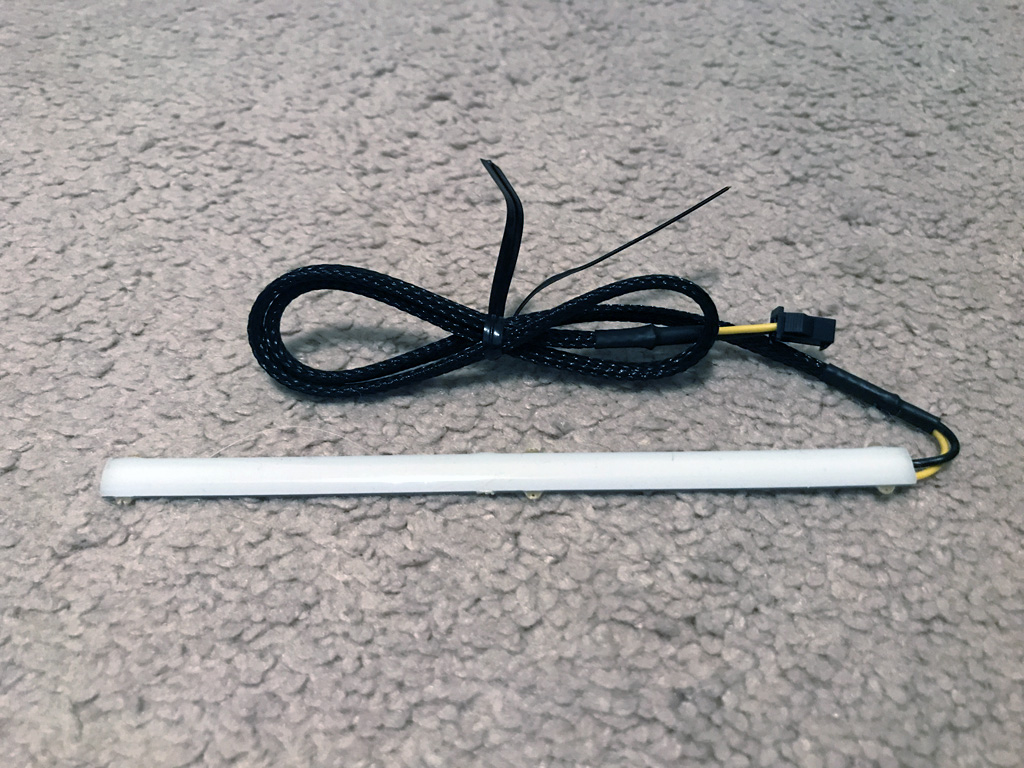
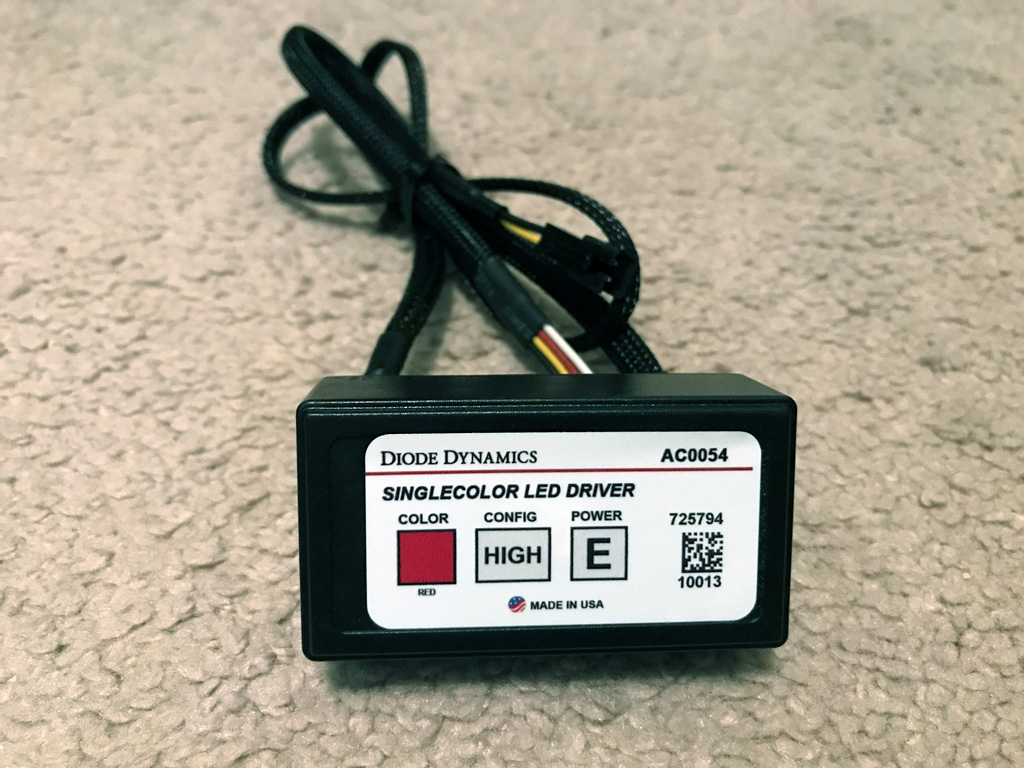
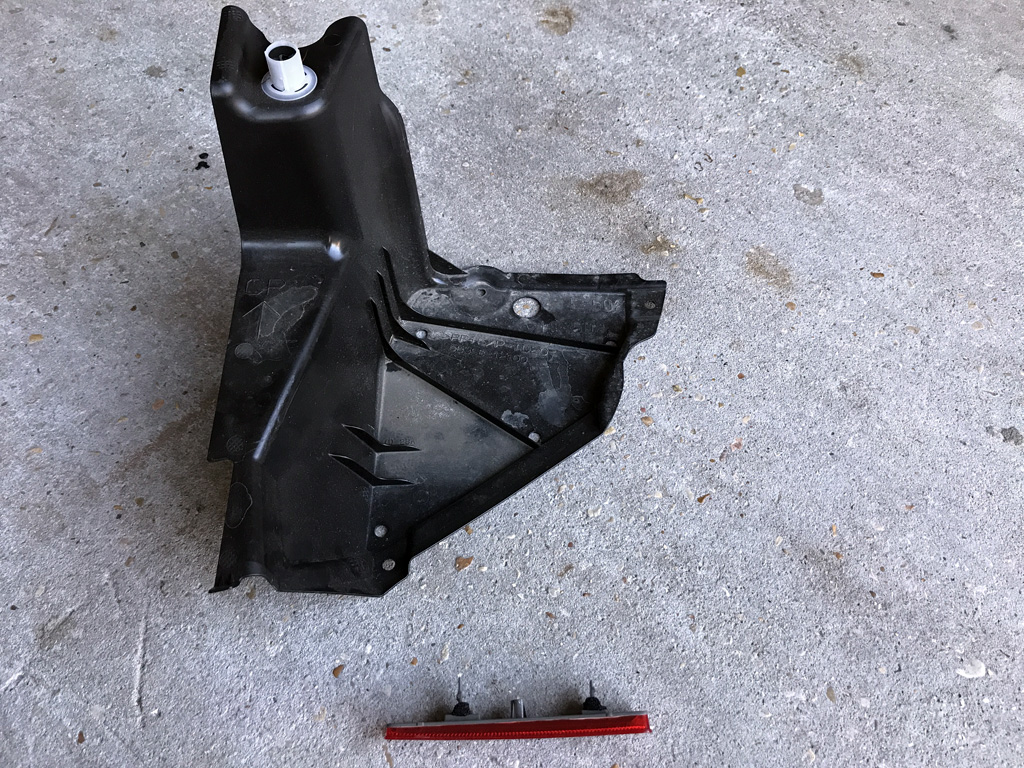
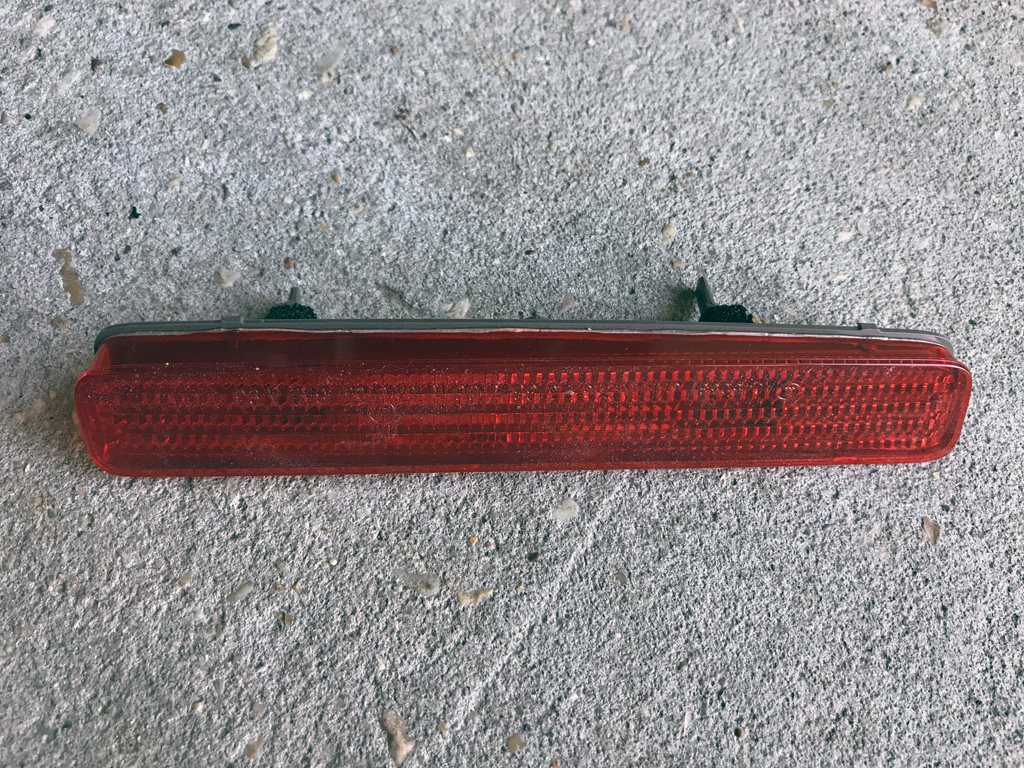
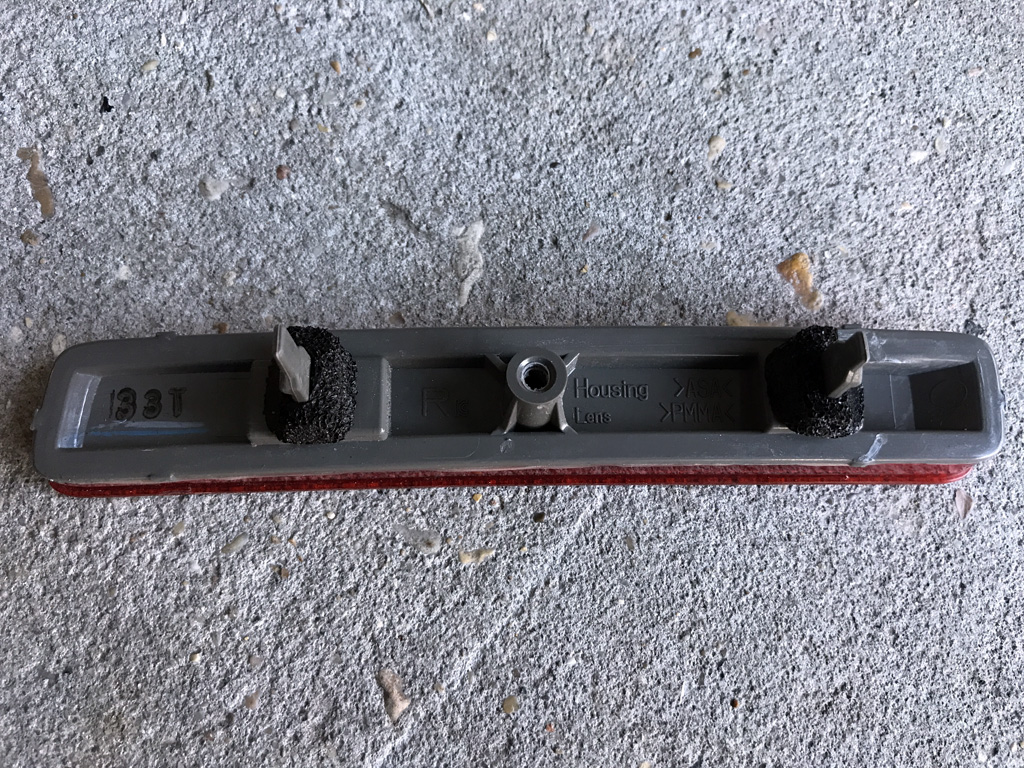
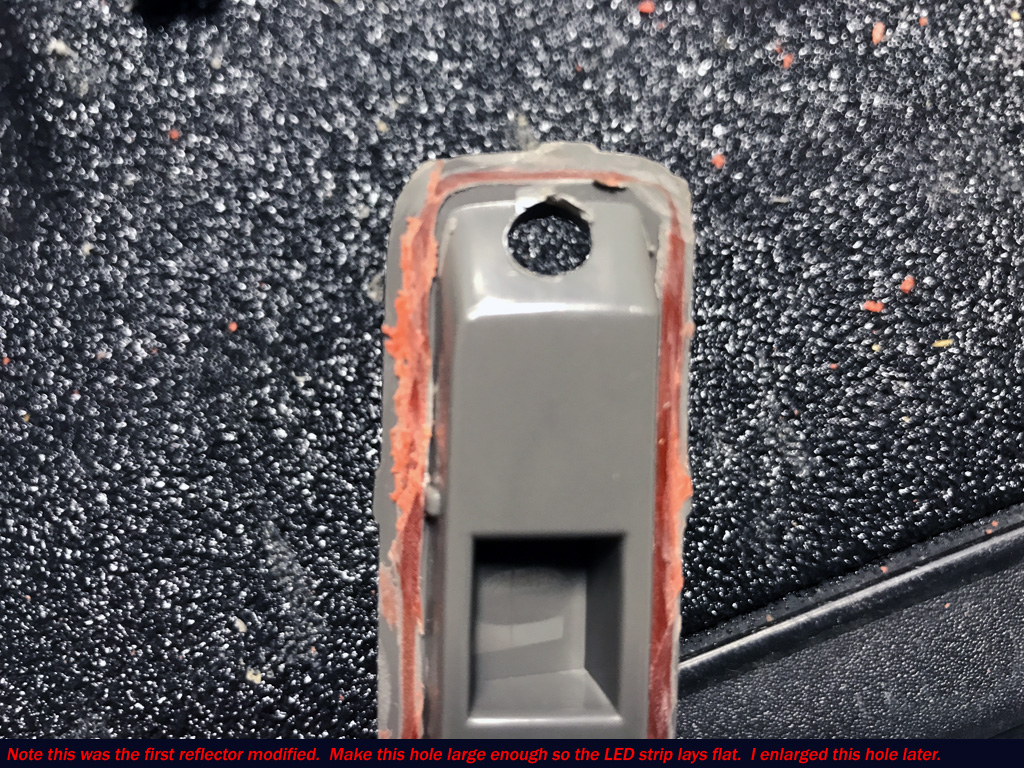
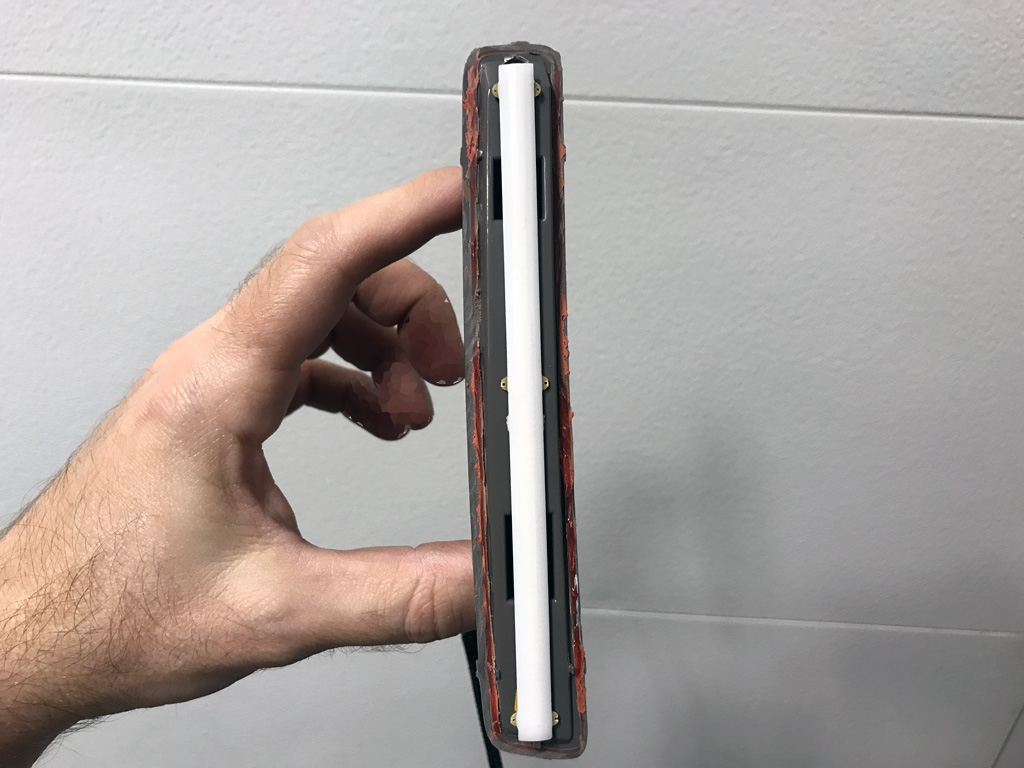
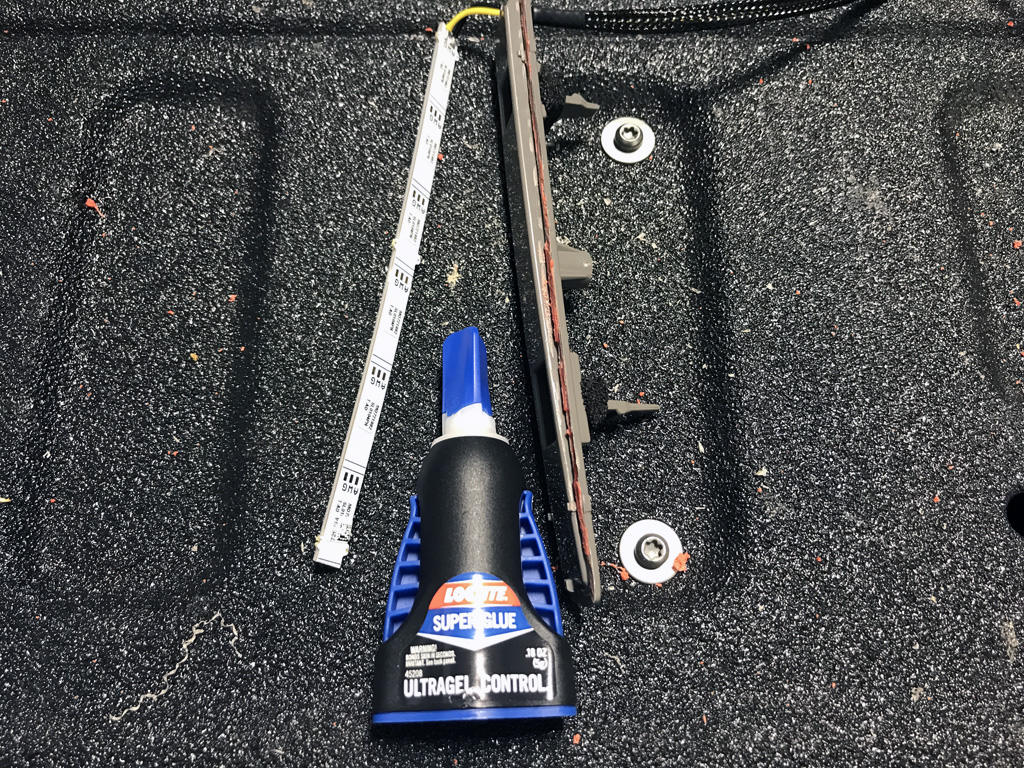
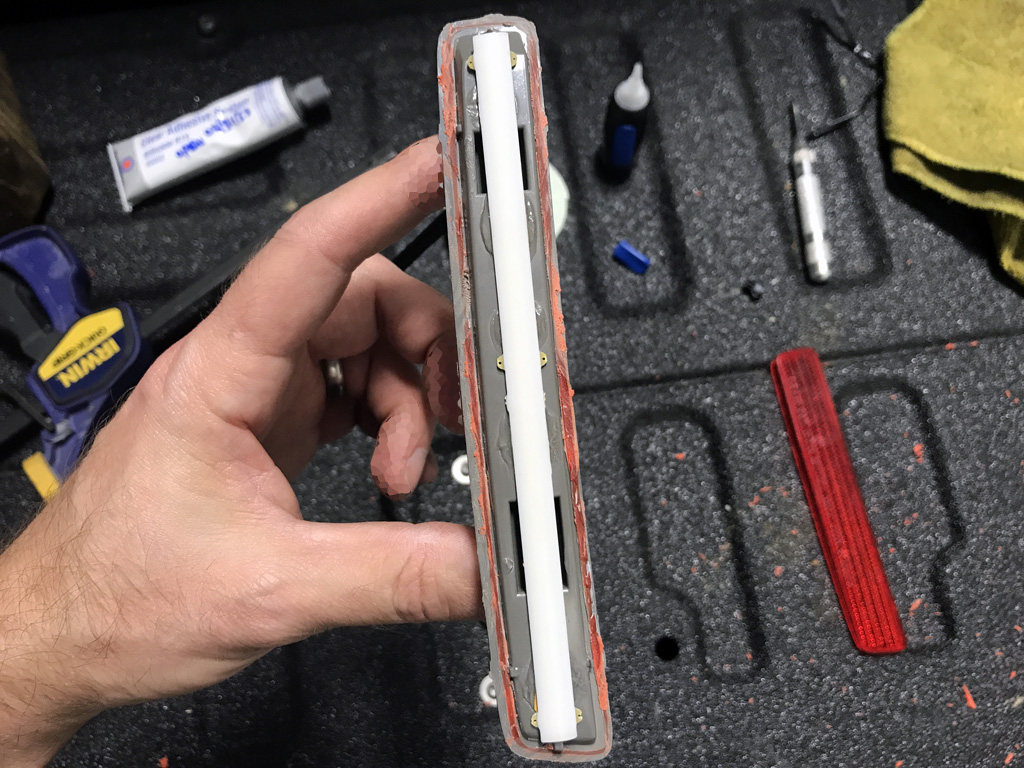
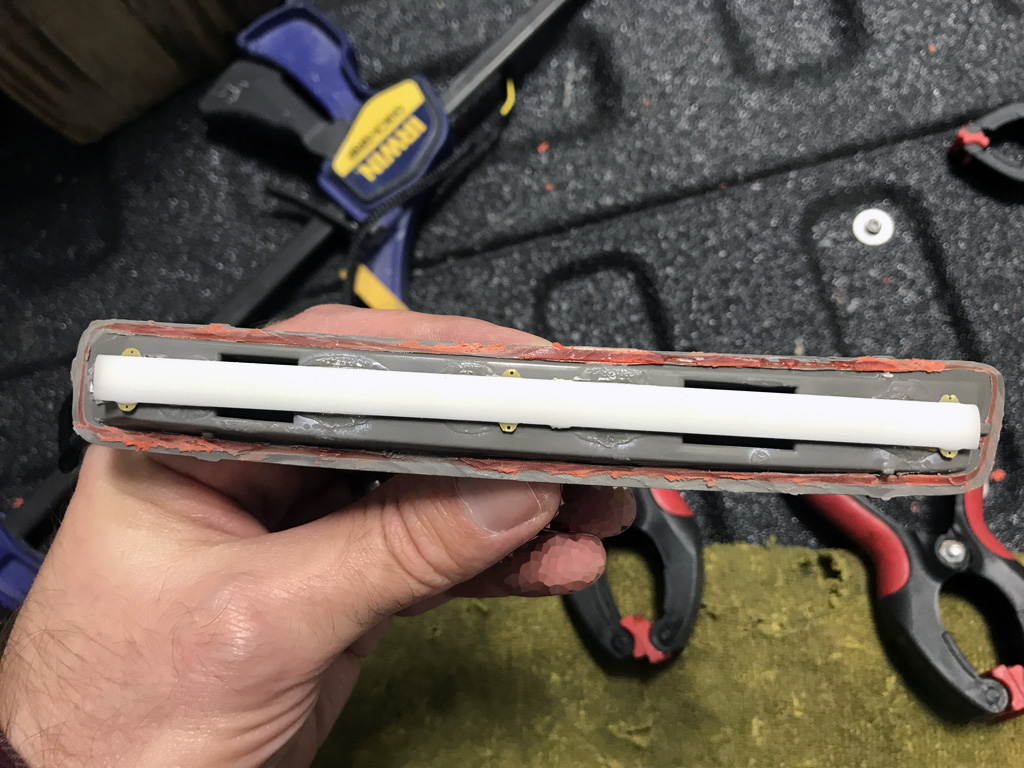
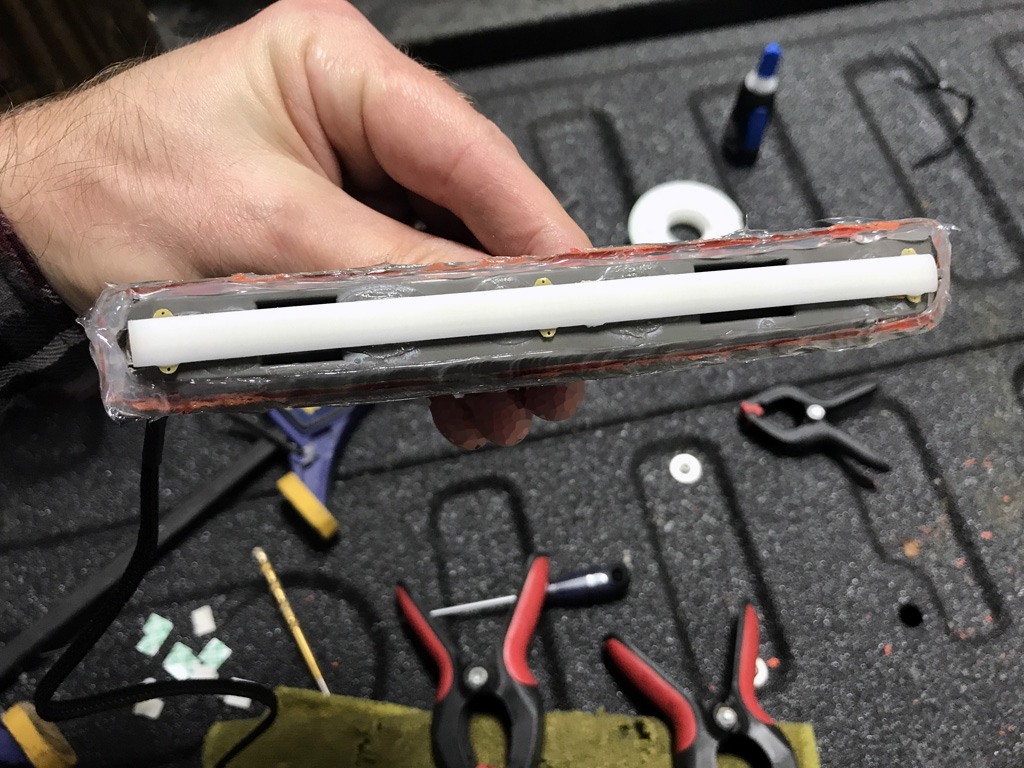
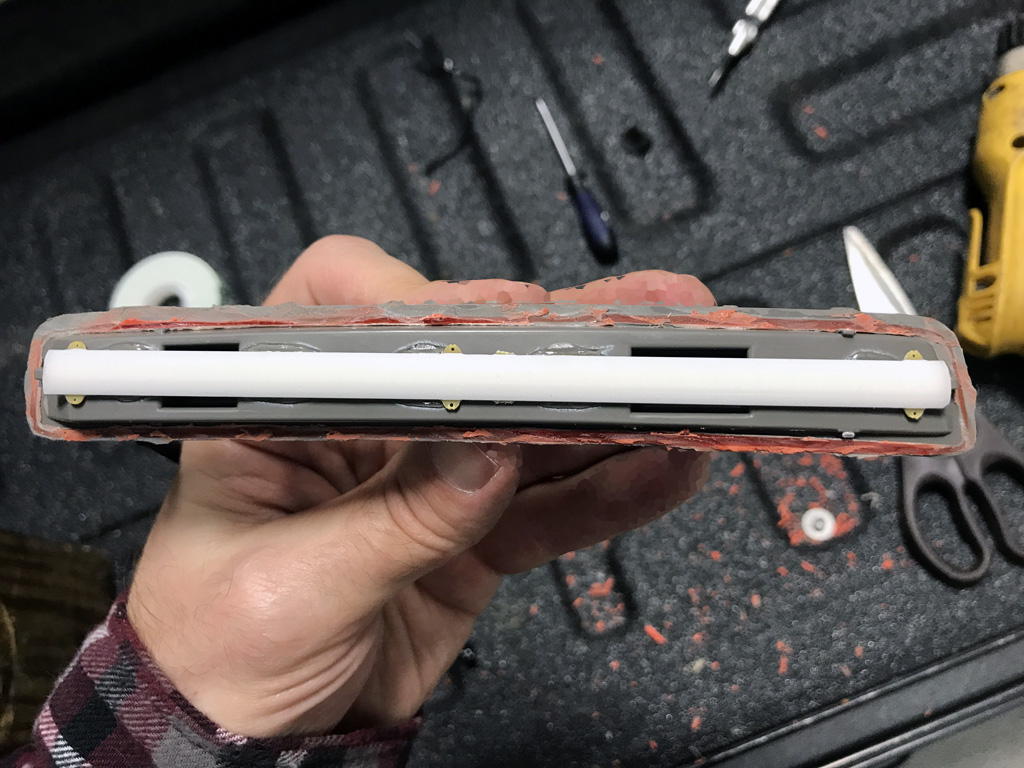
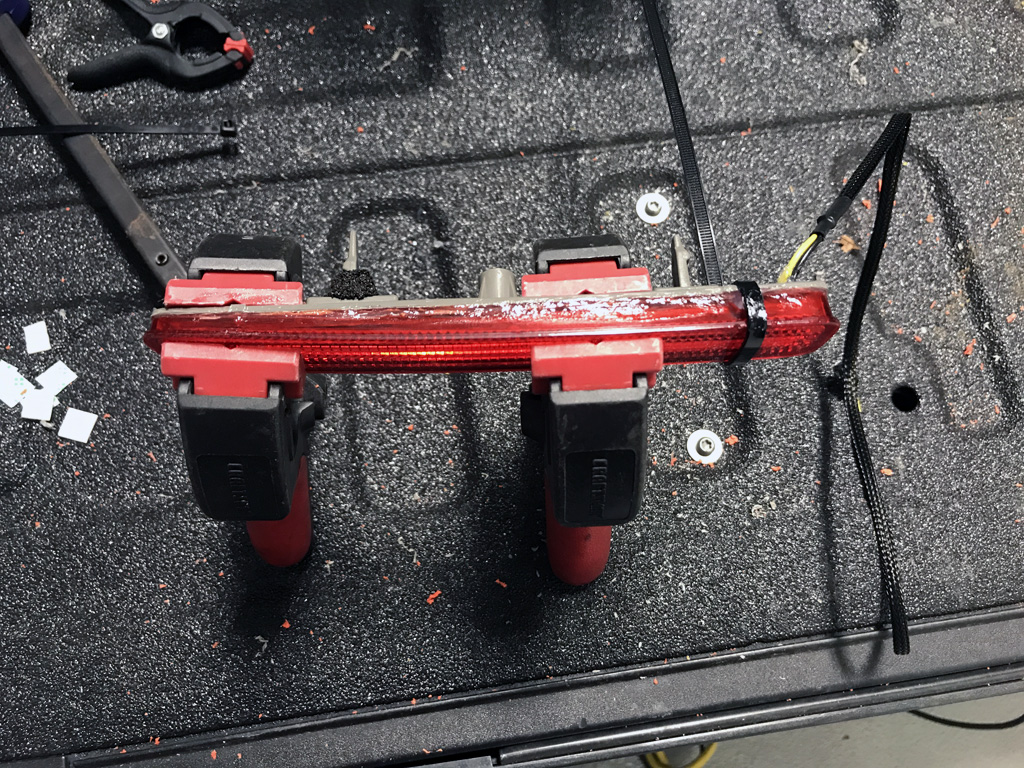
it because reviews showed the LED strips burn out after a short time. For a more long term solution, I purchased a reliable LED strip from Diode Dynamics that includes a 3-year warranty. I removed my factory rear bumper reflectors, cut them open, glued a
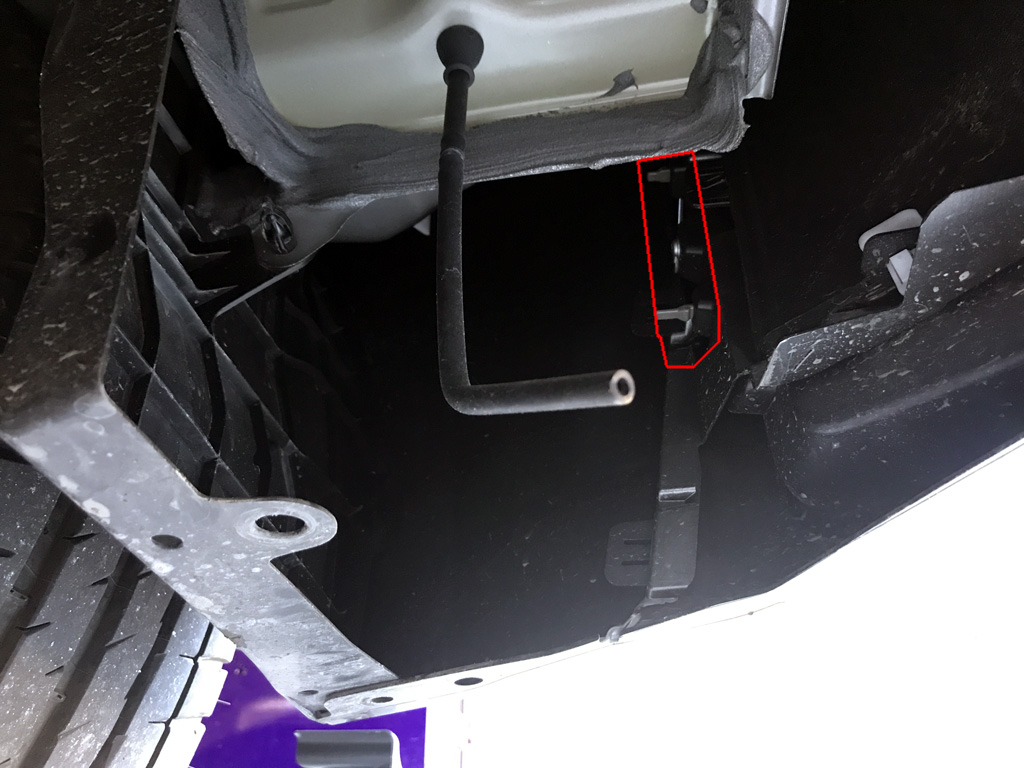
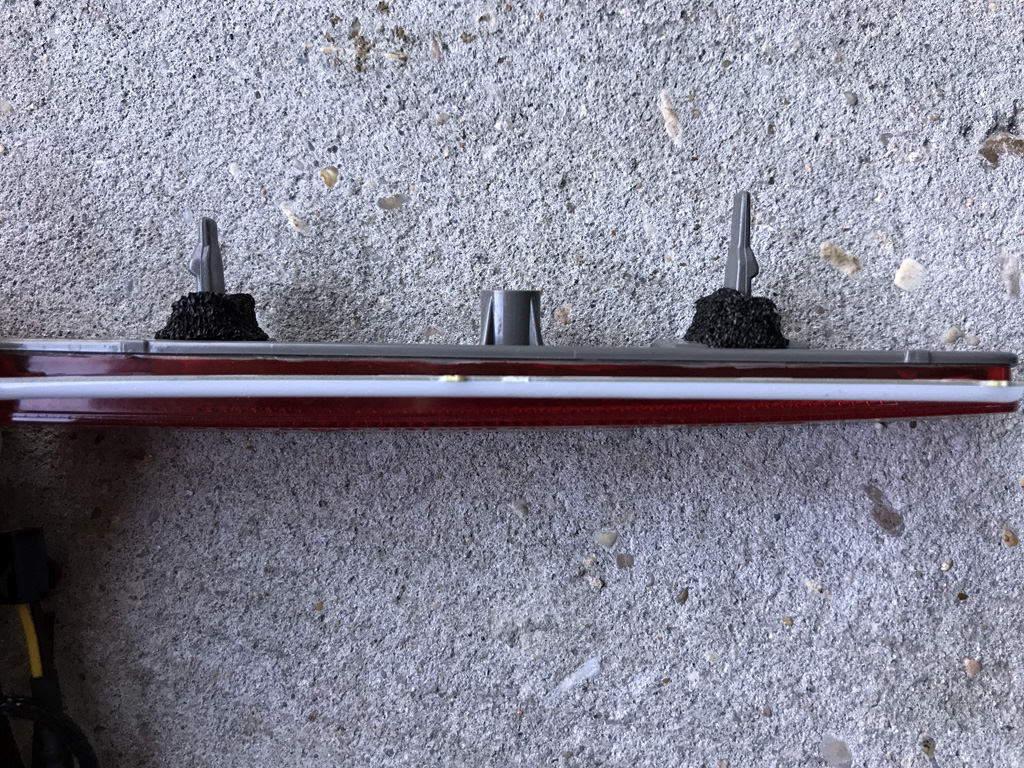
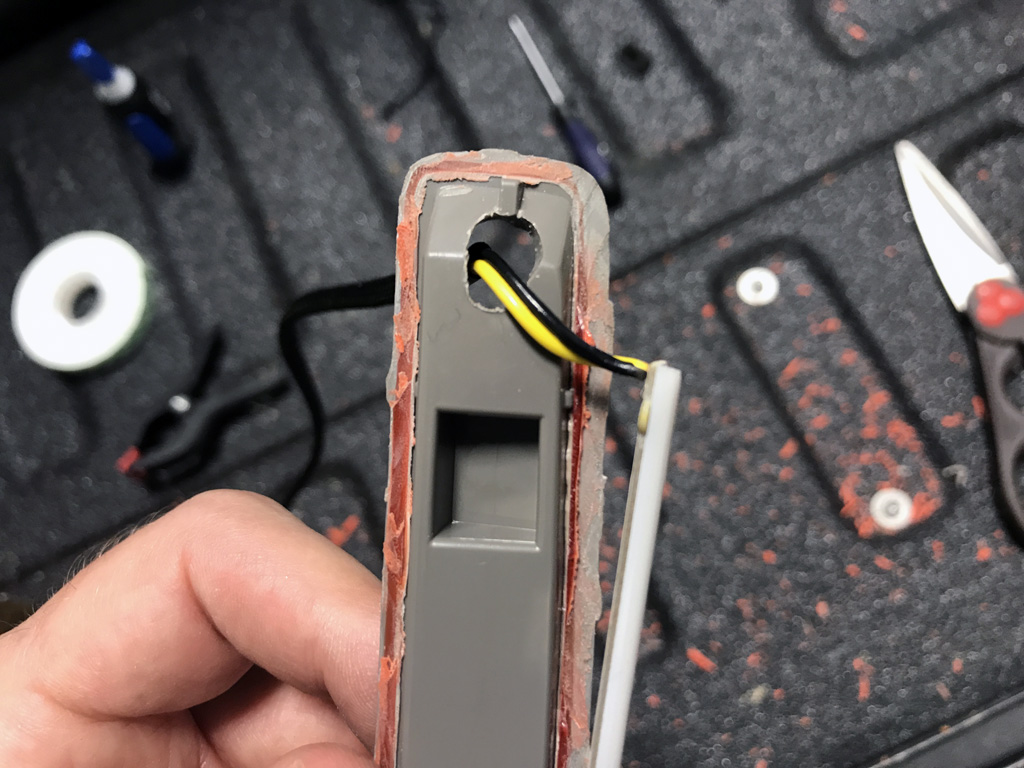
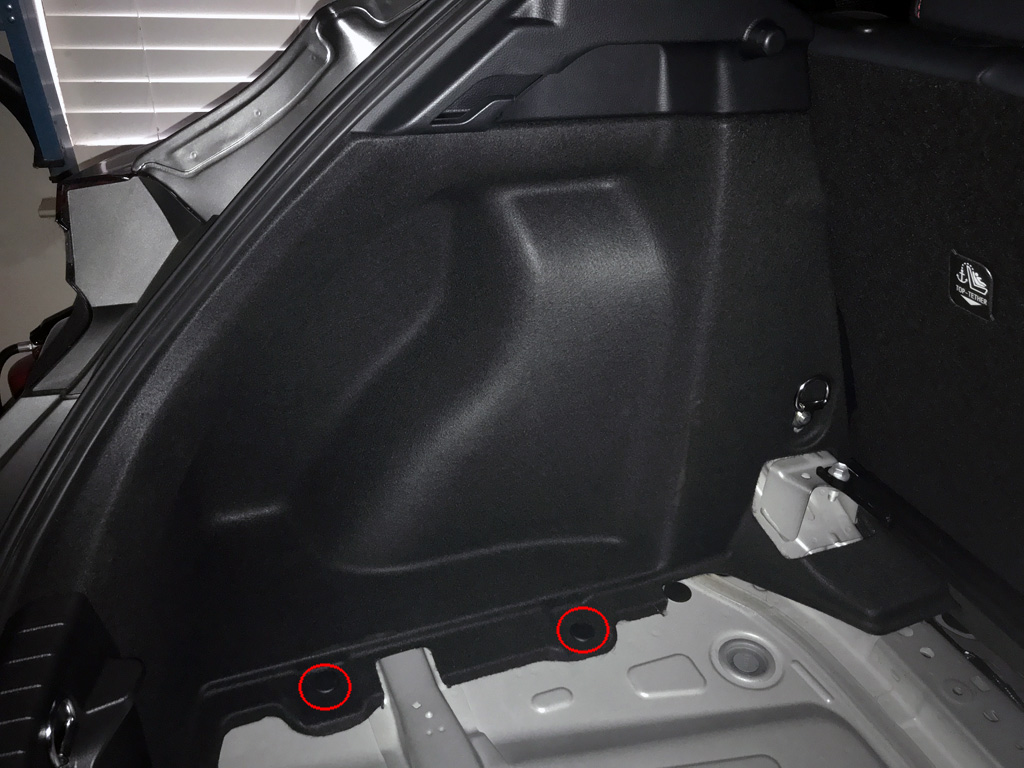
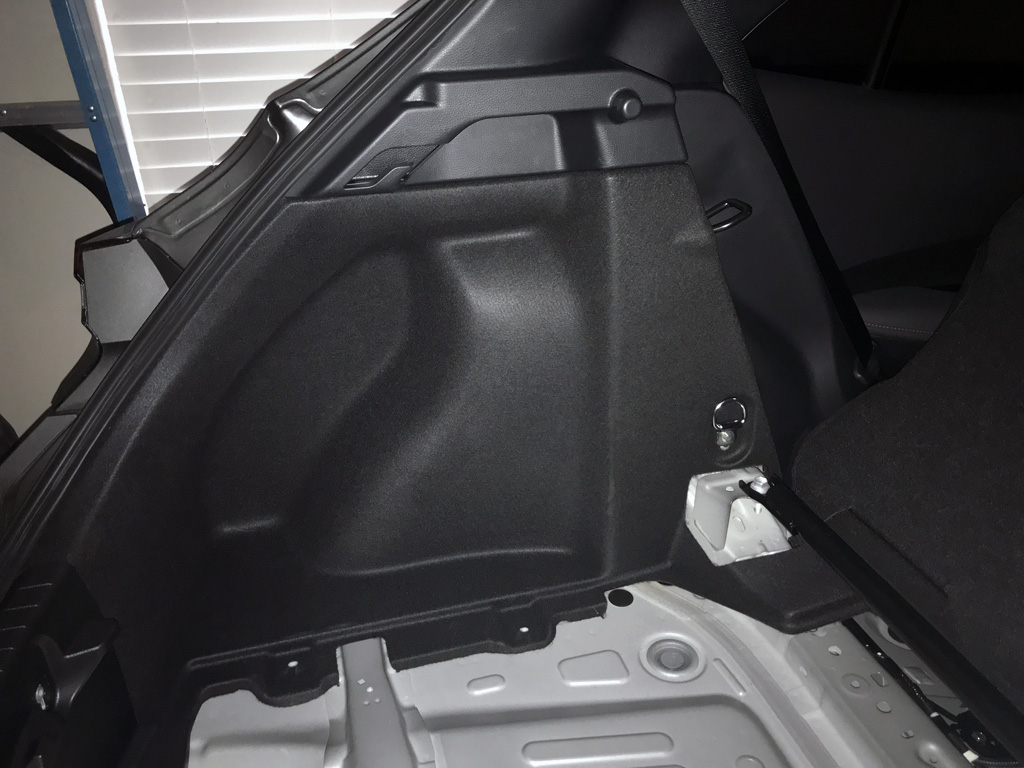
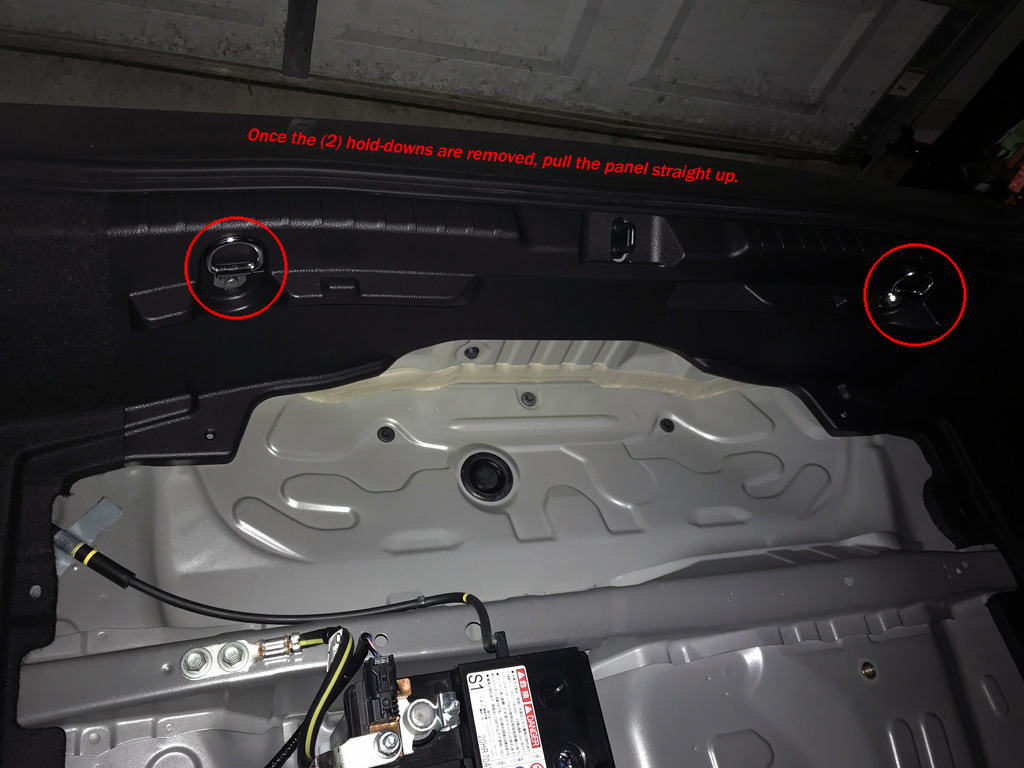
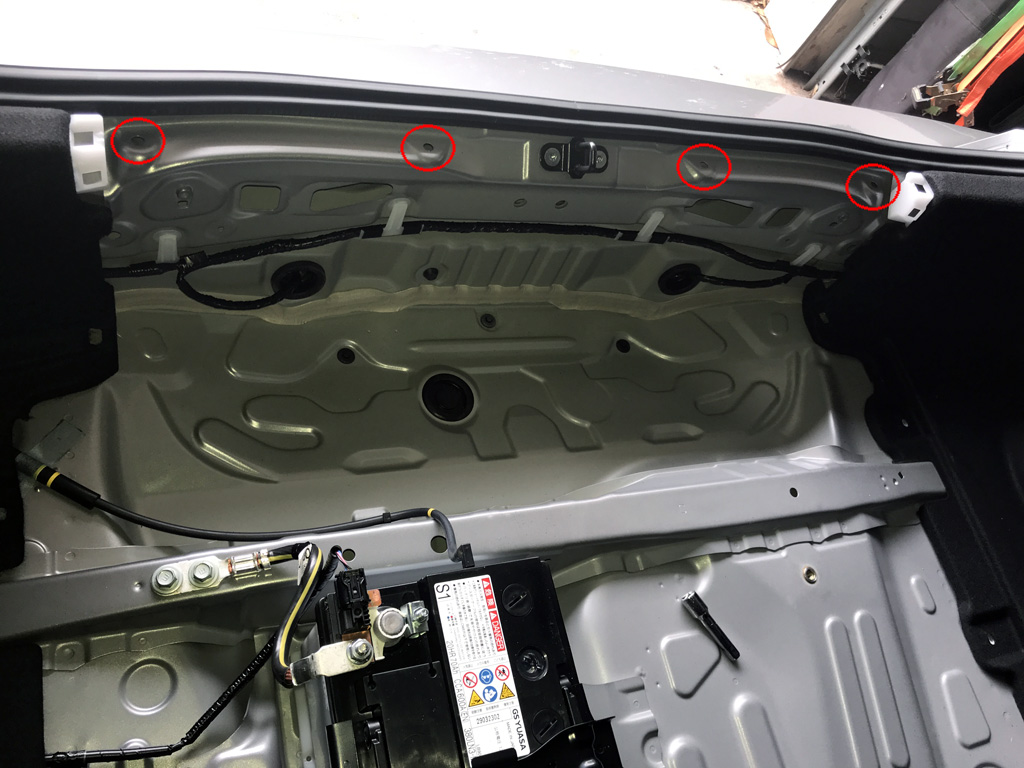
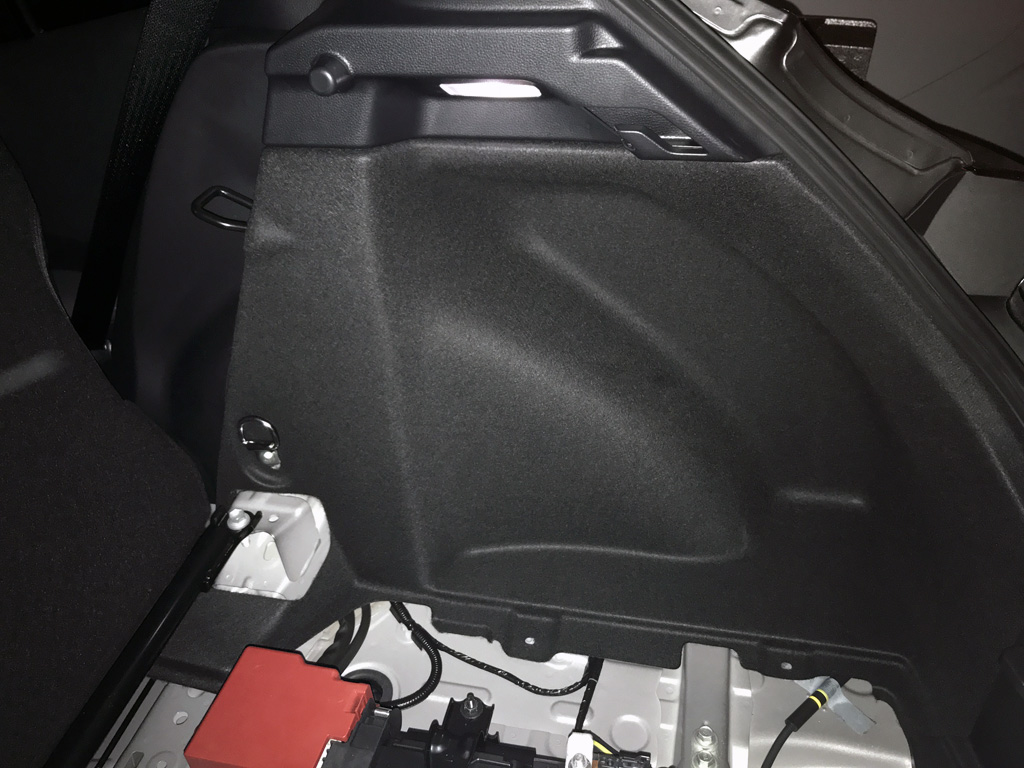
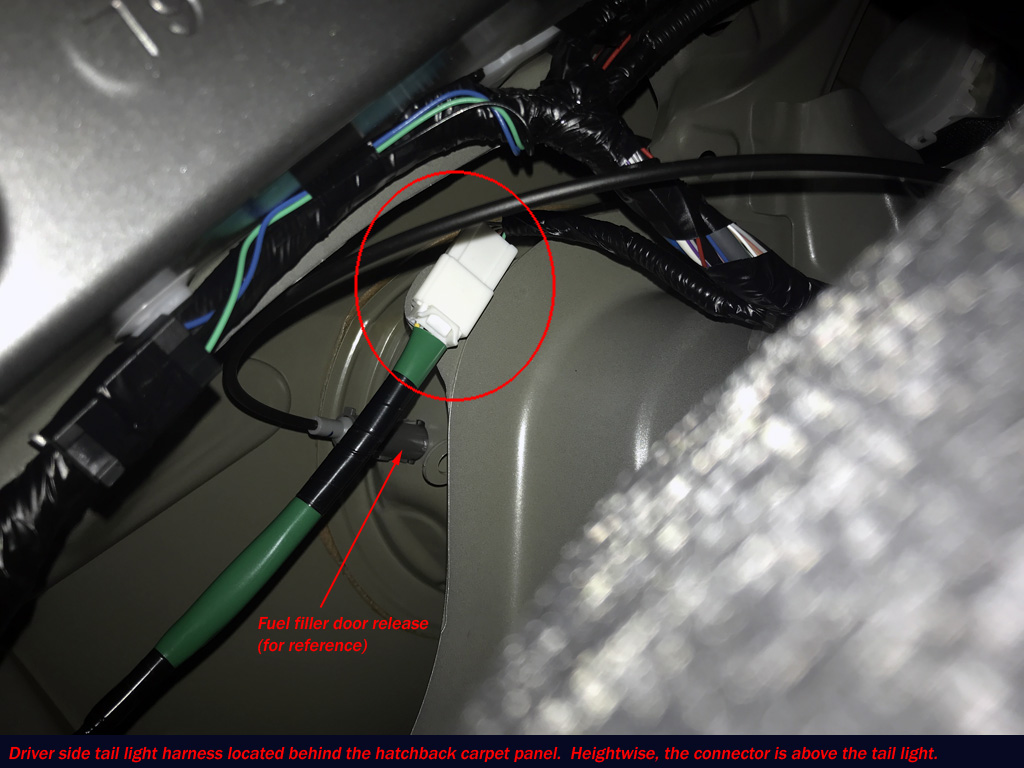
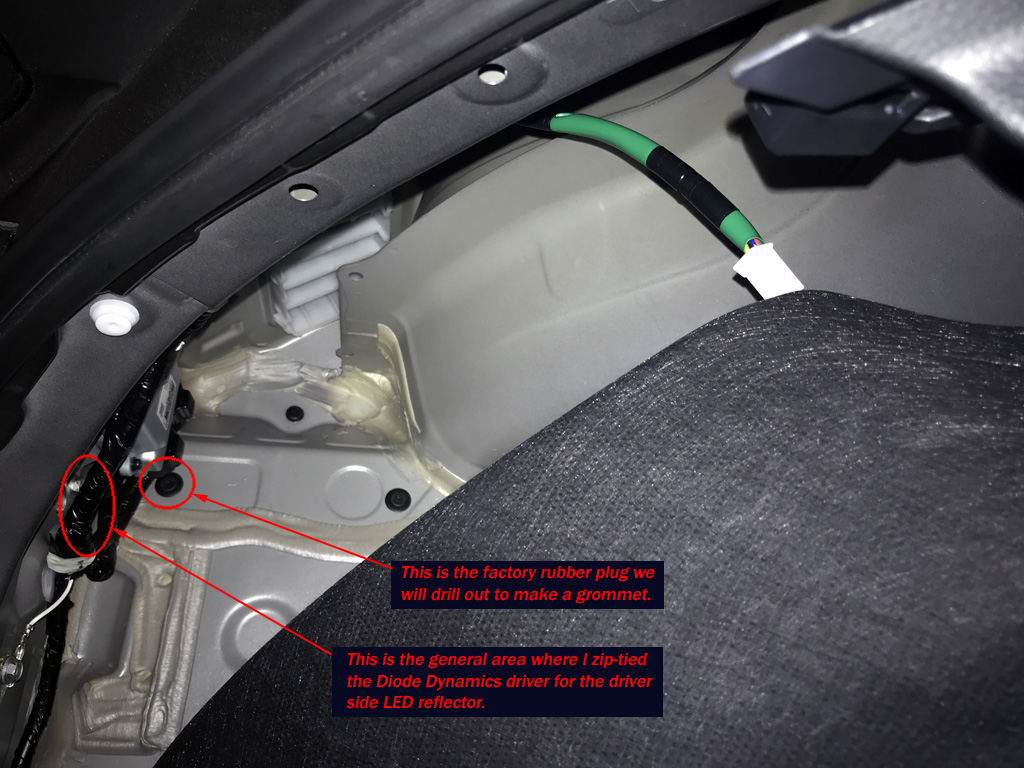
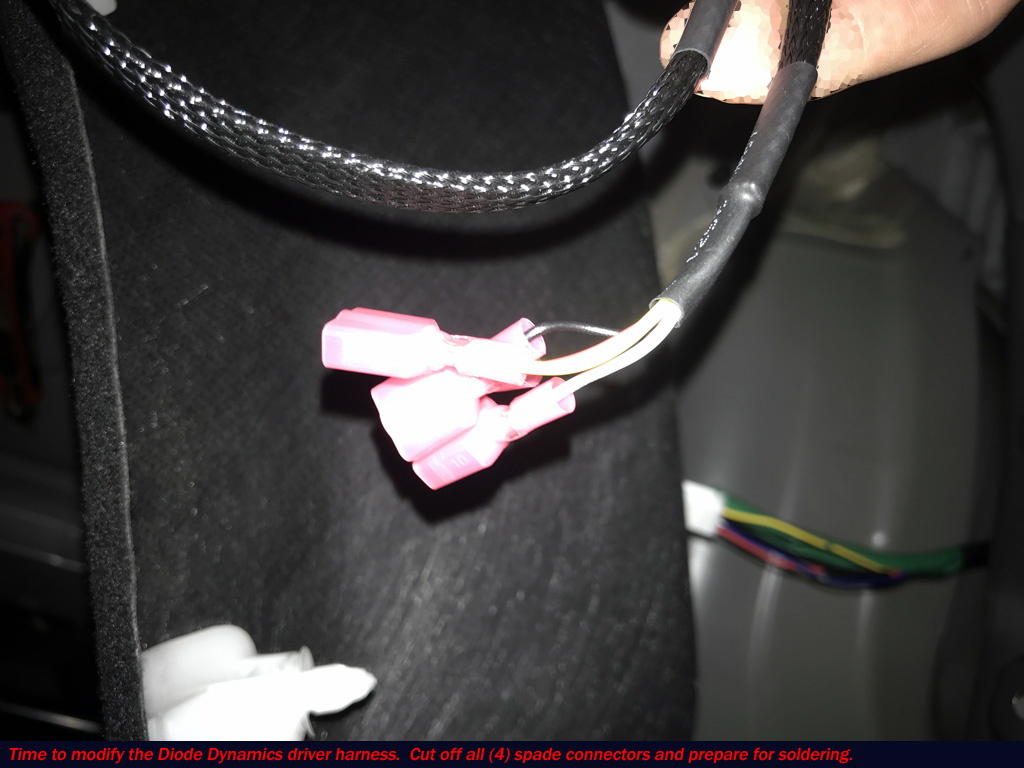
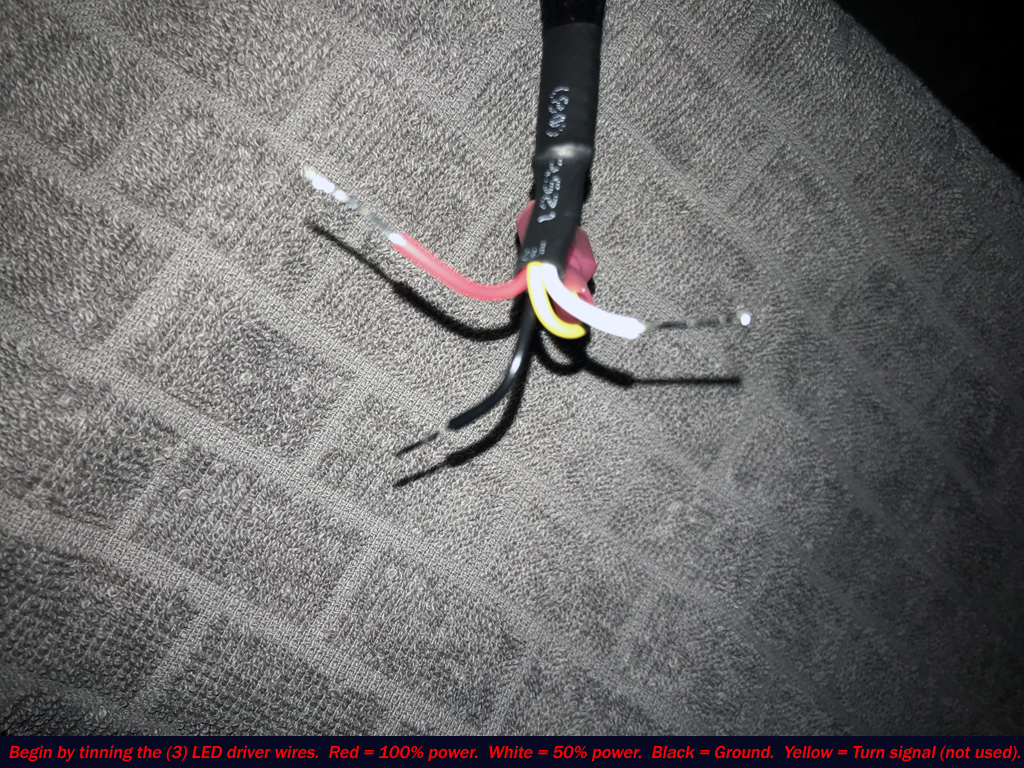
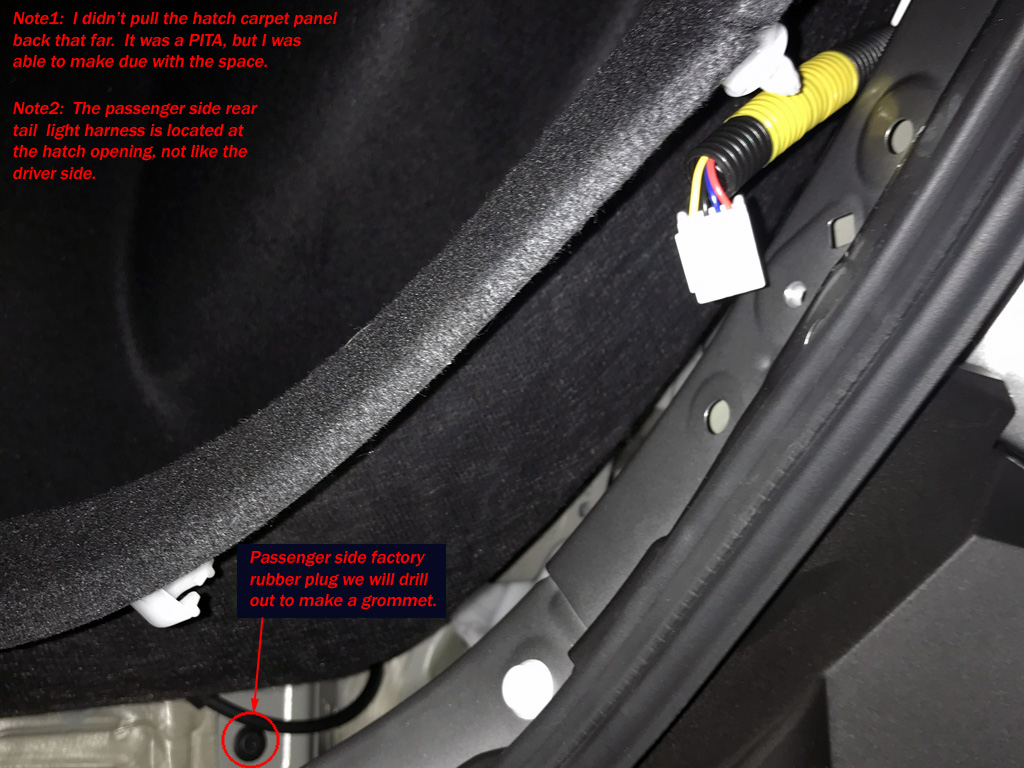
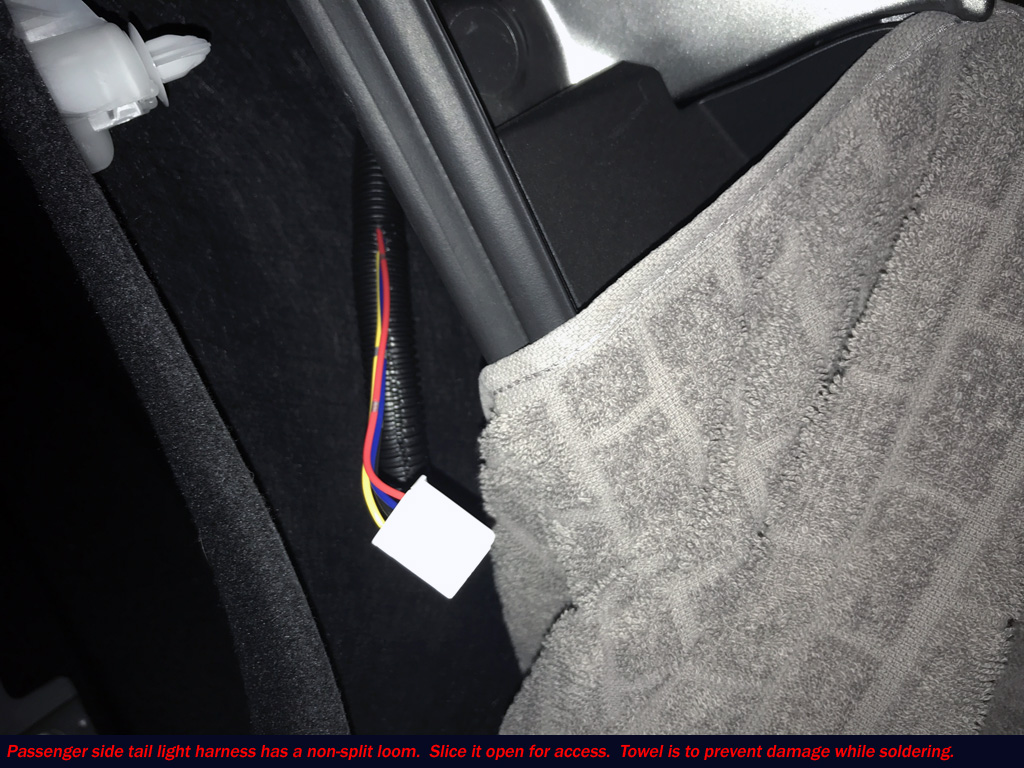
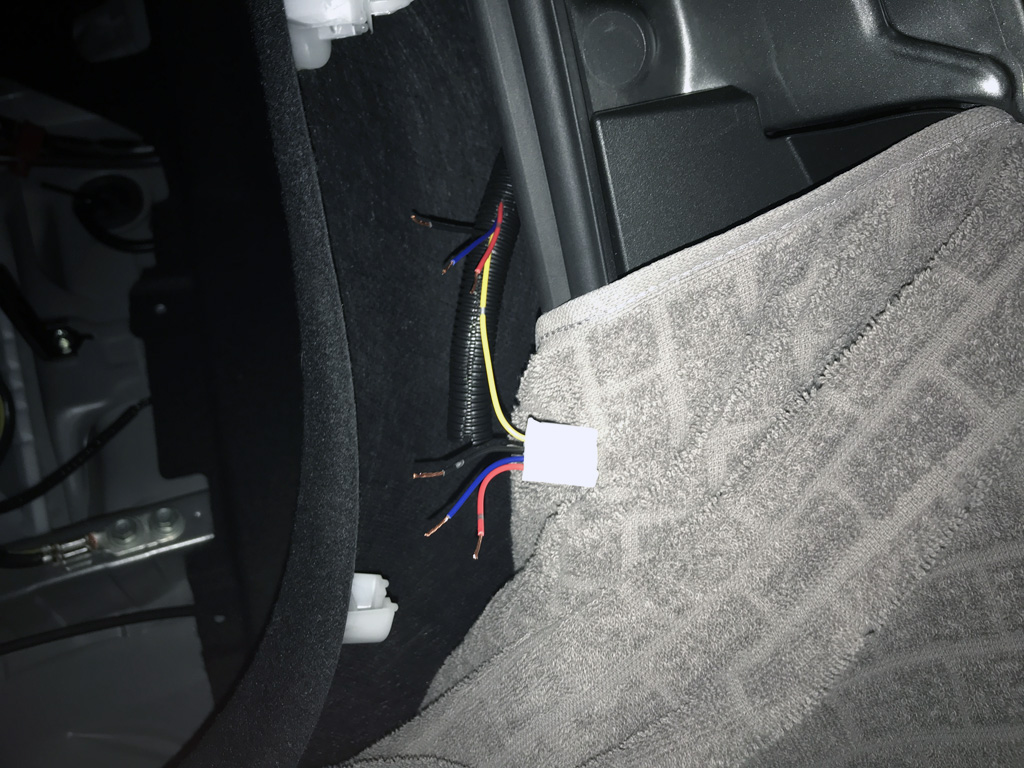
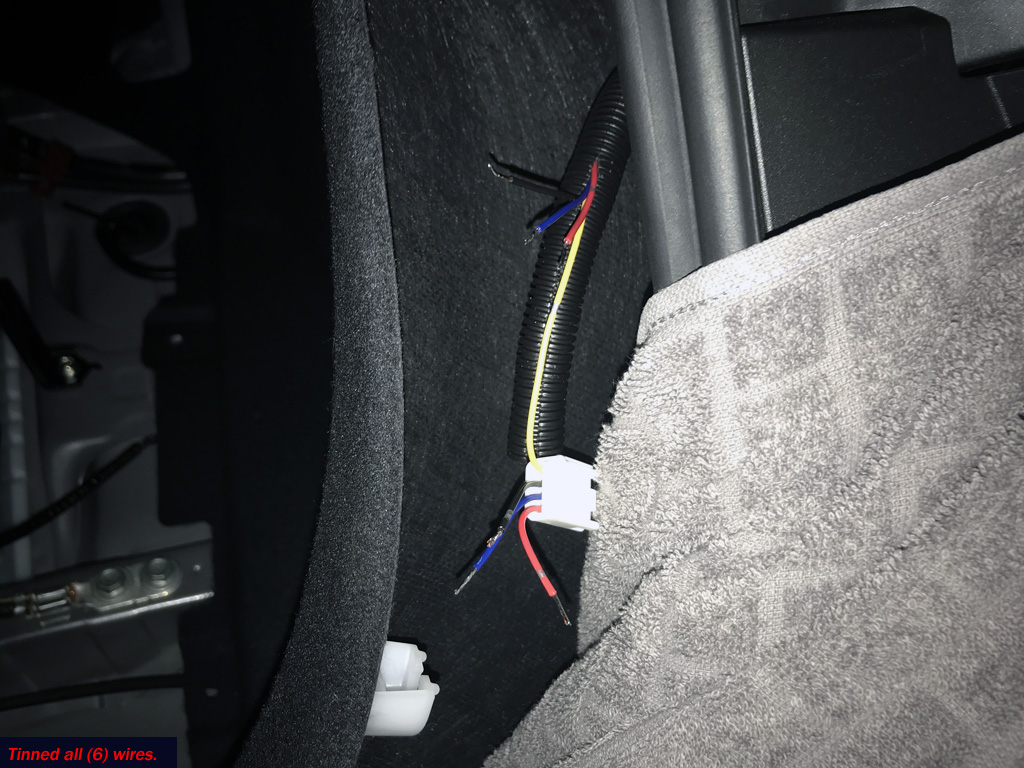
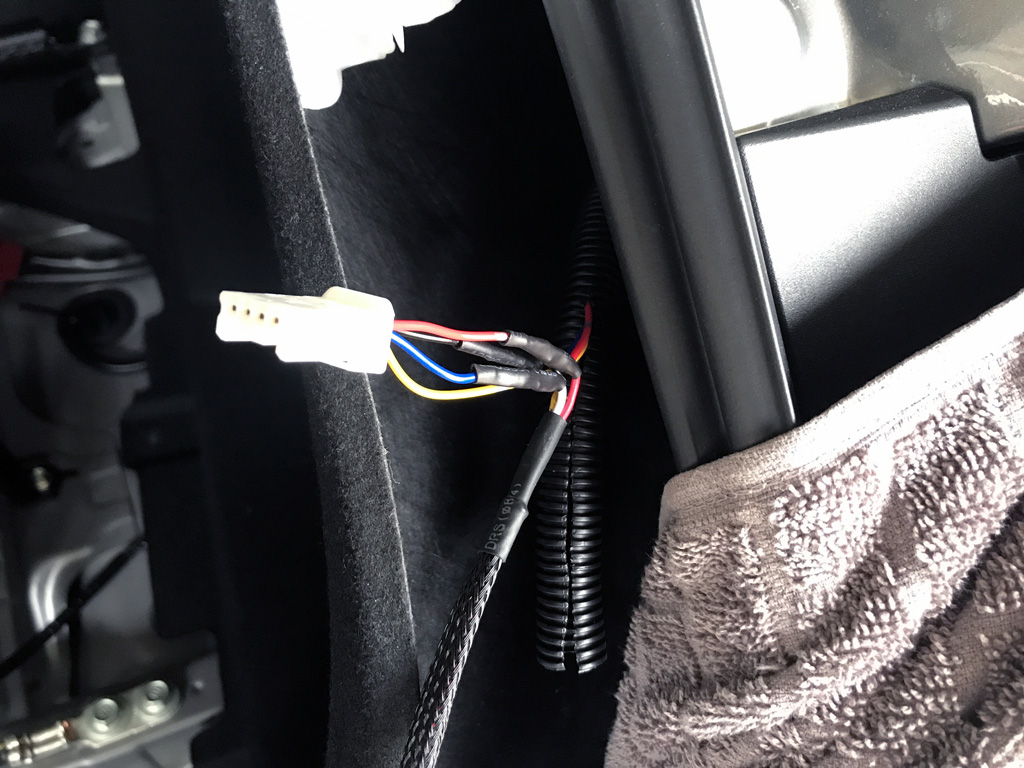
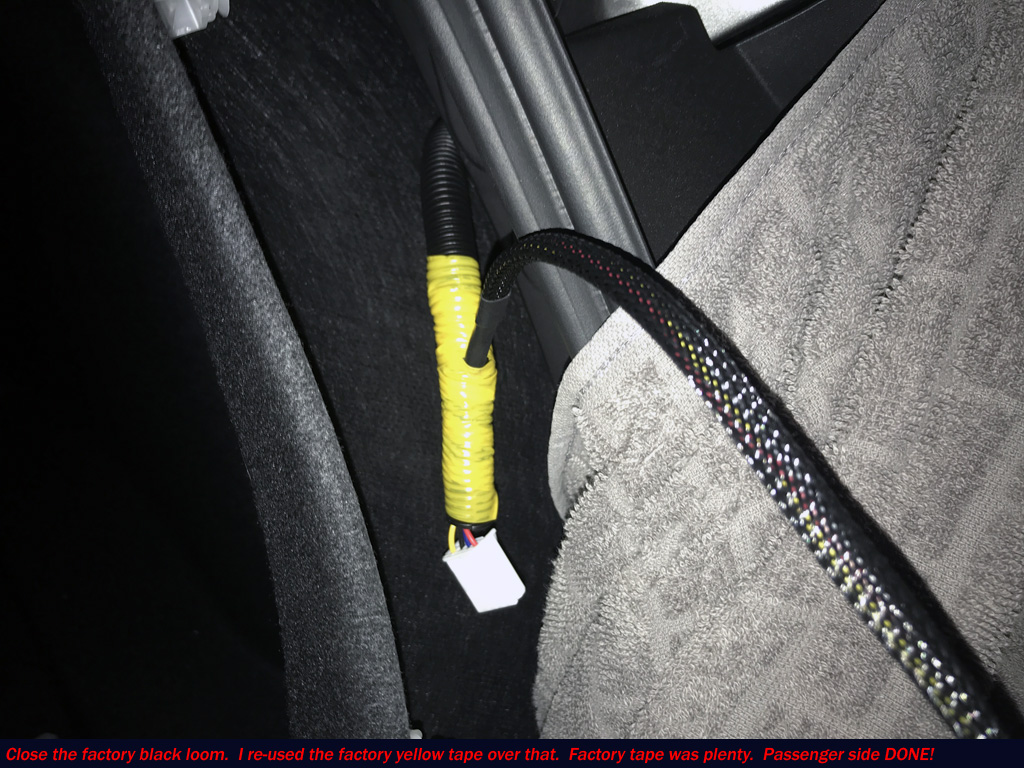
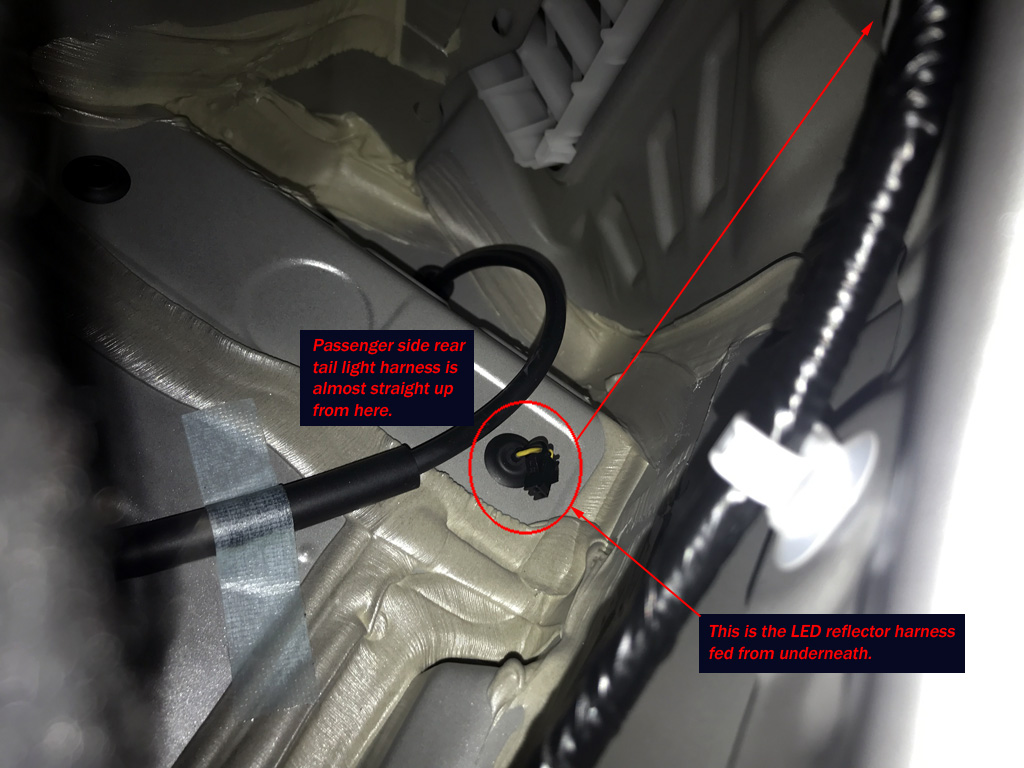
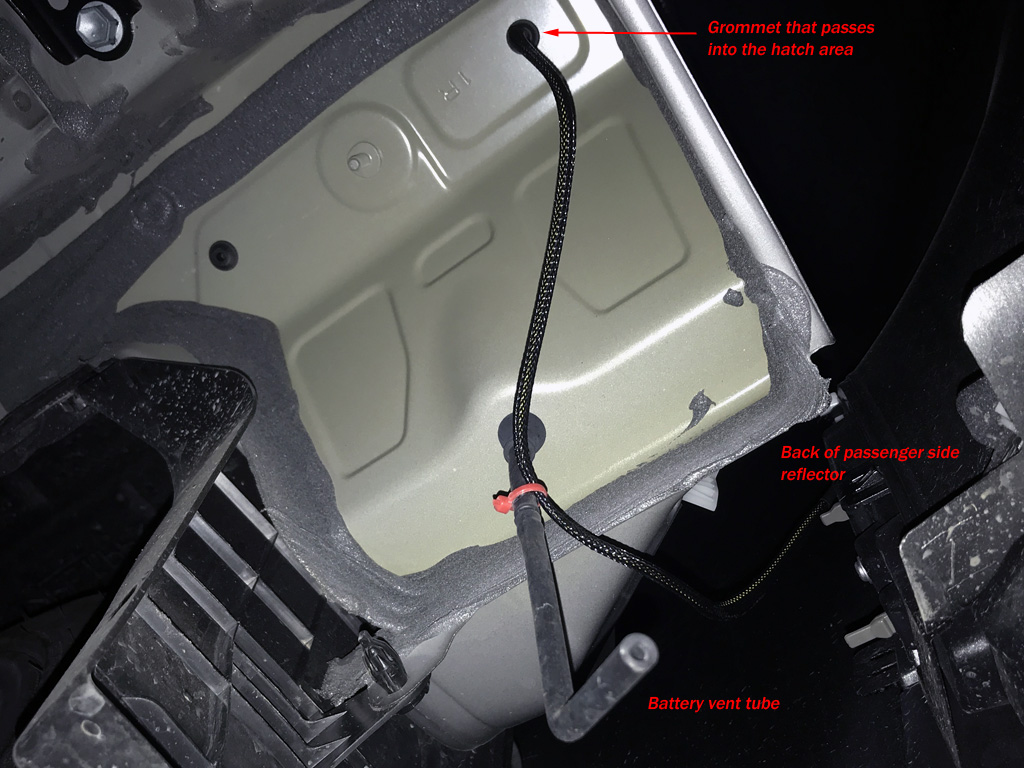
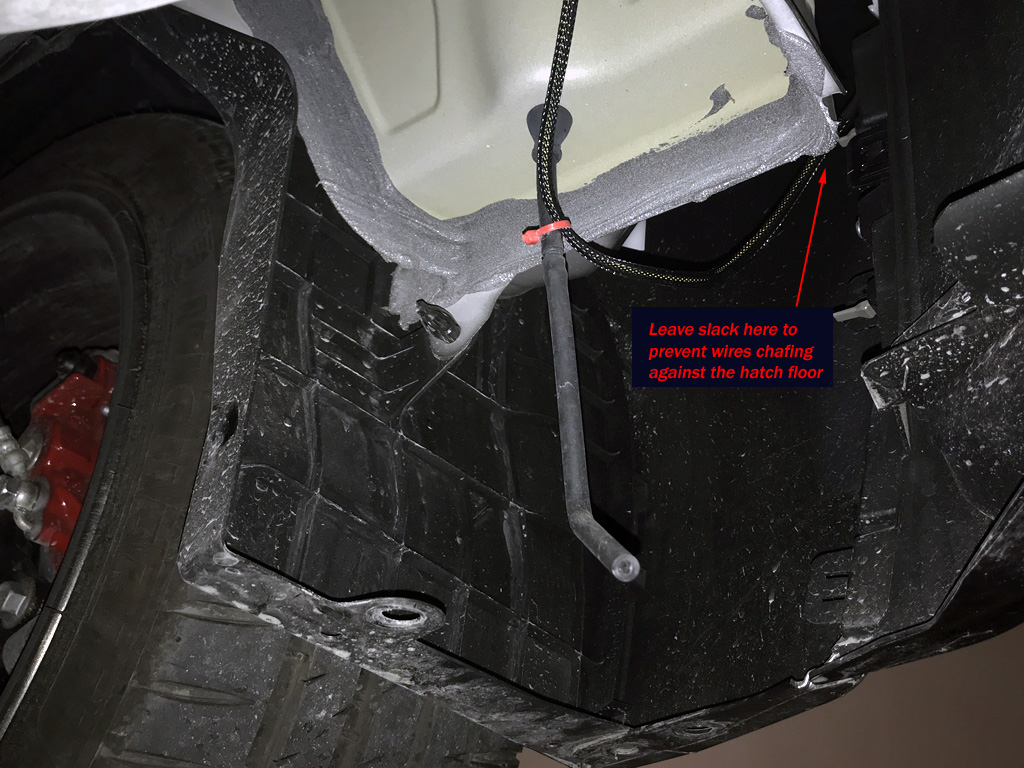
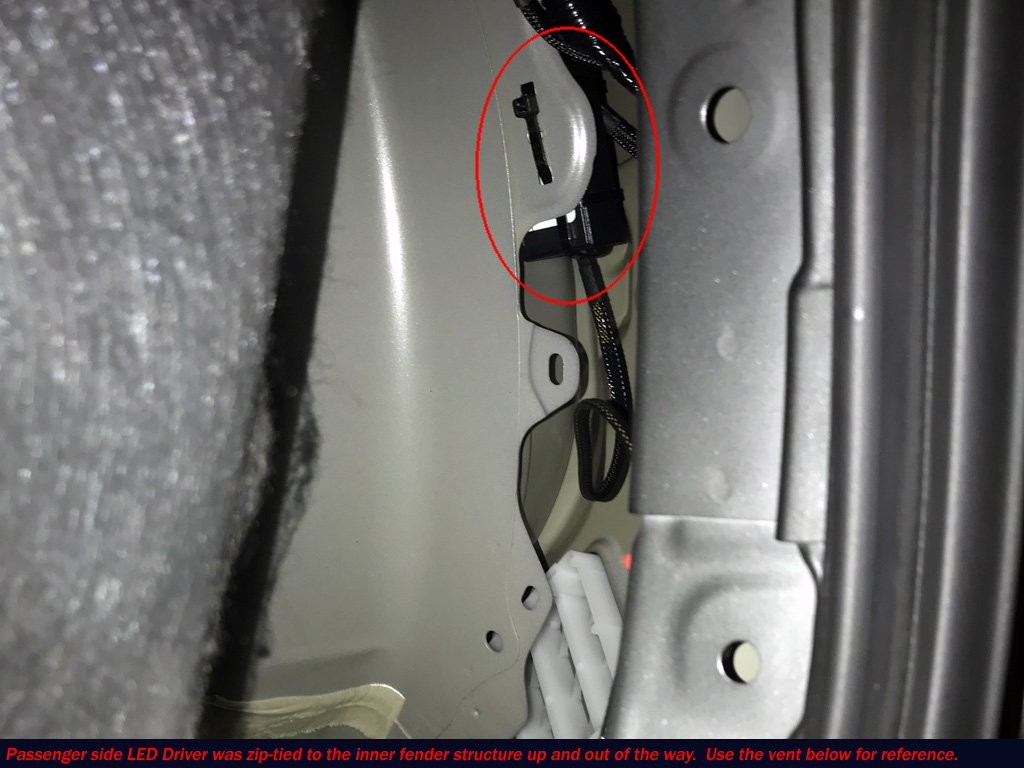
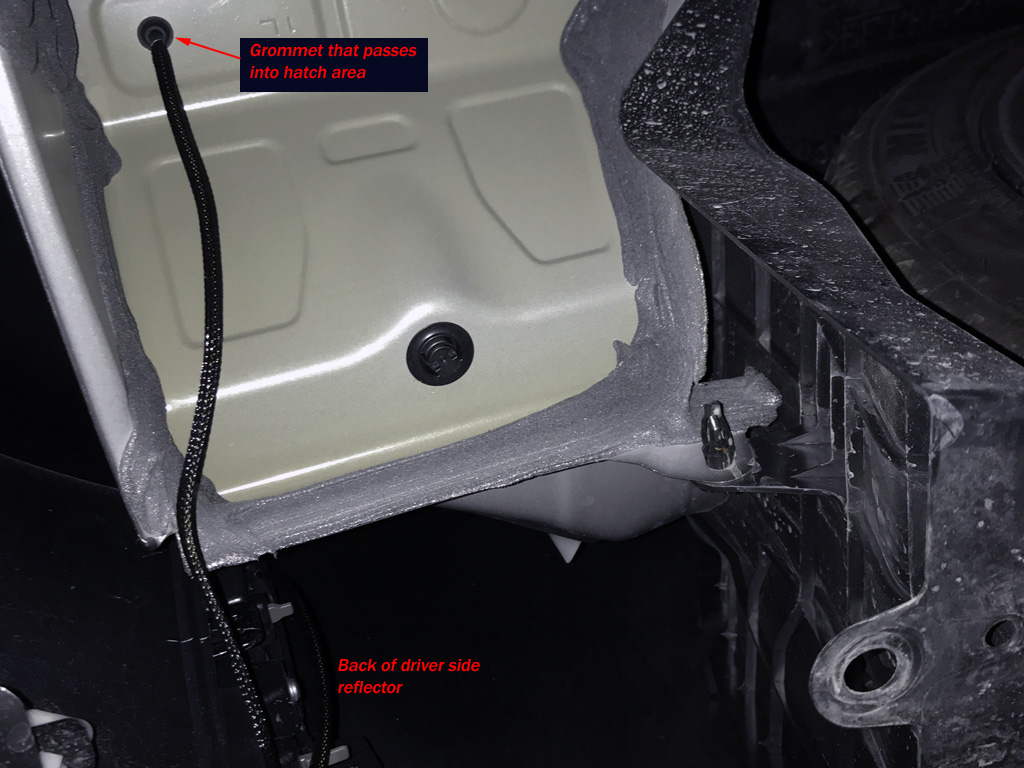
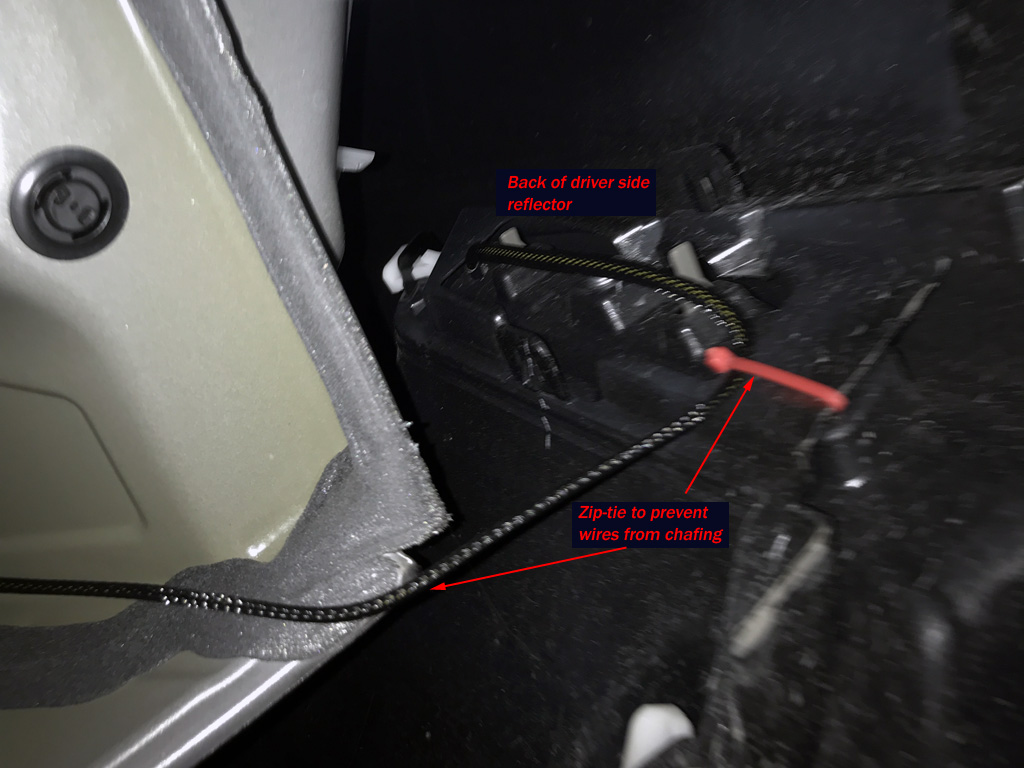
Diode Dynamic LED strip in each reflector, sealed them up, and wired the control box into the factory harness with solder + heat shrink tubing INSIDE the hatch area. I did NOT need to remove the rear bumper or the tail lights for this installation!
Date Completed:
01/16/24
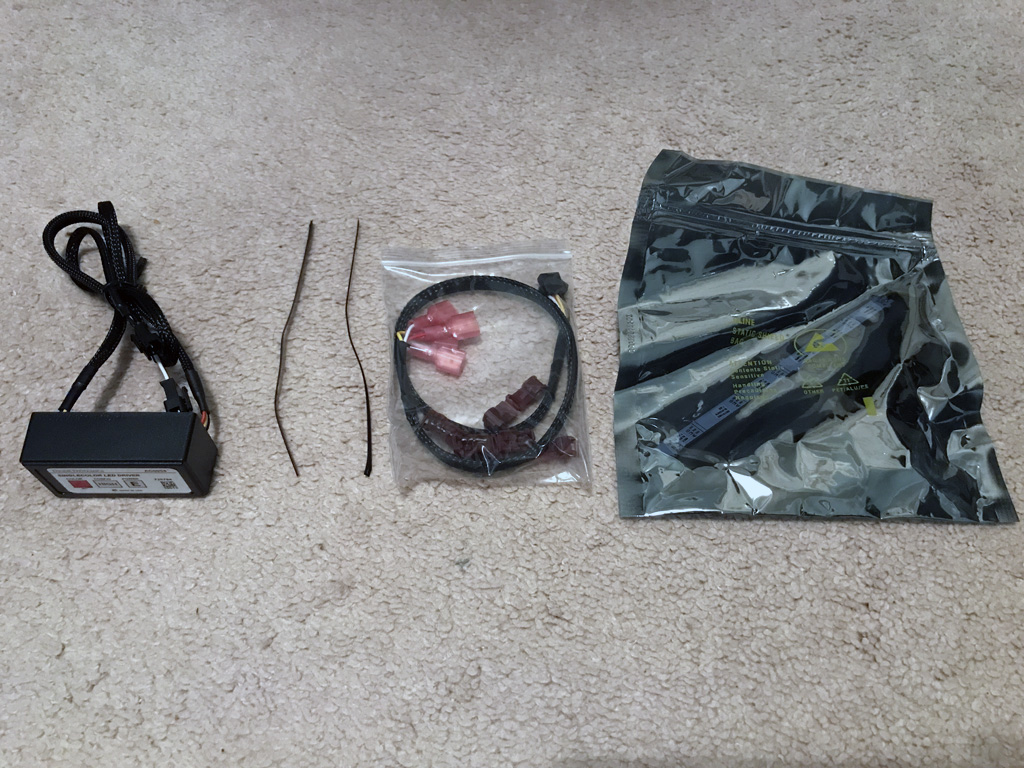
Materials:
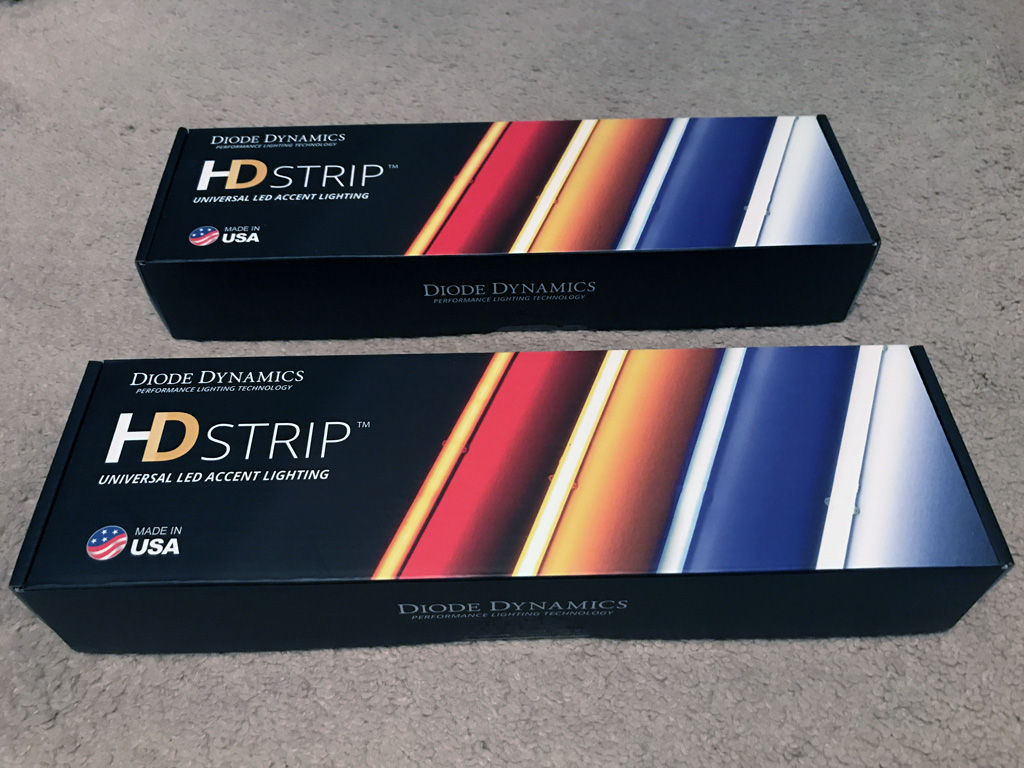
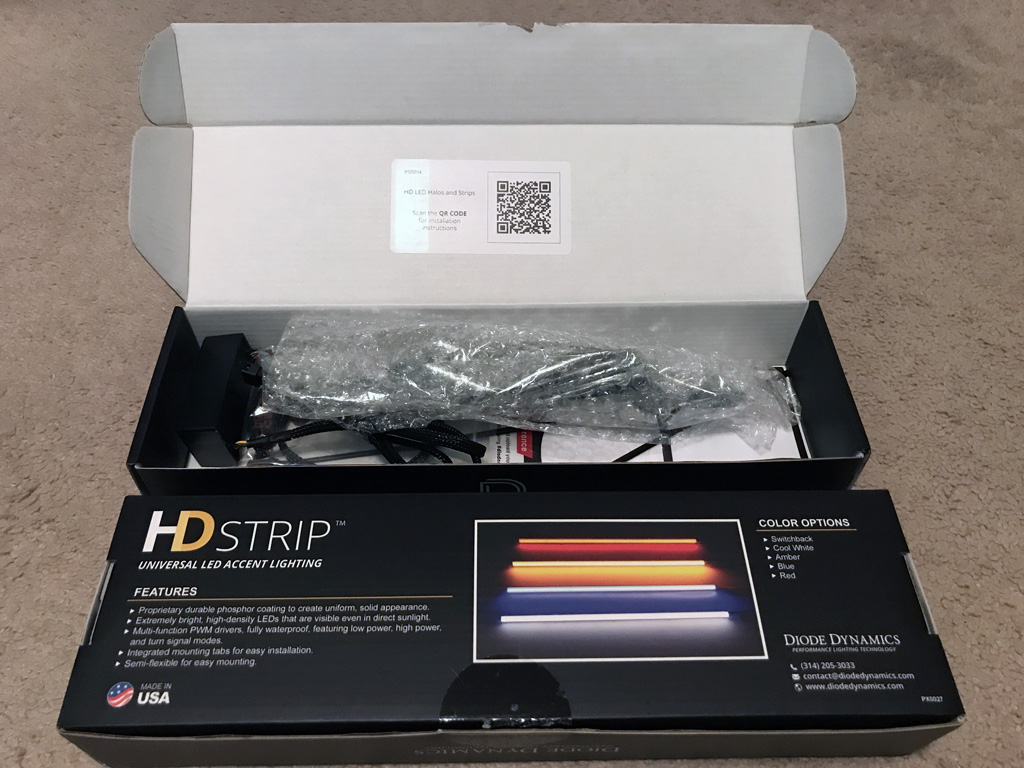
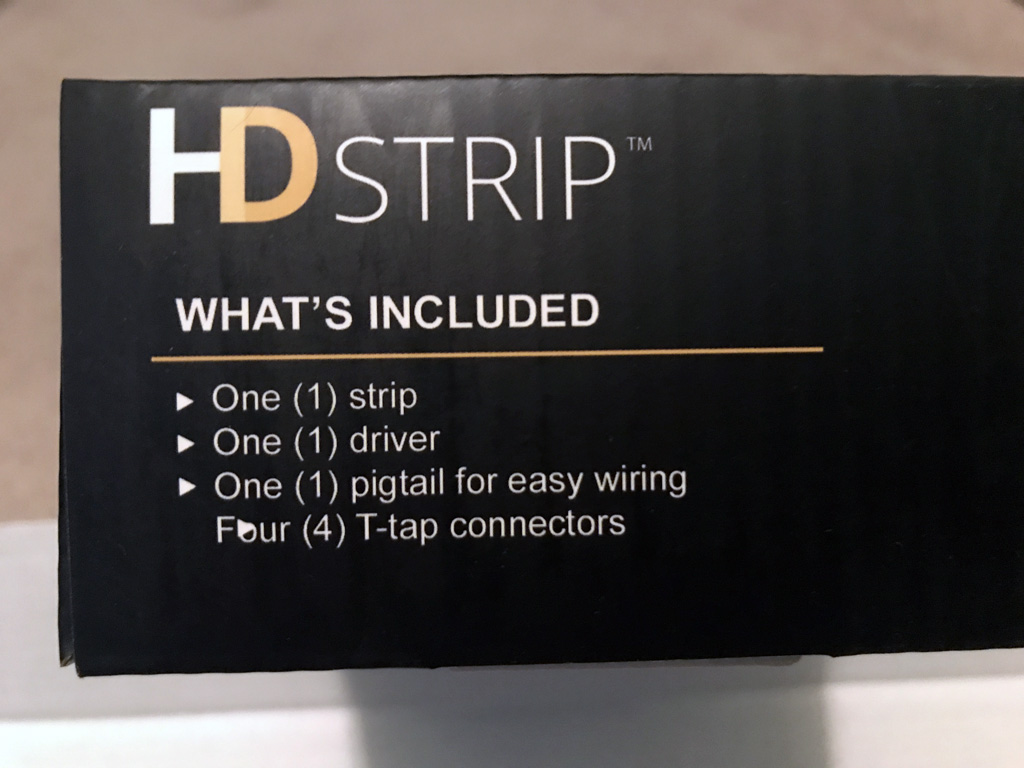
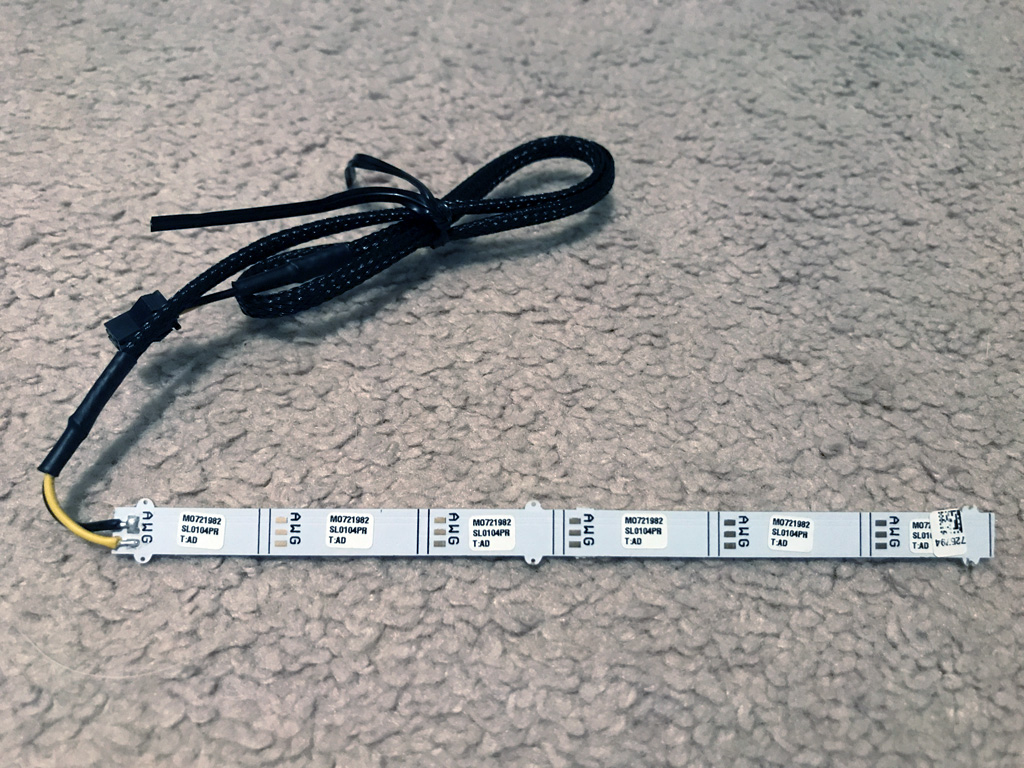
- HD LED Red Strip (DiodeDynamics.com, LINK)
SKU: DD2129
Length: 6 inch
Color: Red
Other: Durable phosphor coating, PWM dimming control drivers
- Loctite Super Glue, Ultragel Control
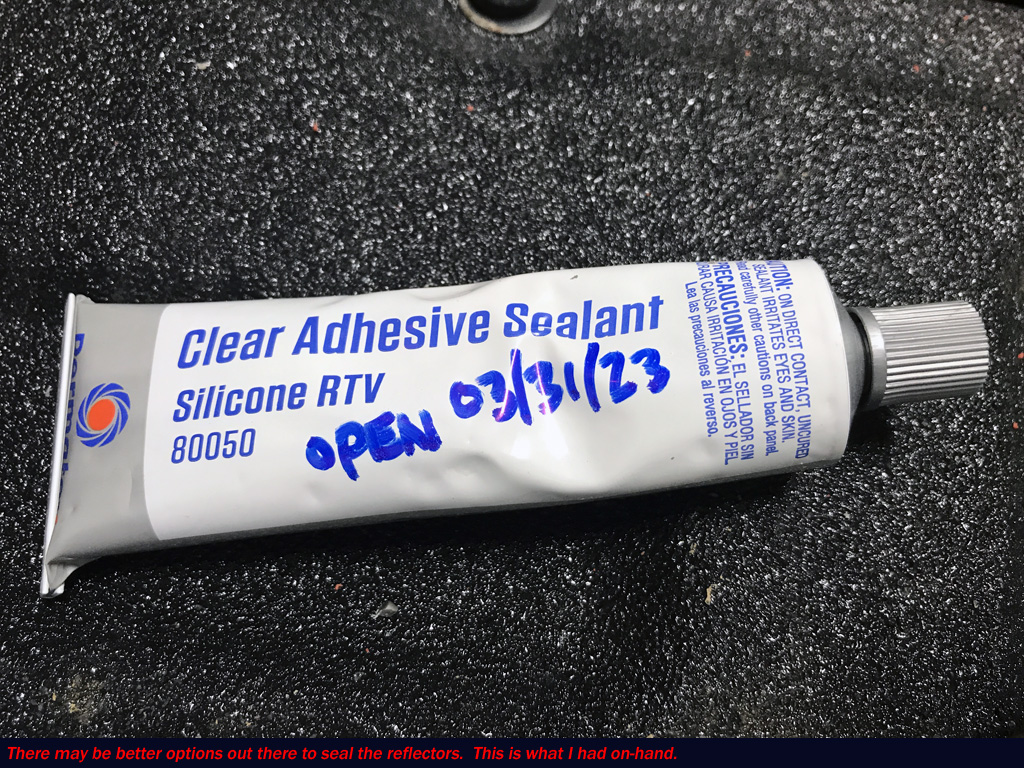
- Permatex Clear Adhesive Sealant, Silicone RTV #80050
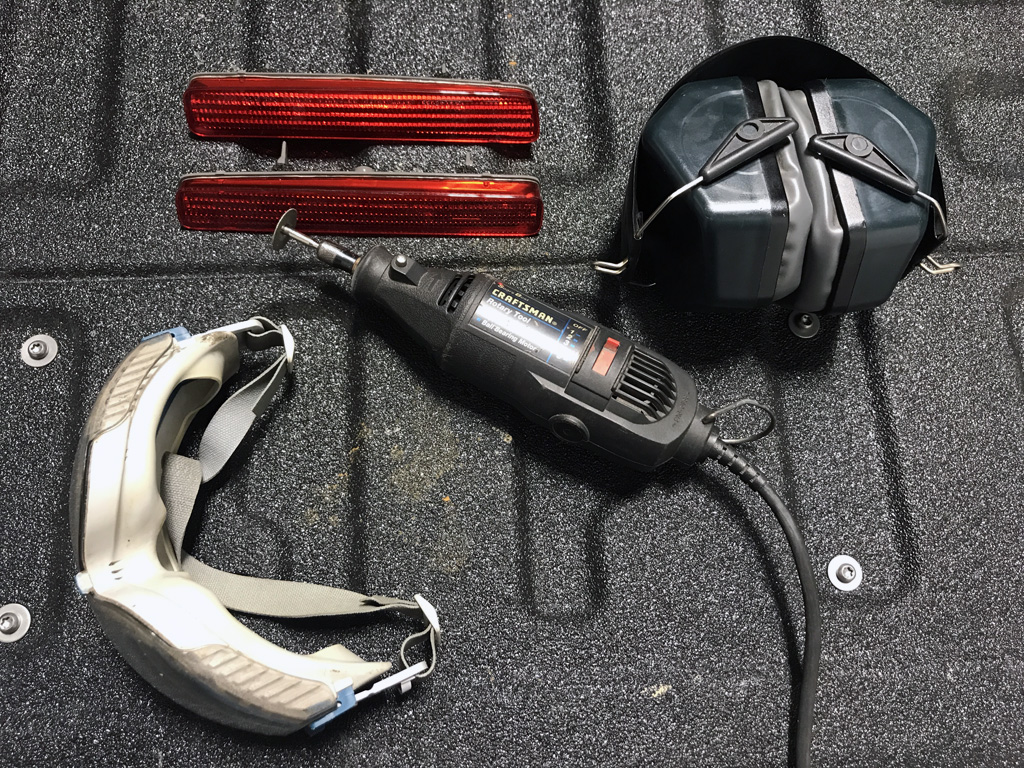
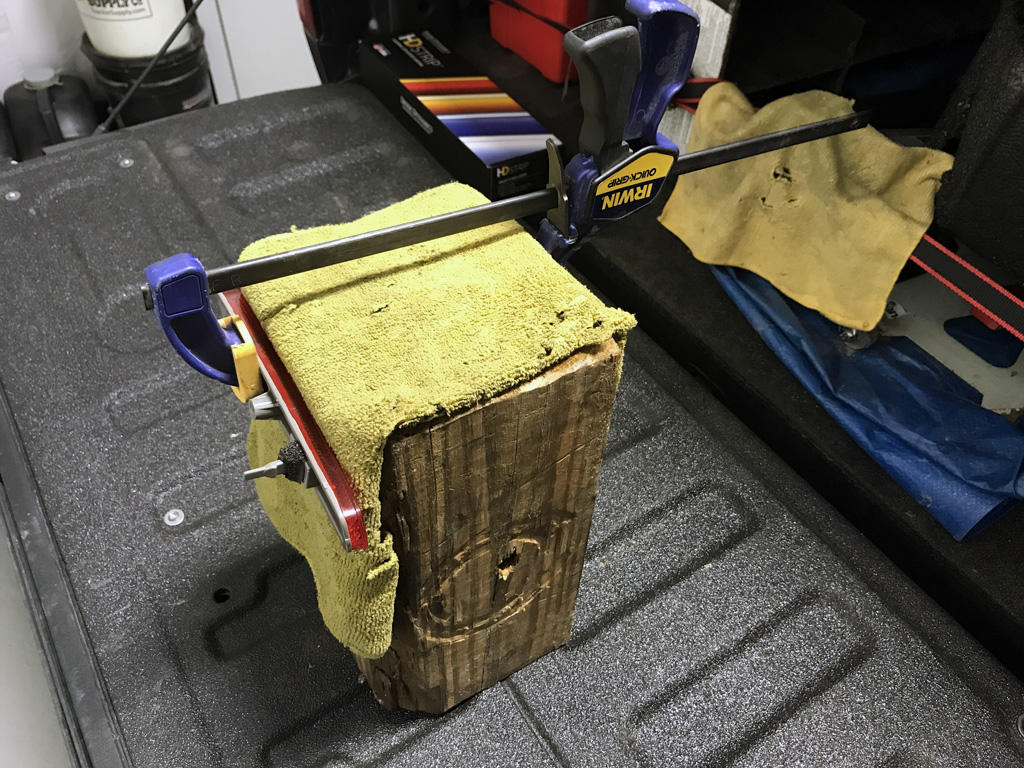
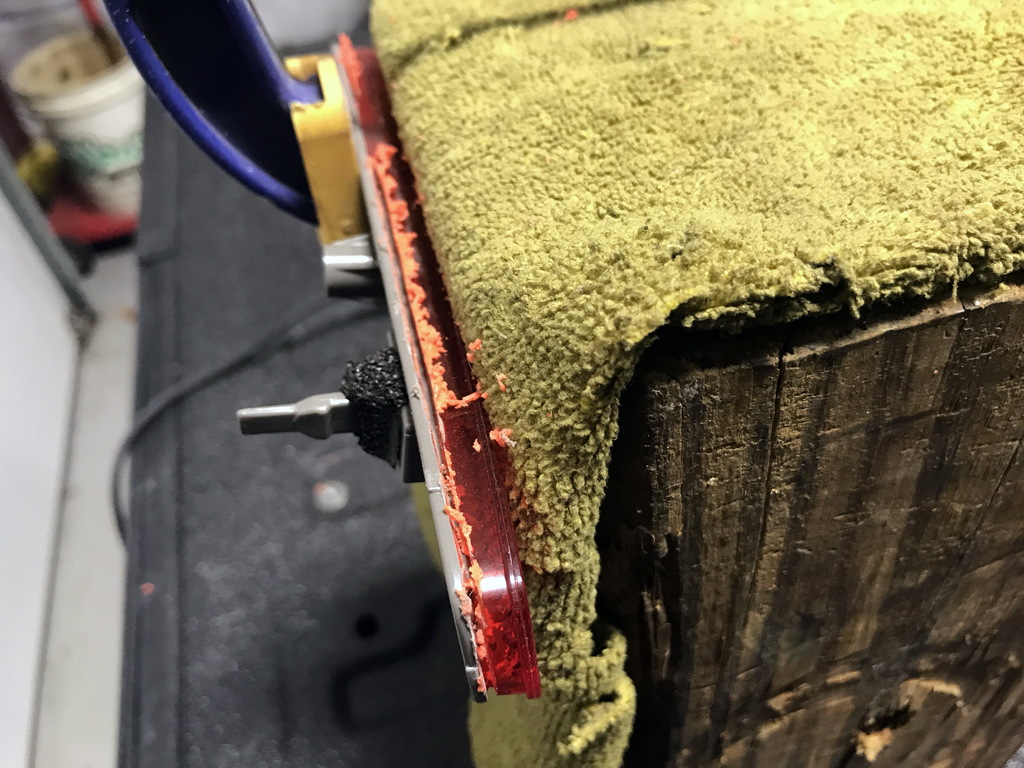
- 6x6" block of wood and shop towel to hold OE reflectors in place for cutting open
- A towel or something to protect the paint from solder splatter
- Electrical tape
- Solder
- Heat shrink tubing
- A few zipties
Tools:
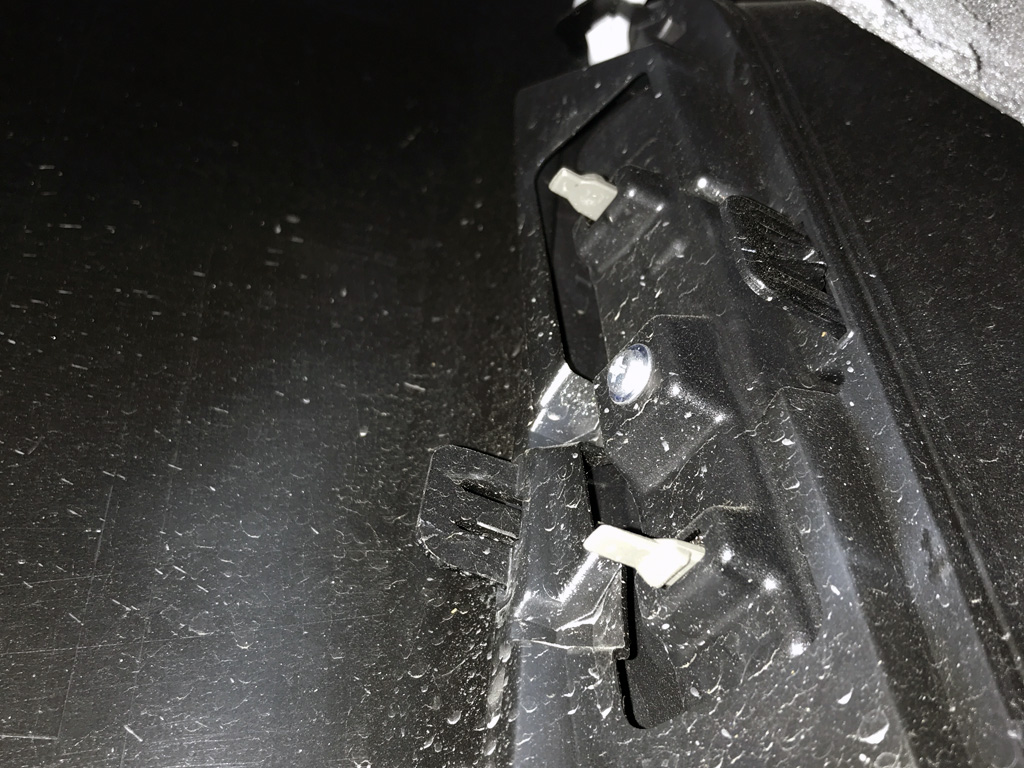
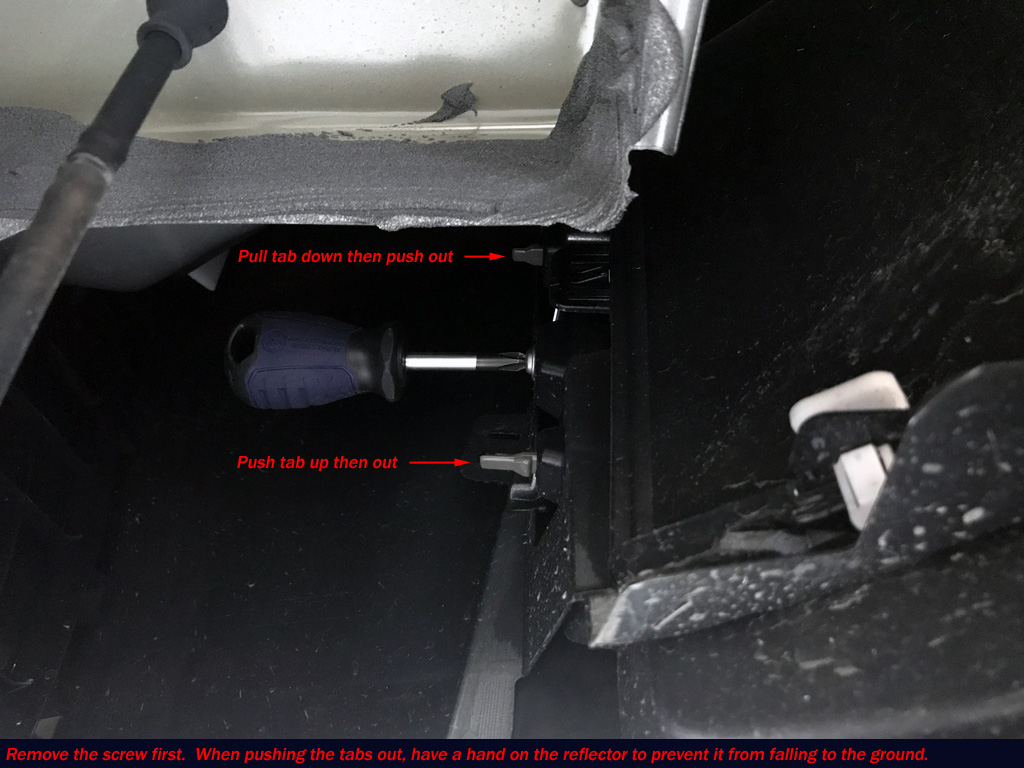
- Stubby phillips screwdriver to remove the factory rear bumper reflector
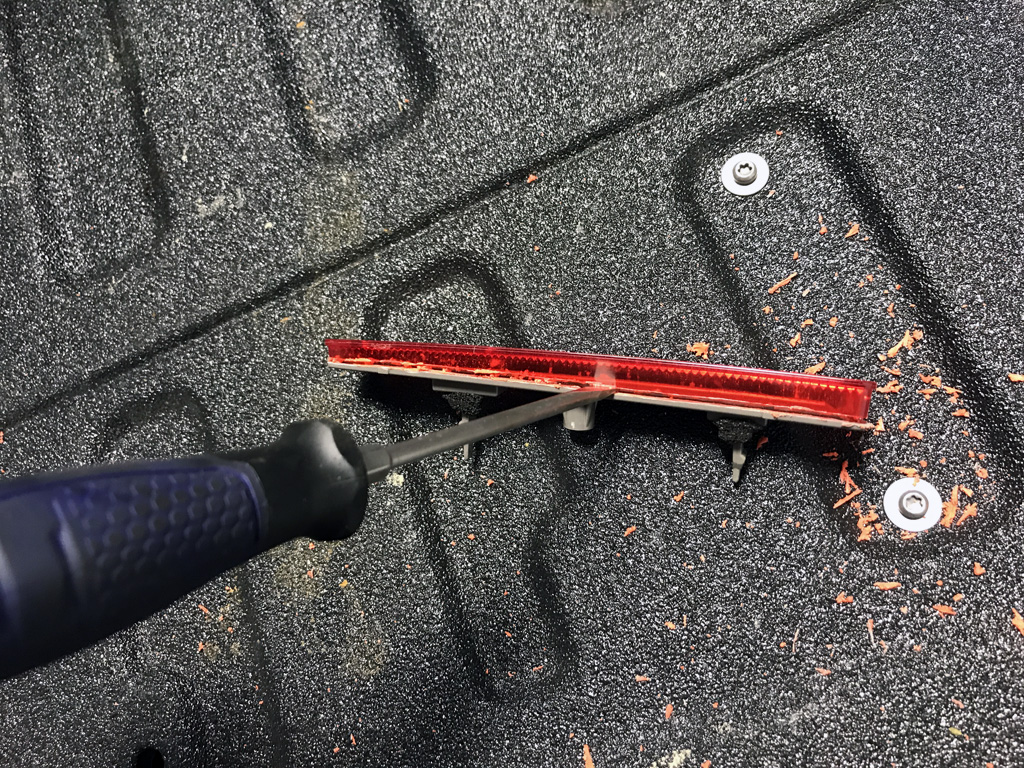
- Flat-blade screwdriver to open the OE reflectors after dremel trimming
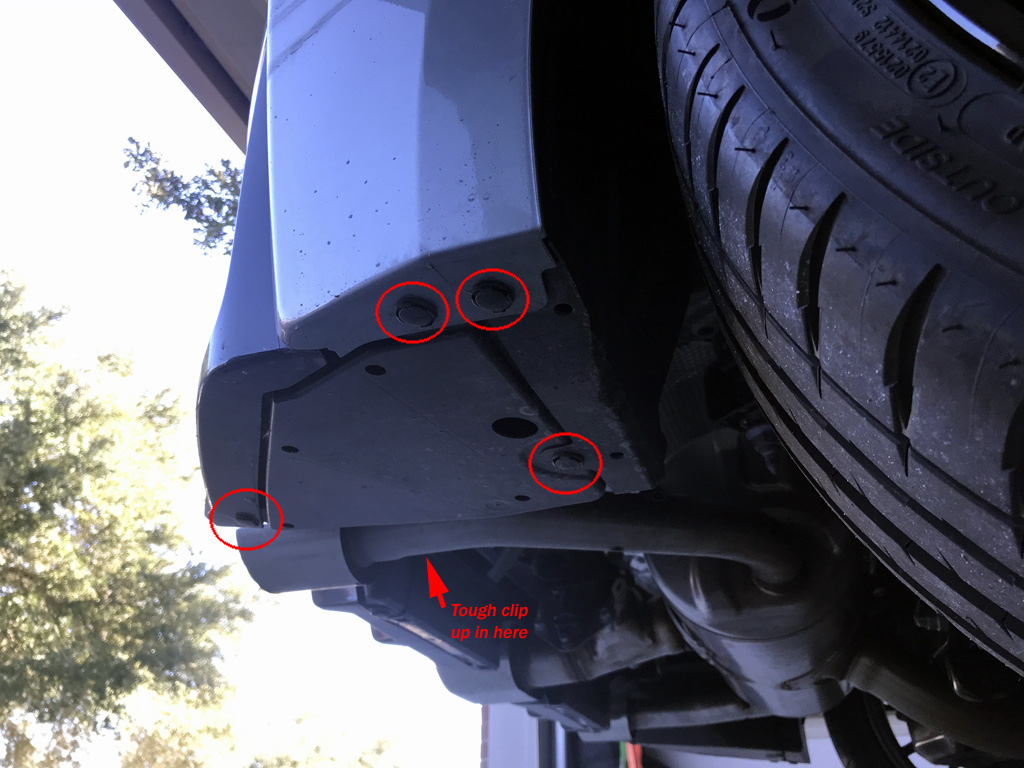
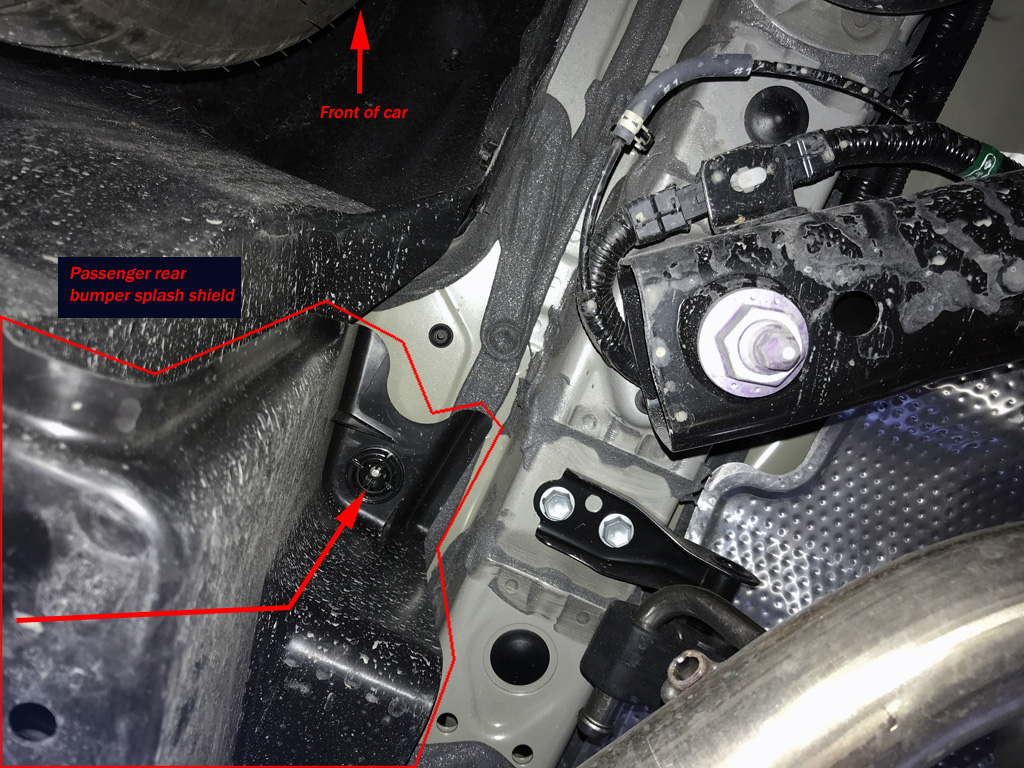
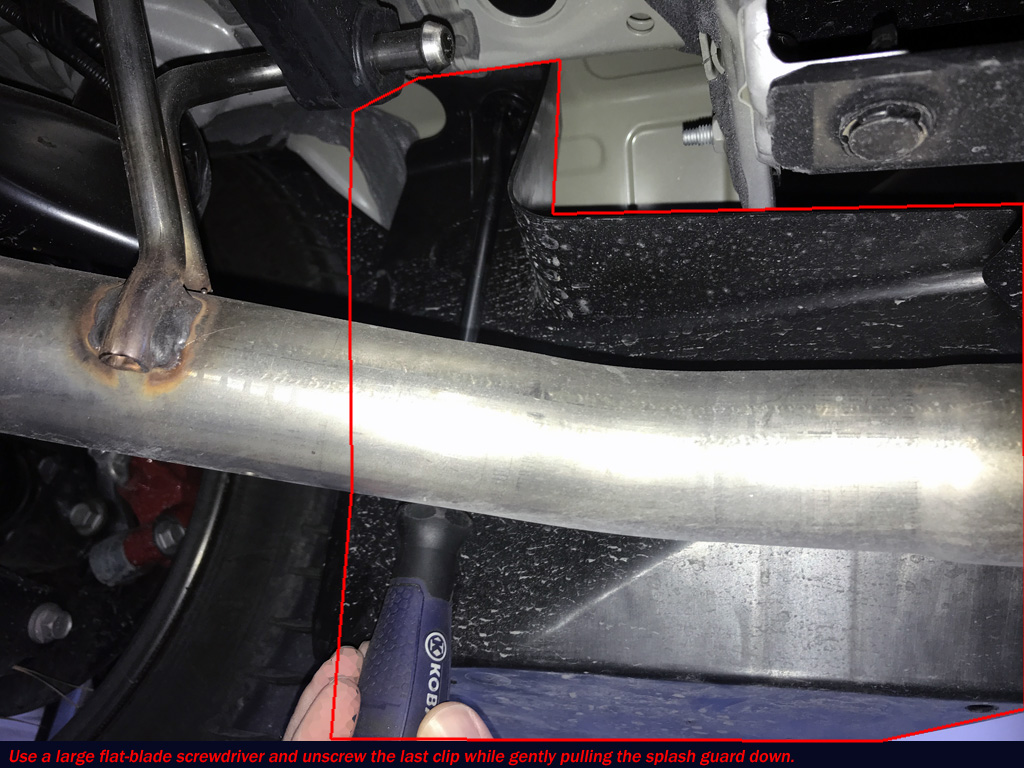
- Pry tools to remove factory clips on the rear bumper lower pieces
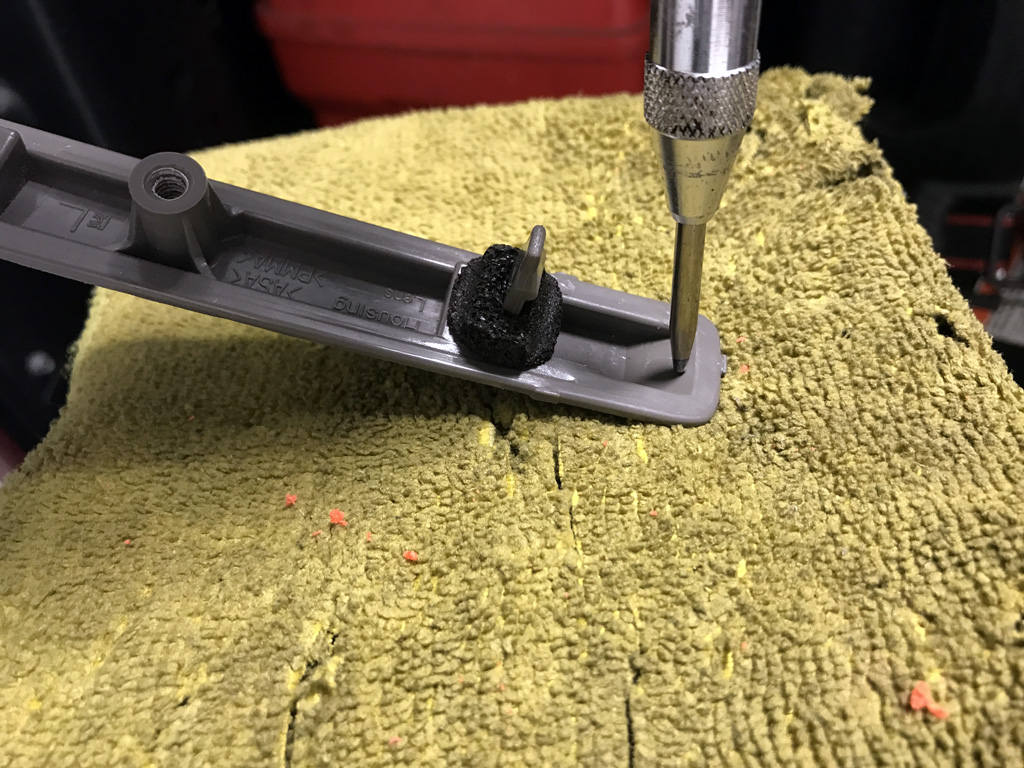
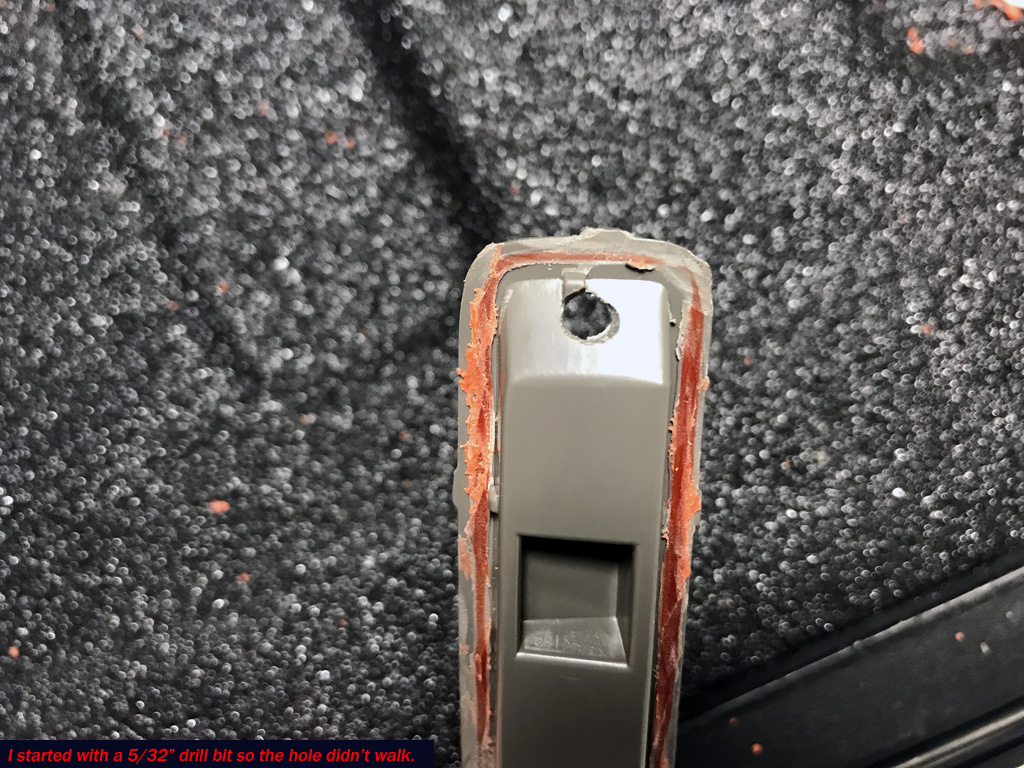
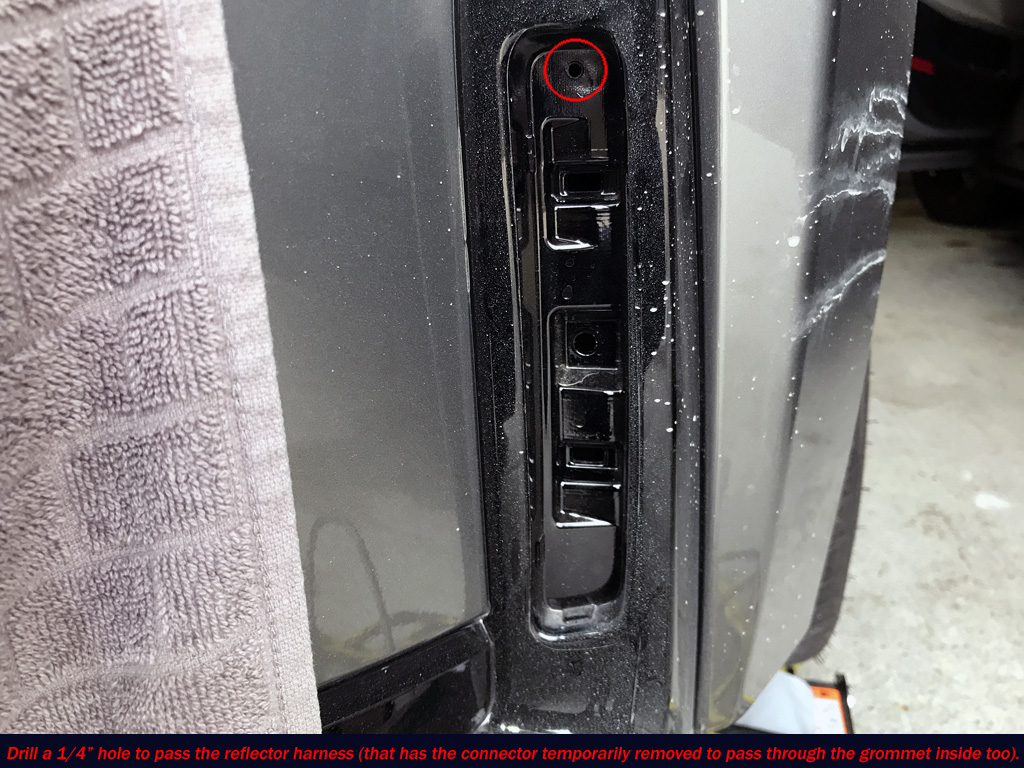
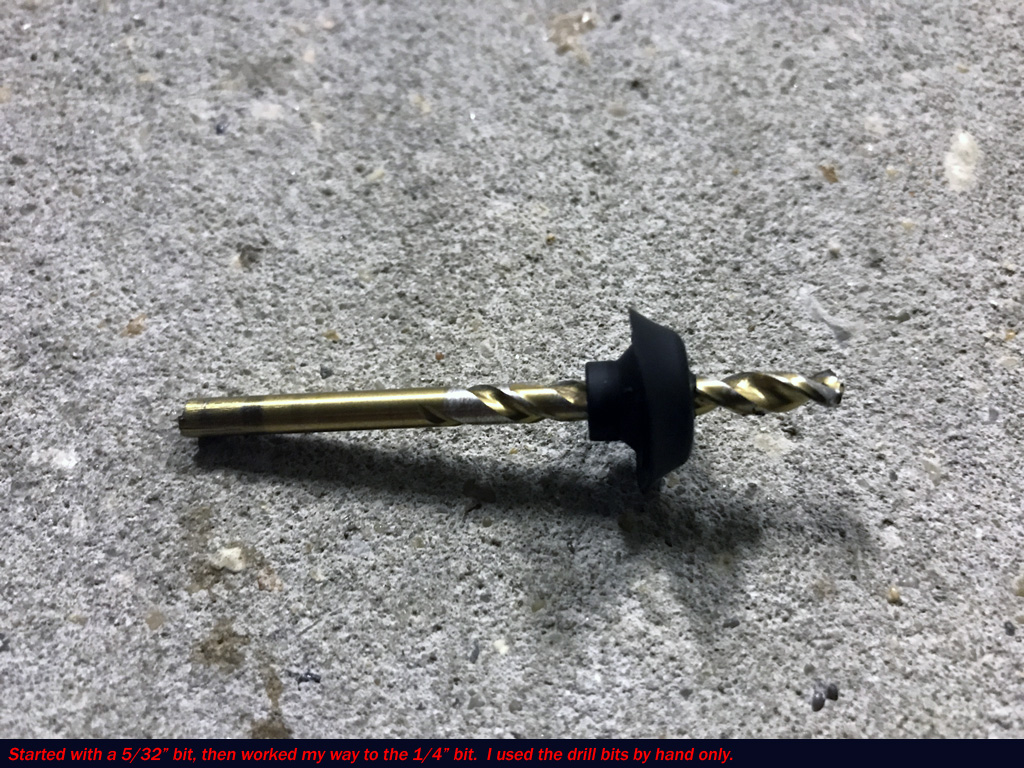
- Electric drill (5/32", 1/4" bits)
- Spring punch to mark each OE reflector before drilling for LED strip harness to pass through
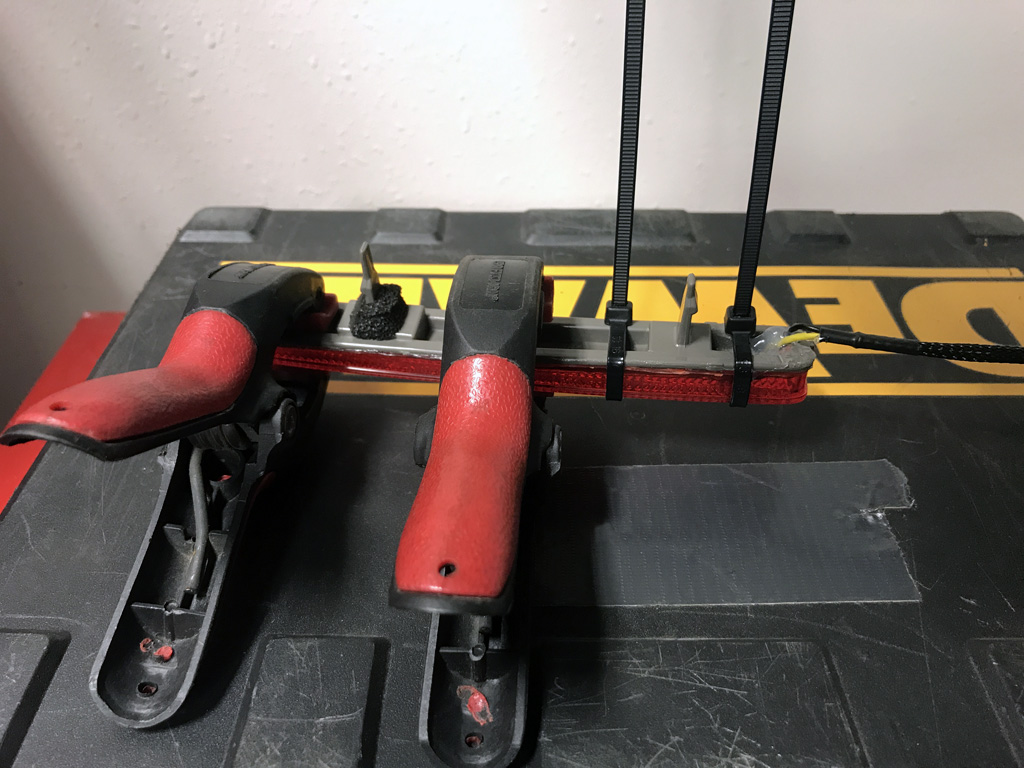
- Various clamps to hold both OE reflectors during several disassembly/reassembly steps
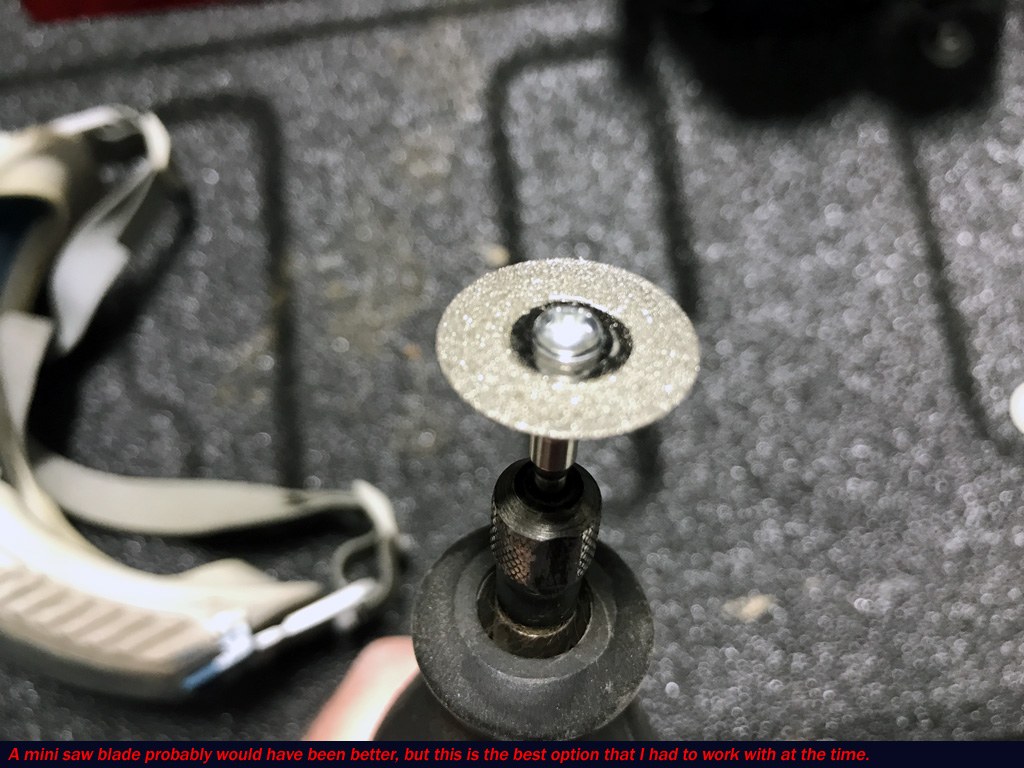
- Dremel and disc bit to cut open OE reflectors
- Monogoggles and ear muffs for the Dremel
- Ratchet (10mm socket for hatchback hold-downs)
- Soldering iron
- Shop vac to clean up the plastic bits
Notes:
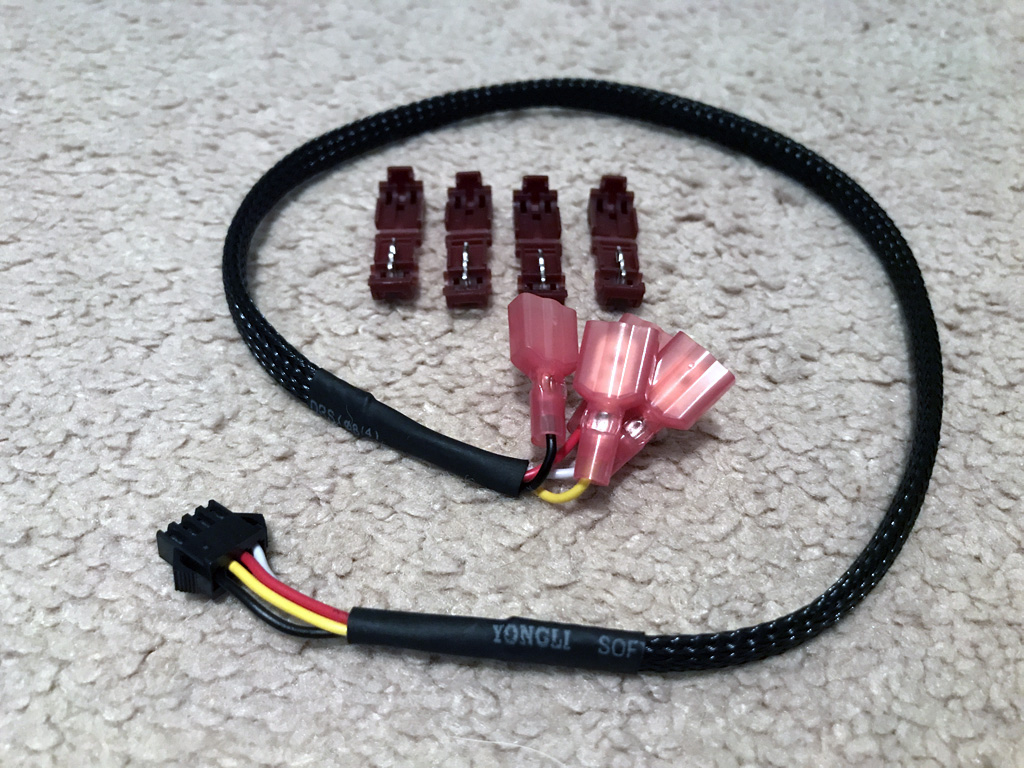
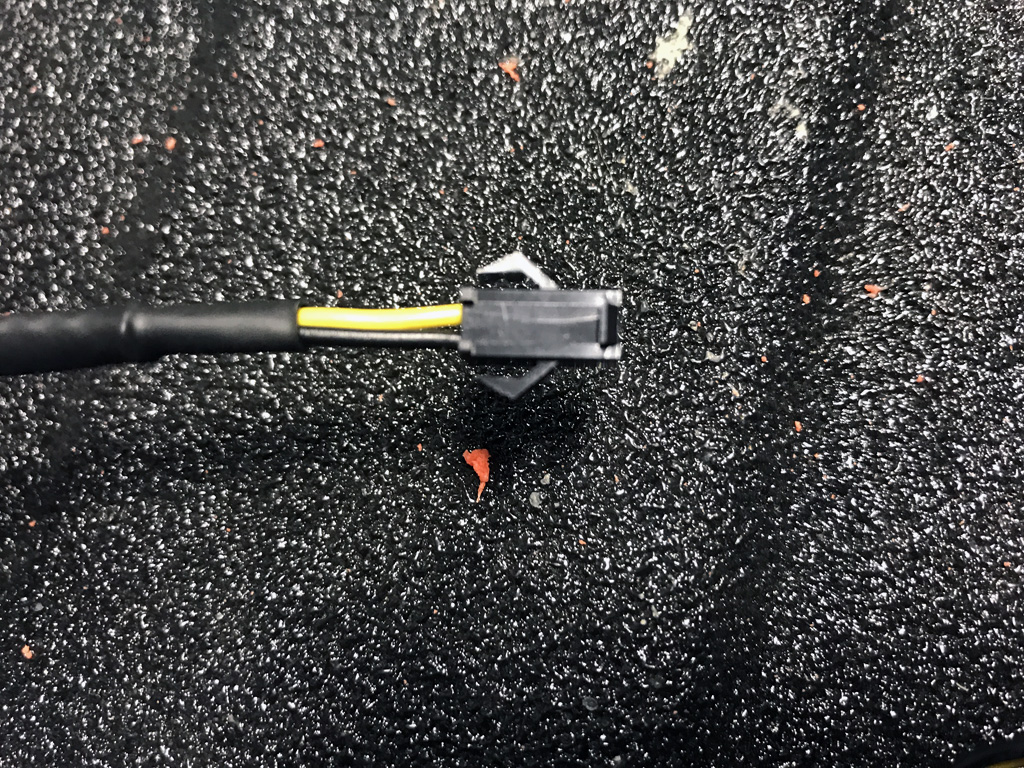
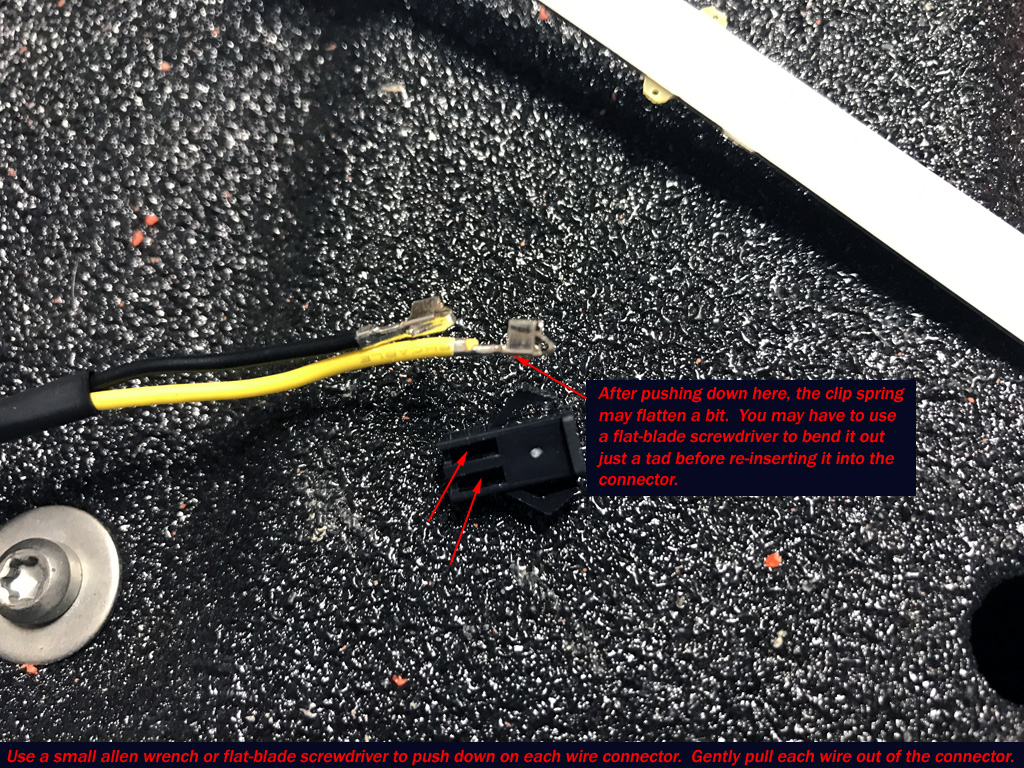
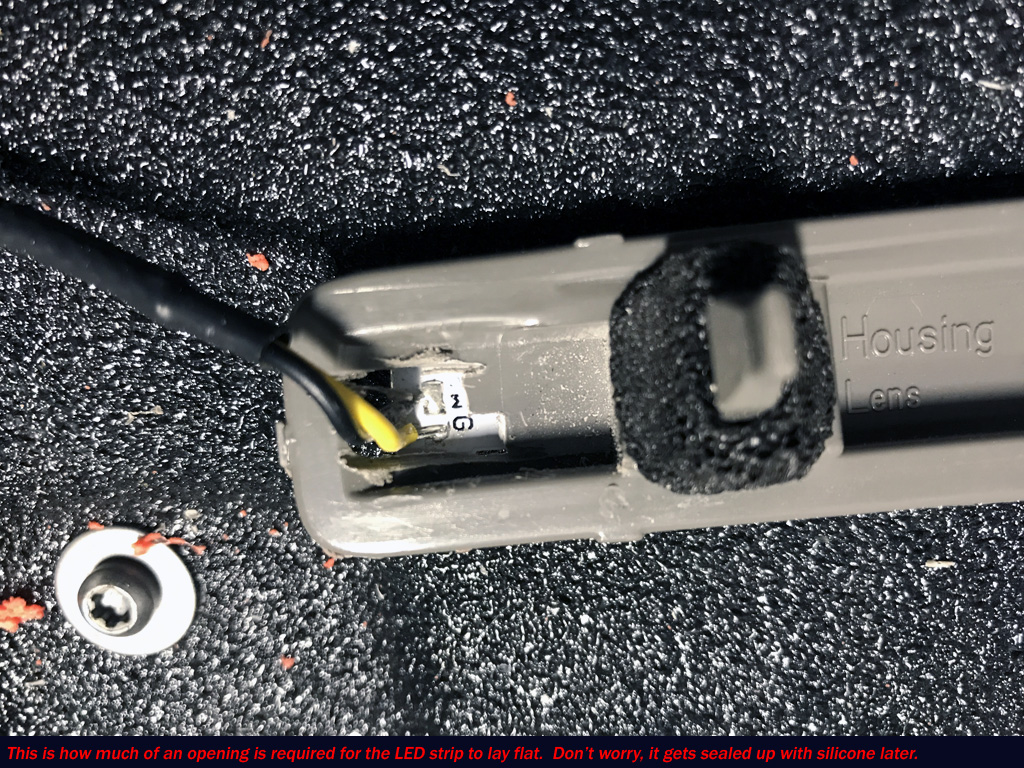
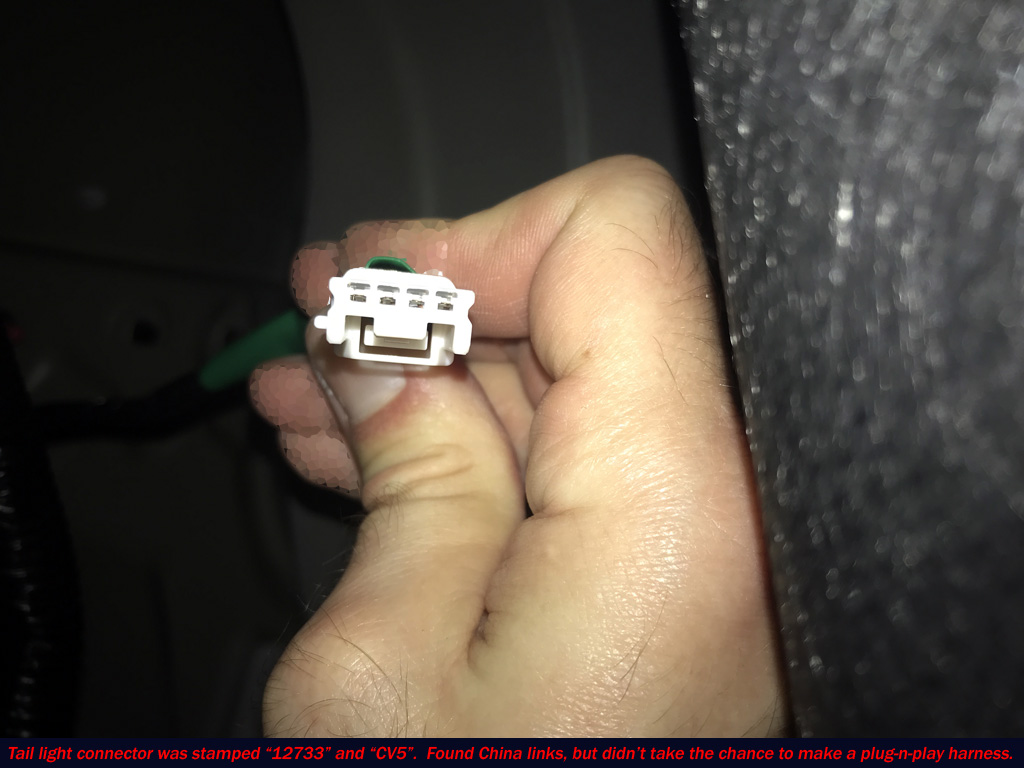
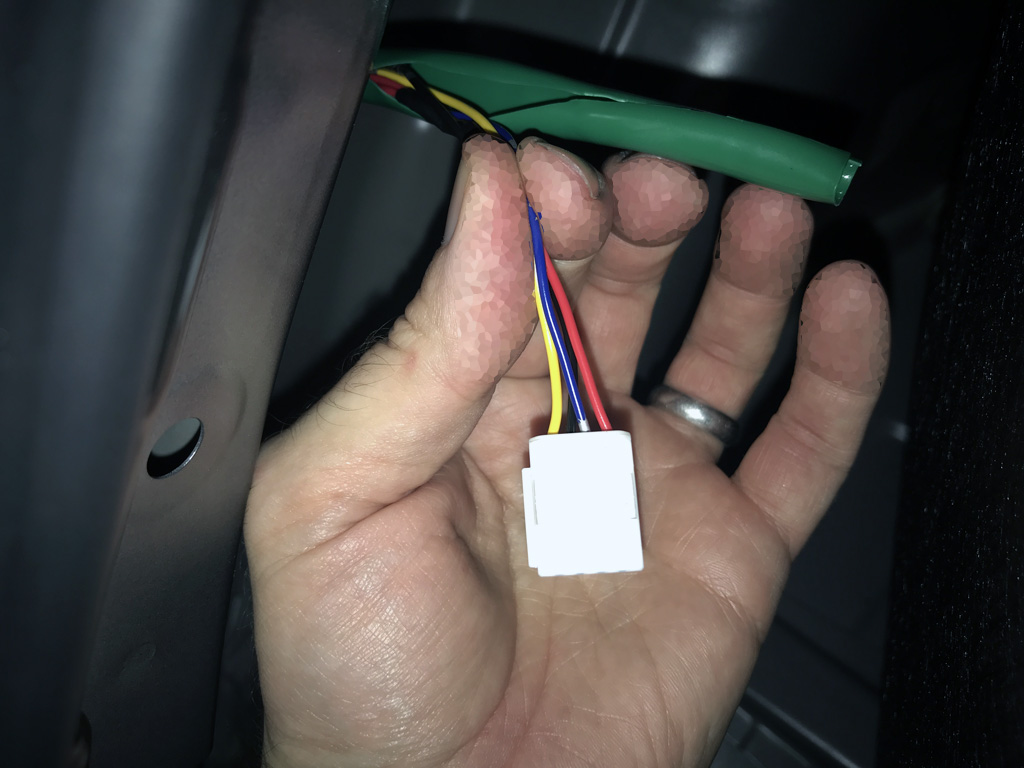
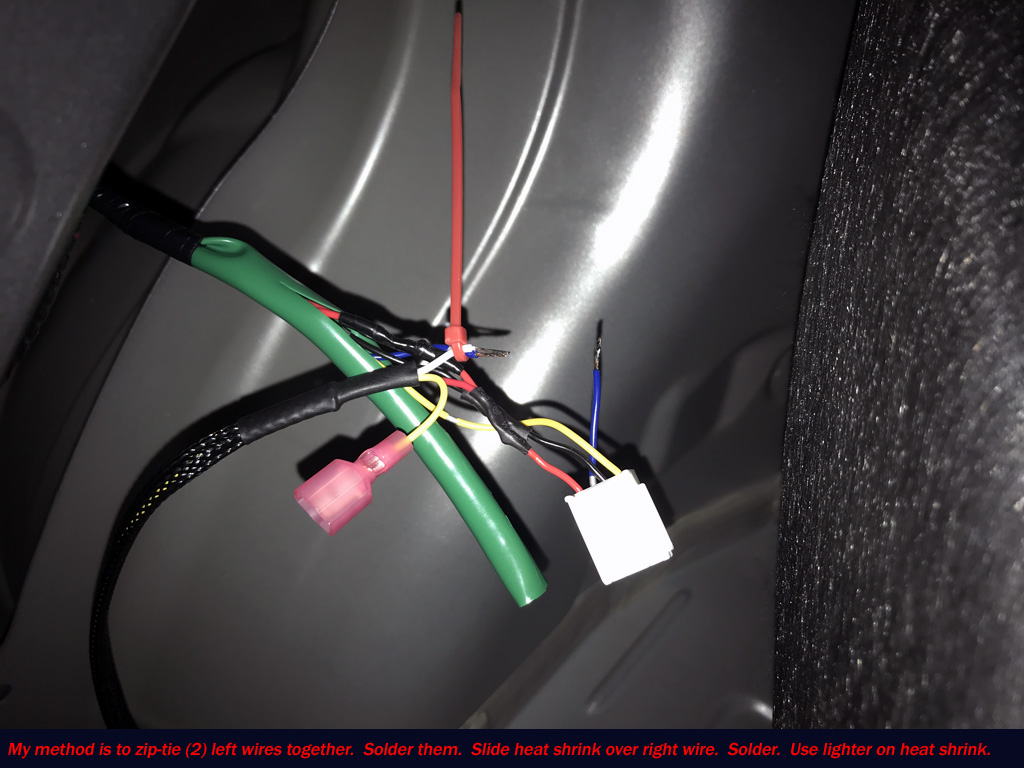
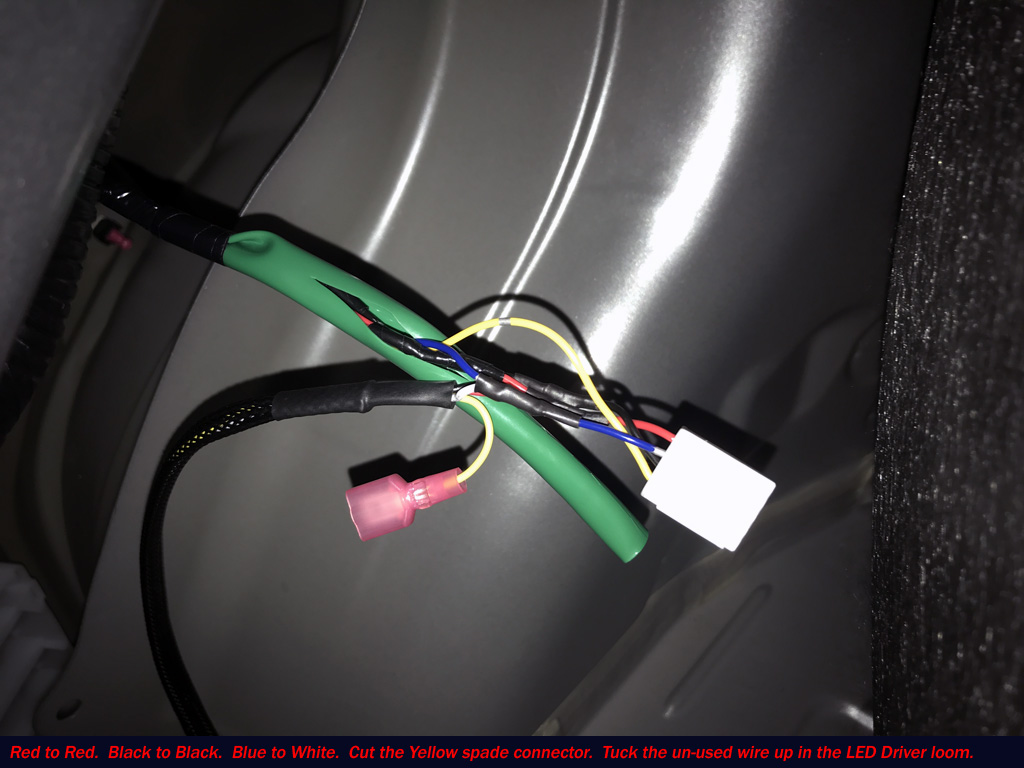
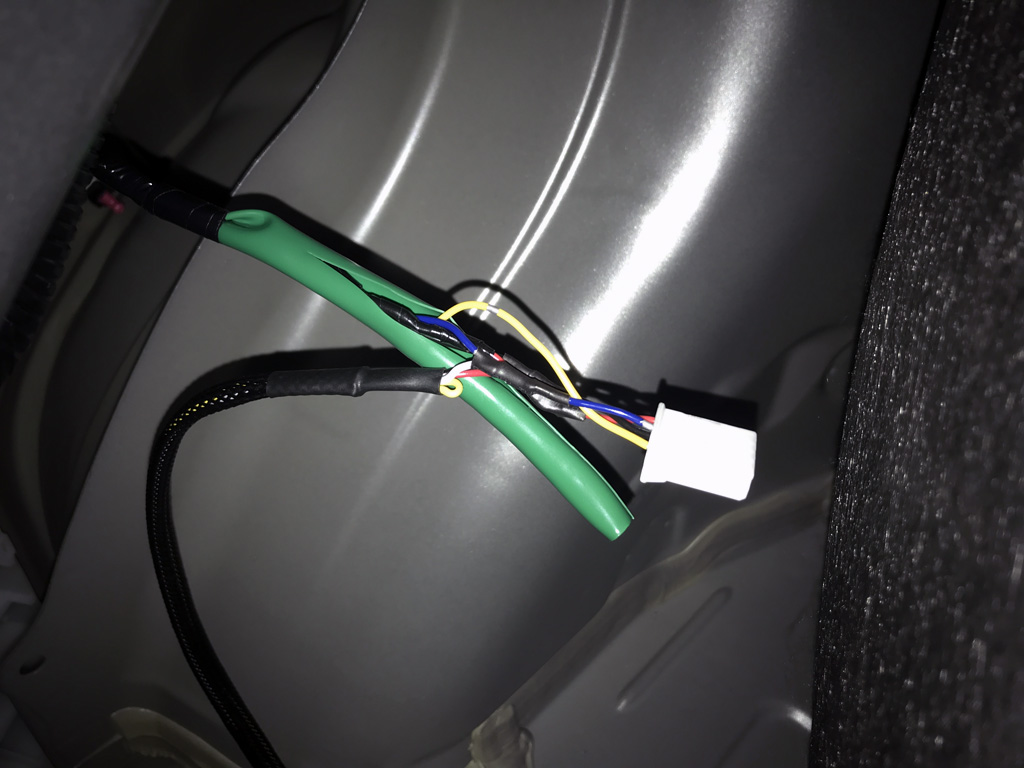
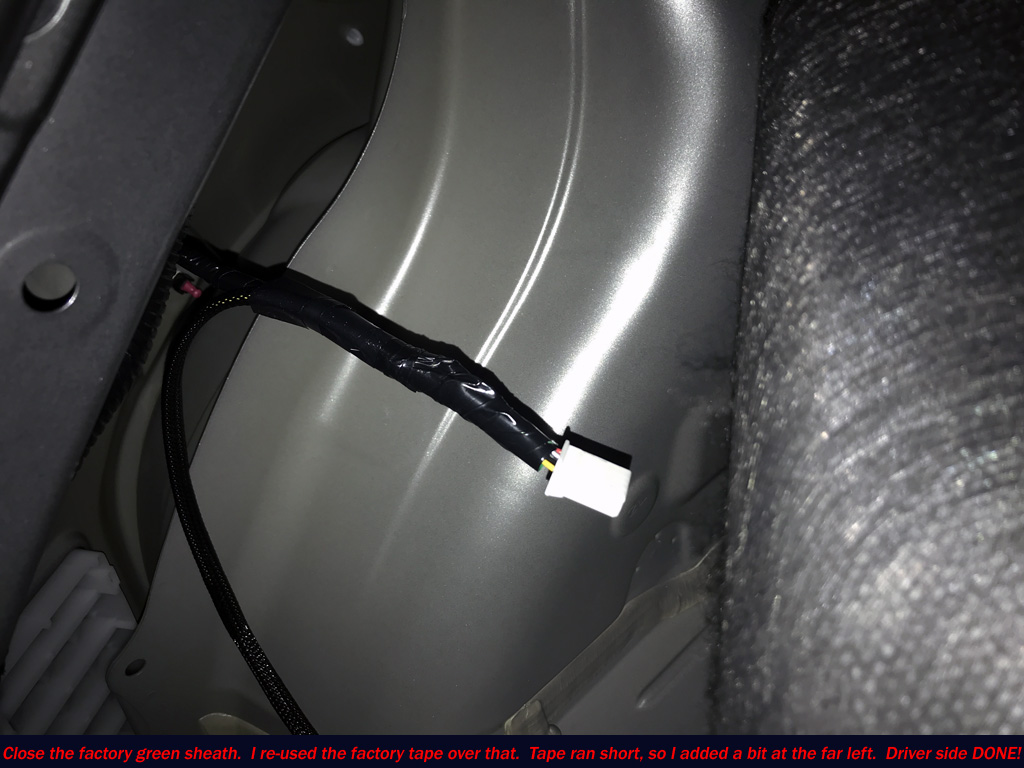
1. (2) wiring plugs need to be disconnected and modified for this installation. No plug-n-play harness exists, so soldering is required.
2. Somewhat reversible to stock if you cut the OE reflector open again and remove the HD LED strip.
4. Total weight added = negligible.


|